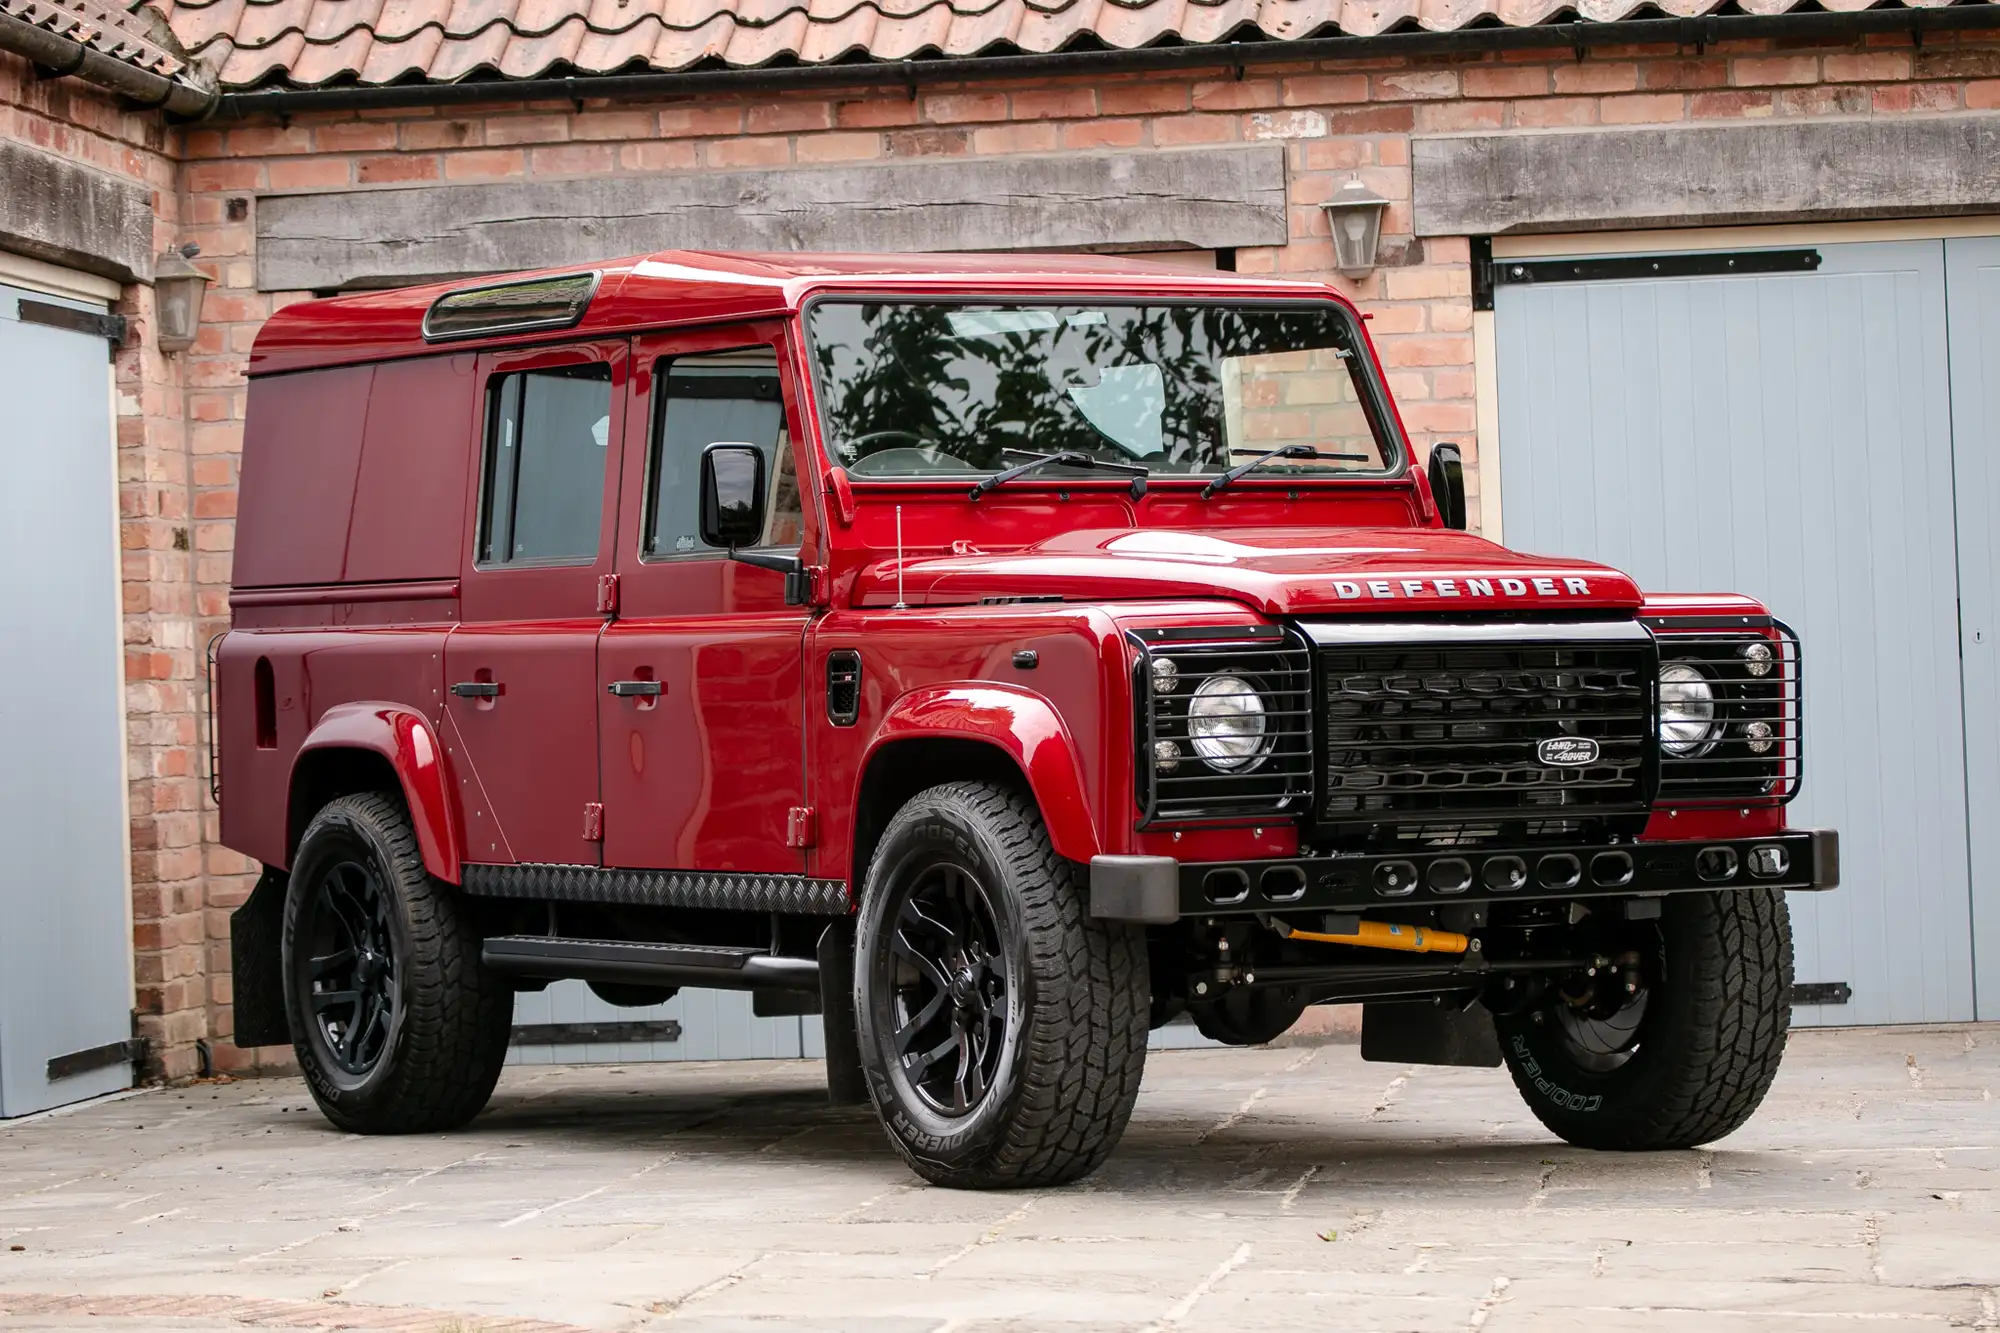
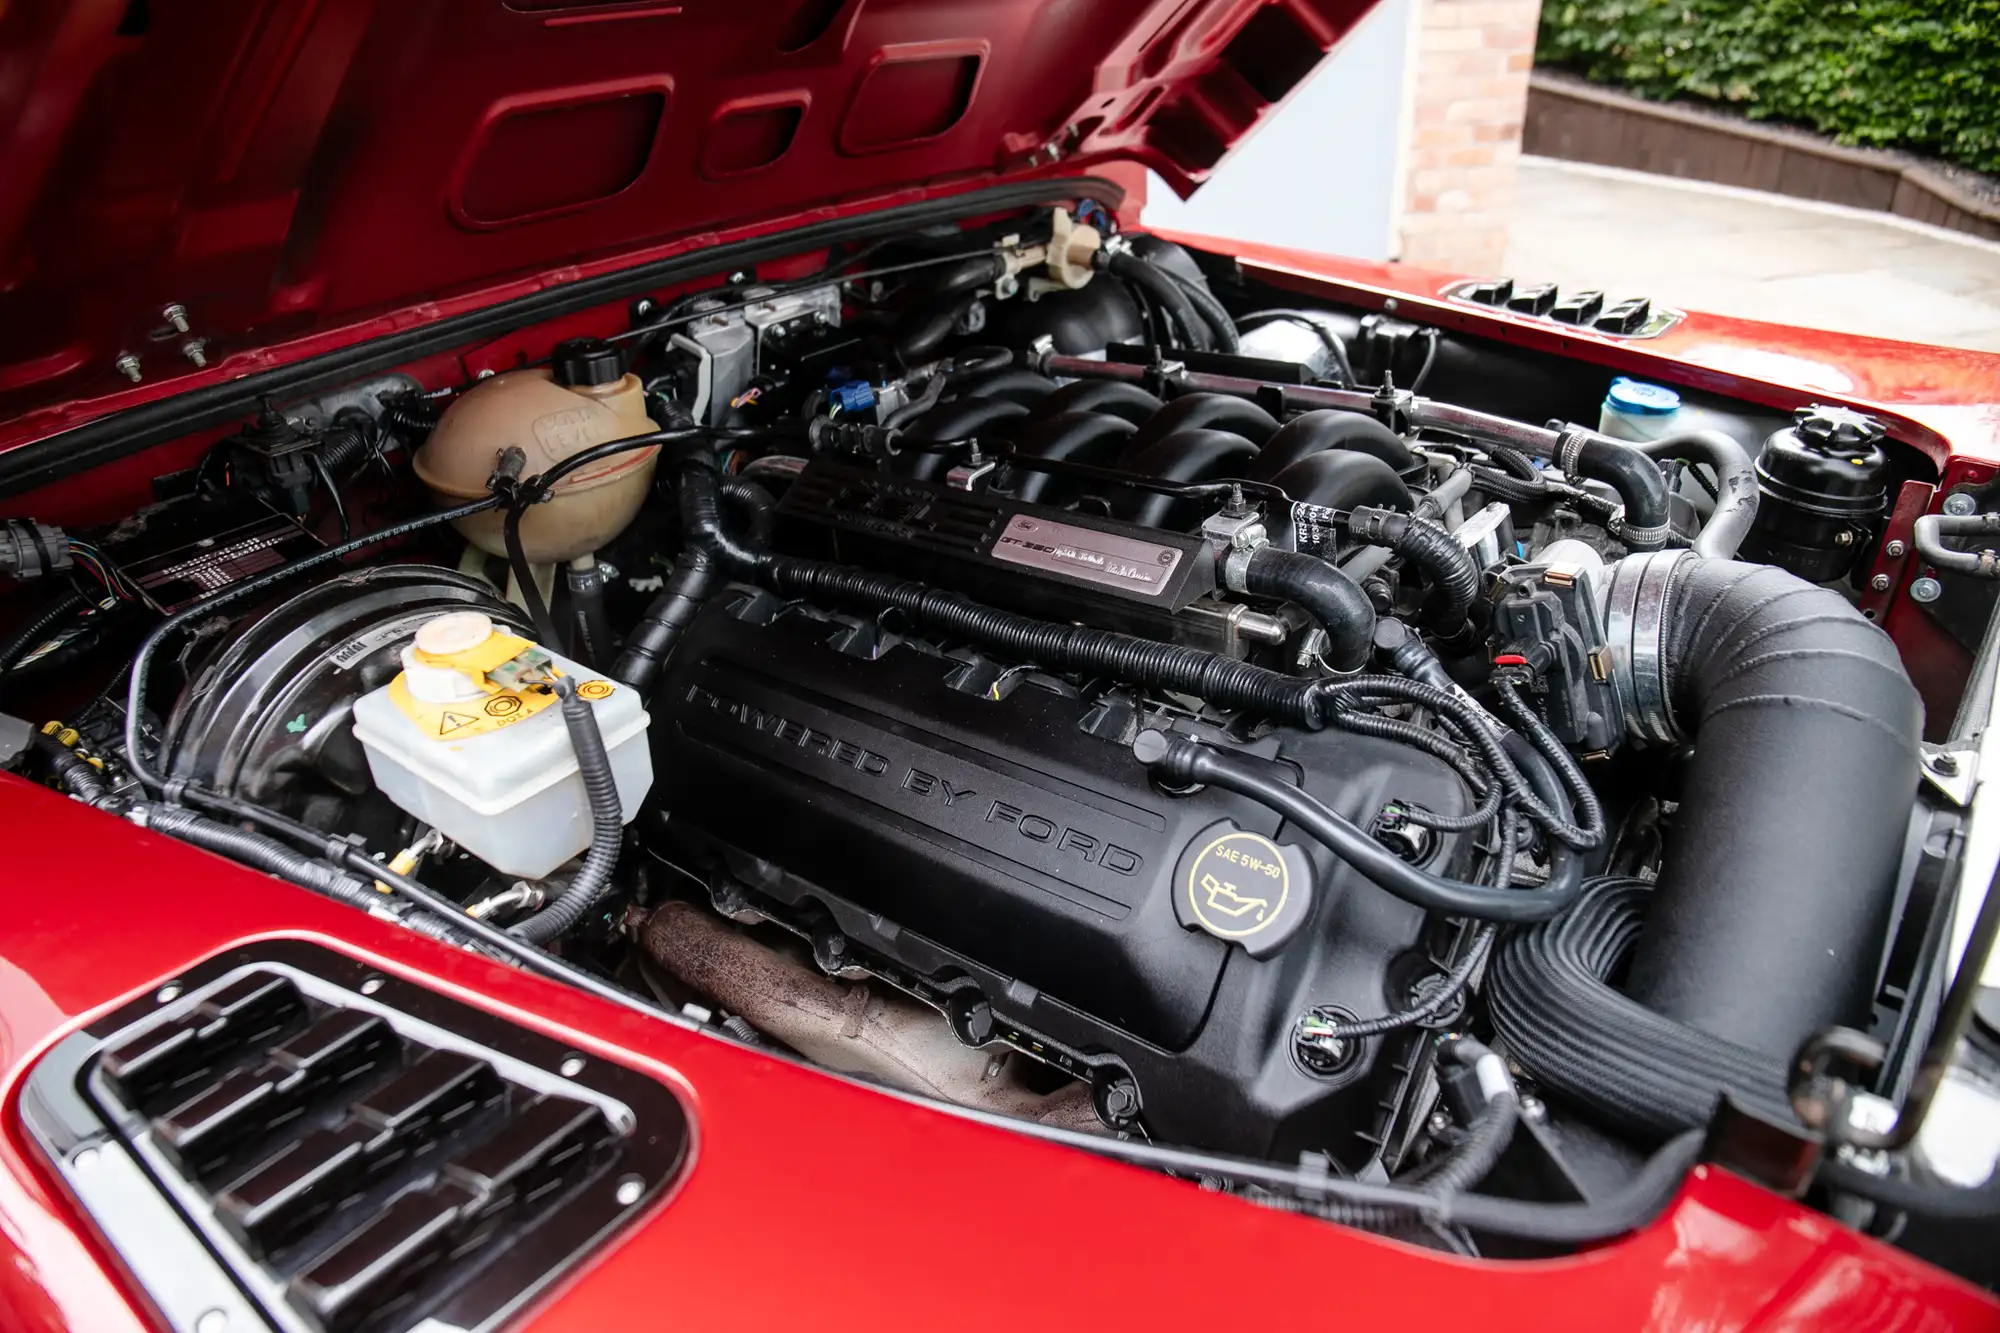
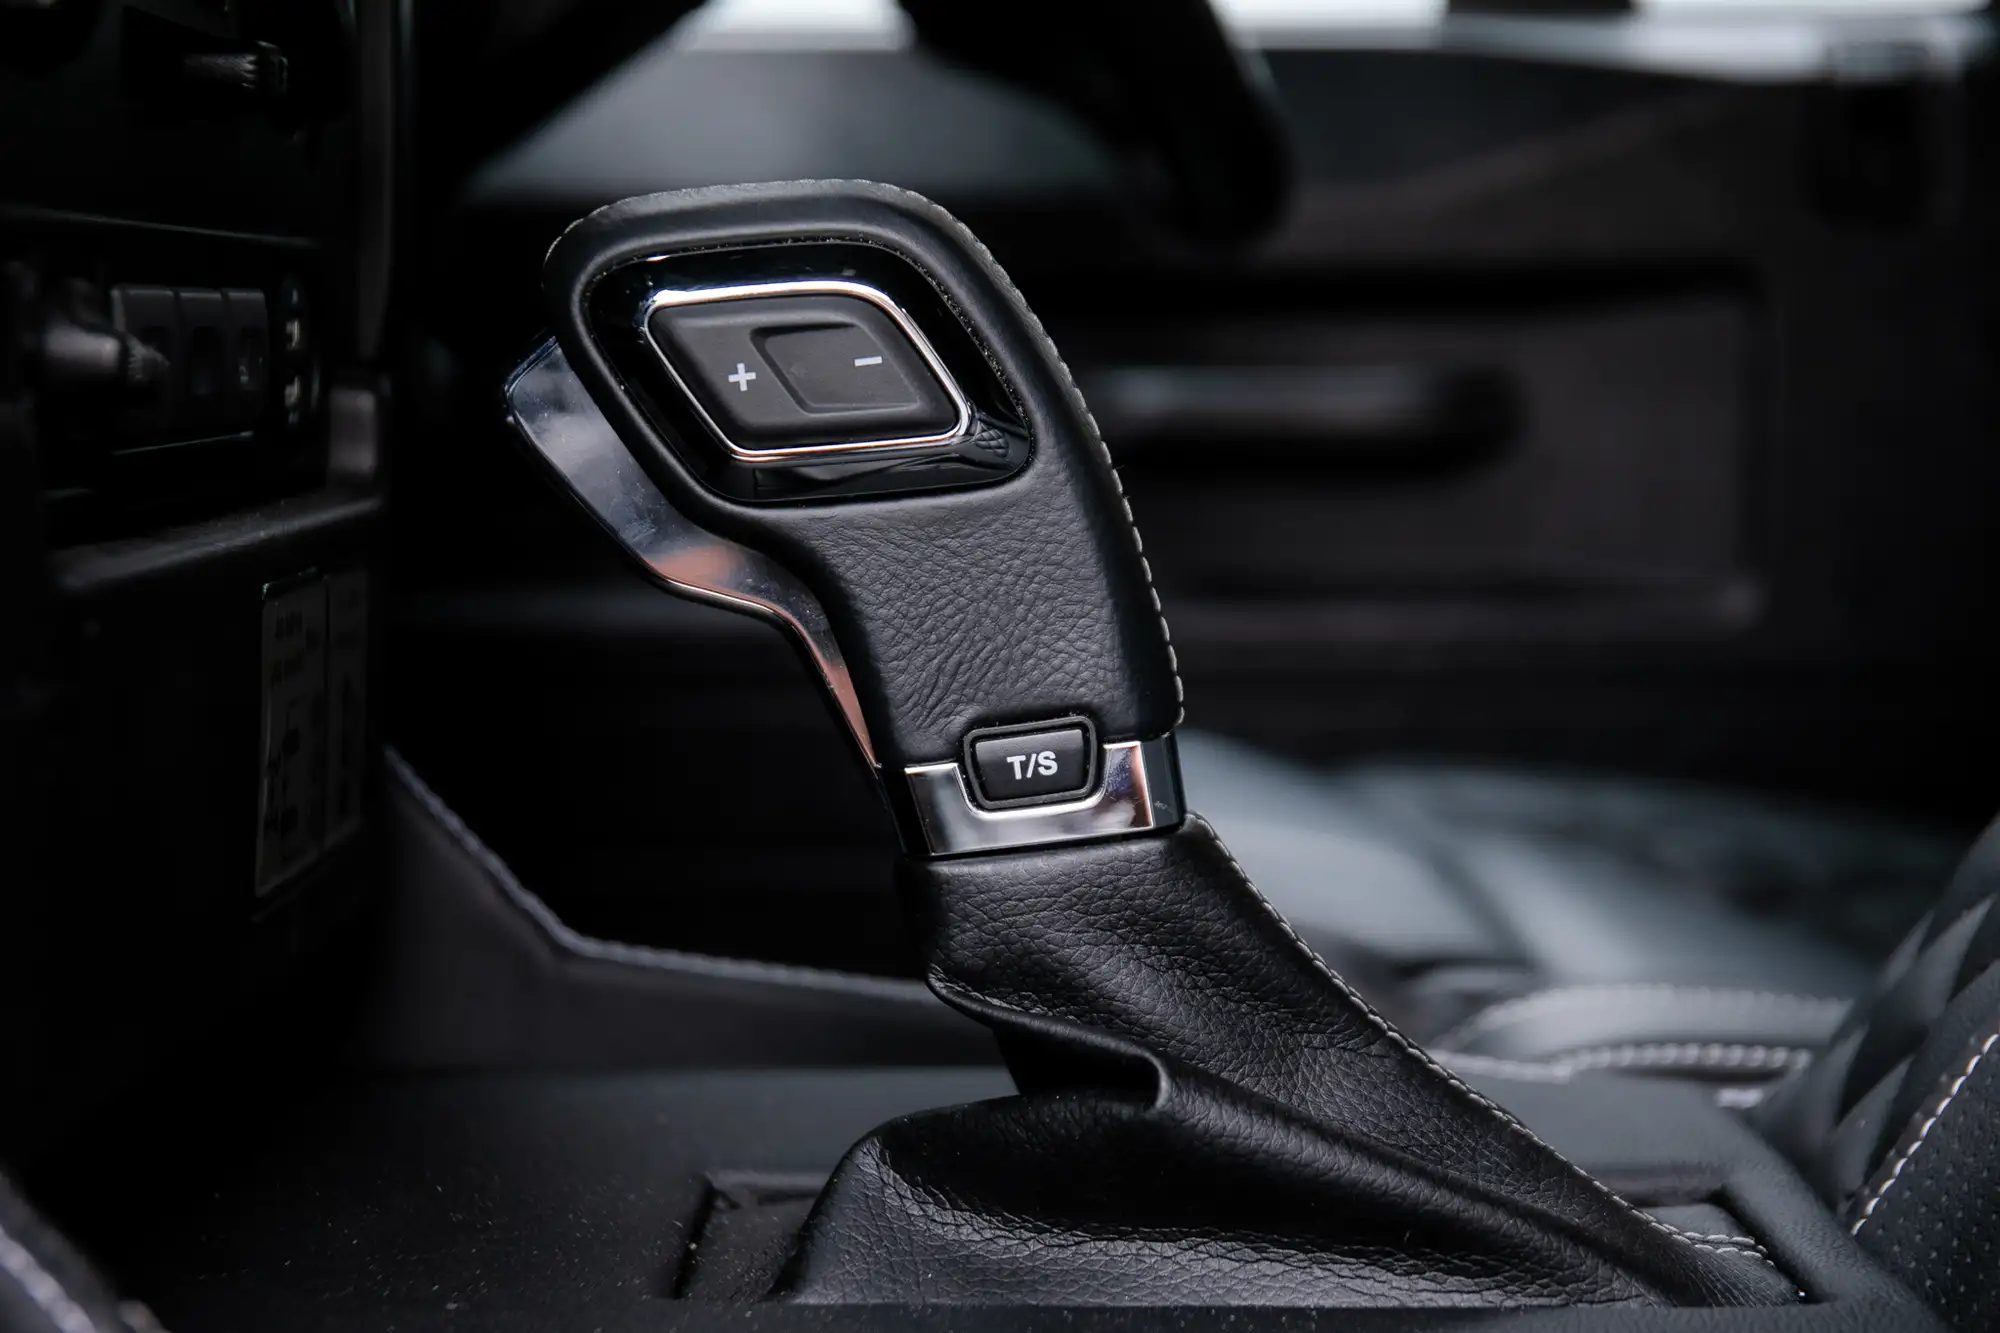
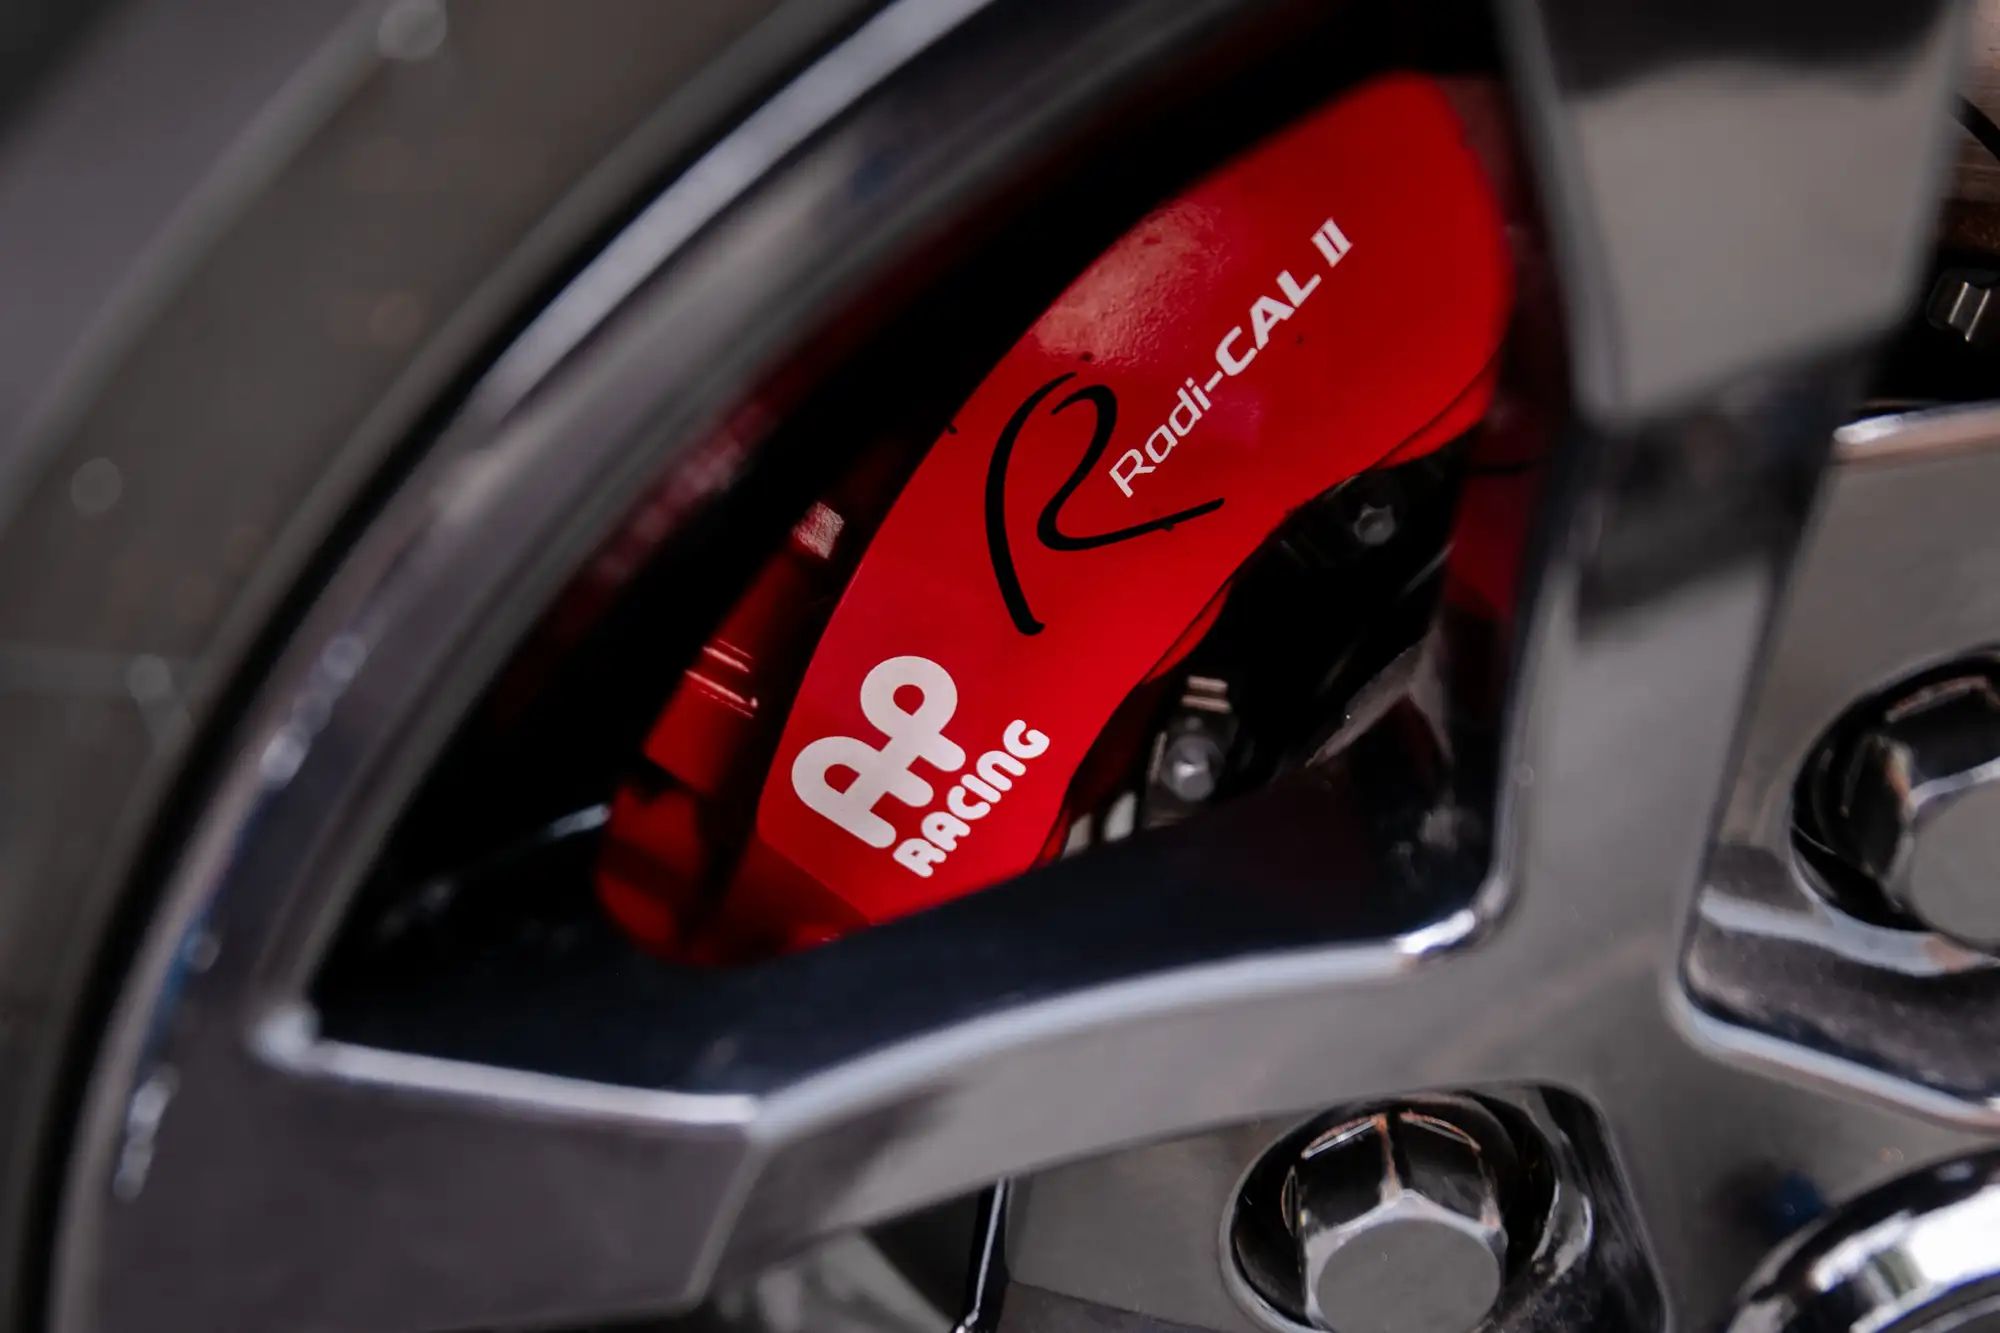
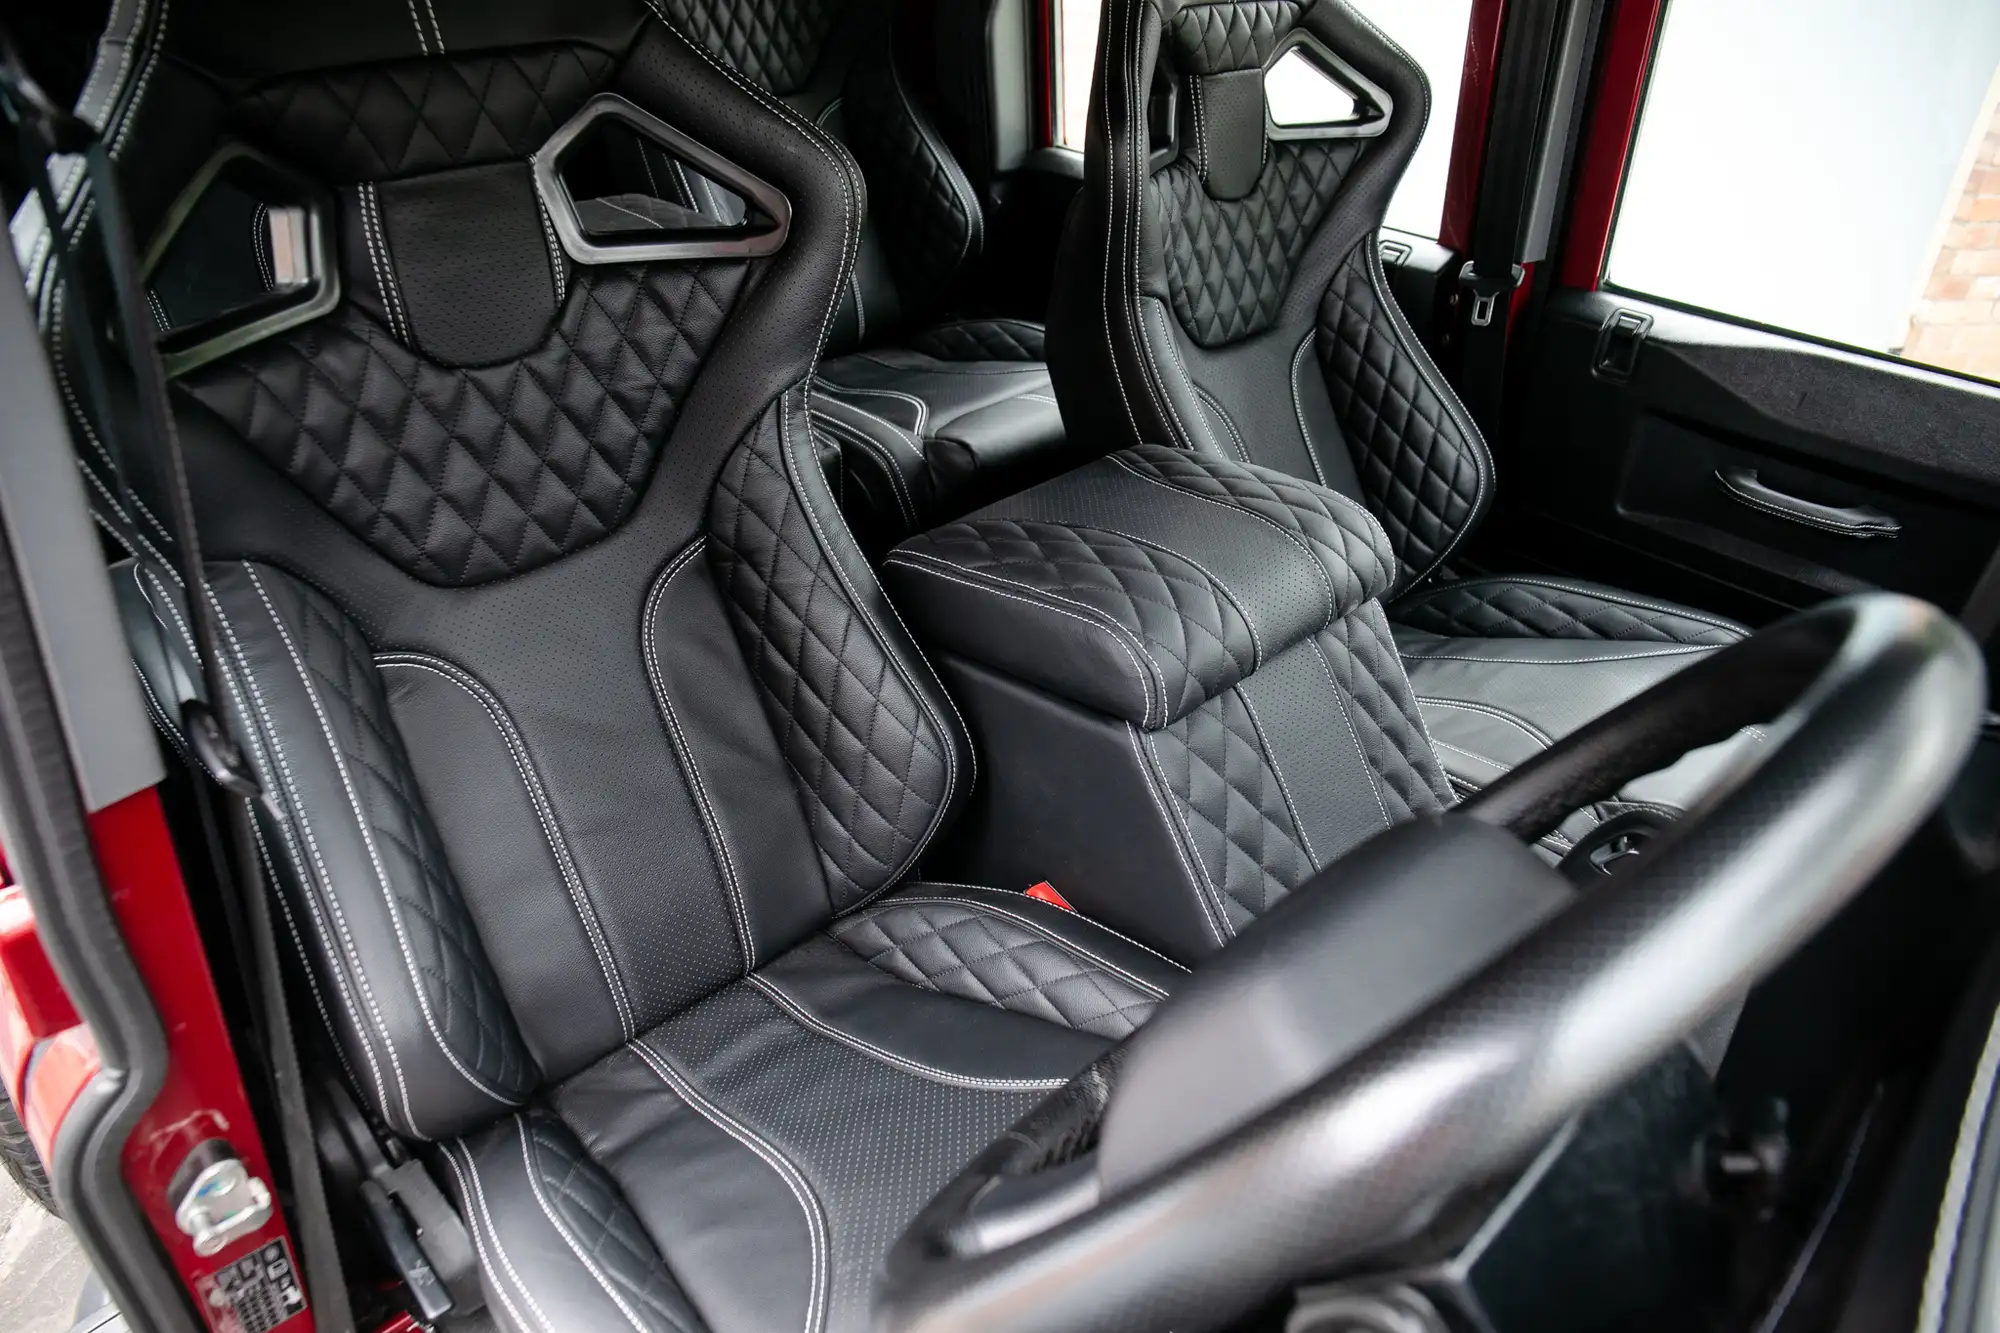
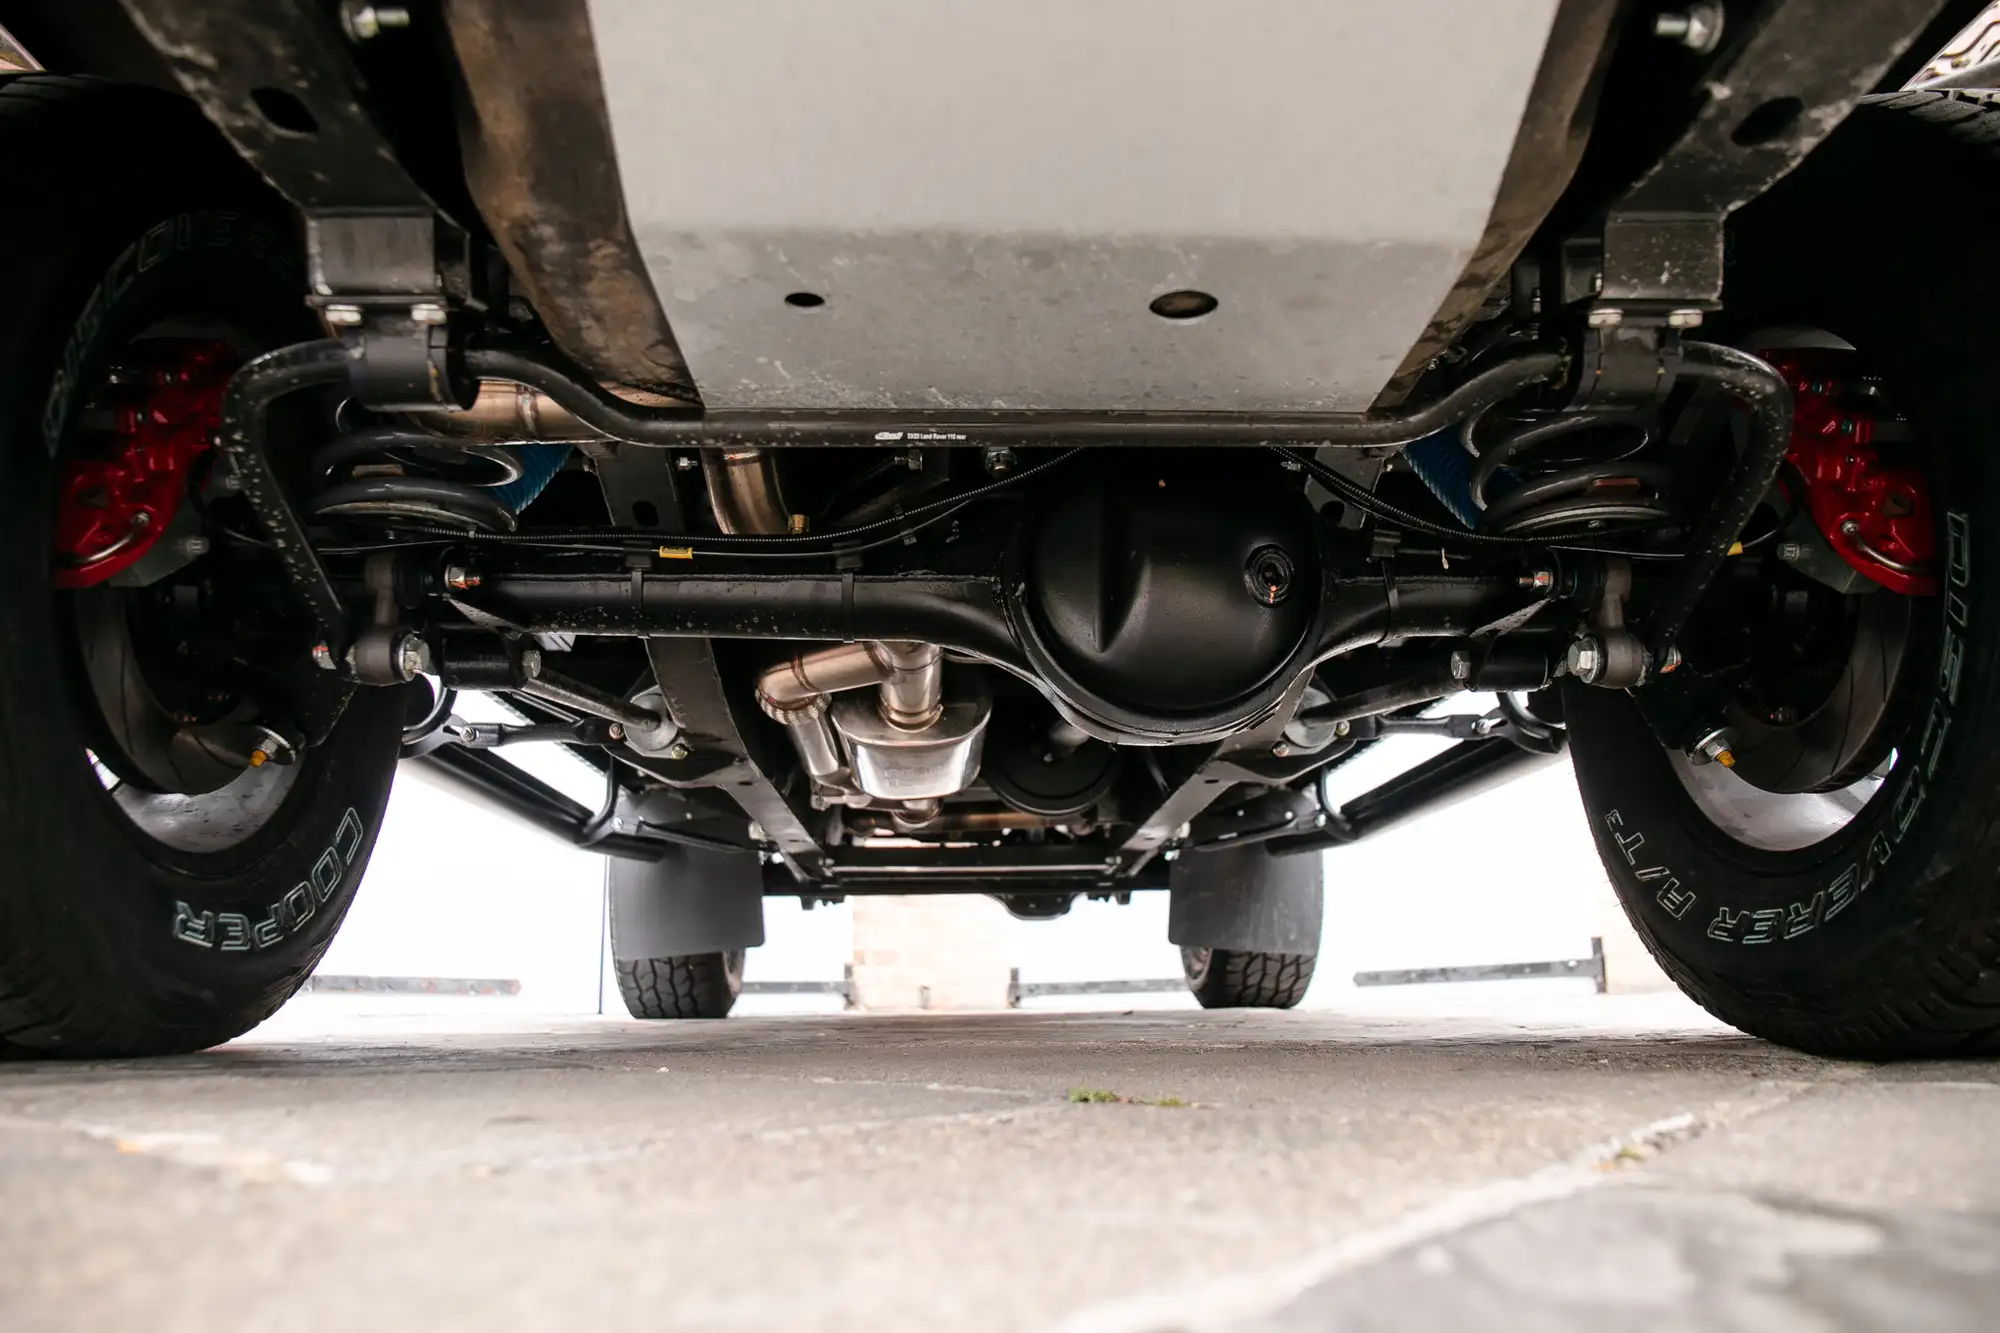
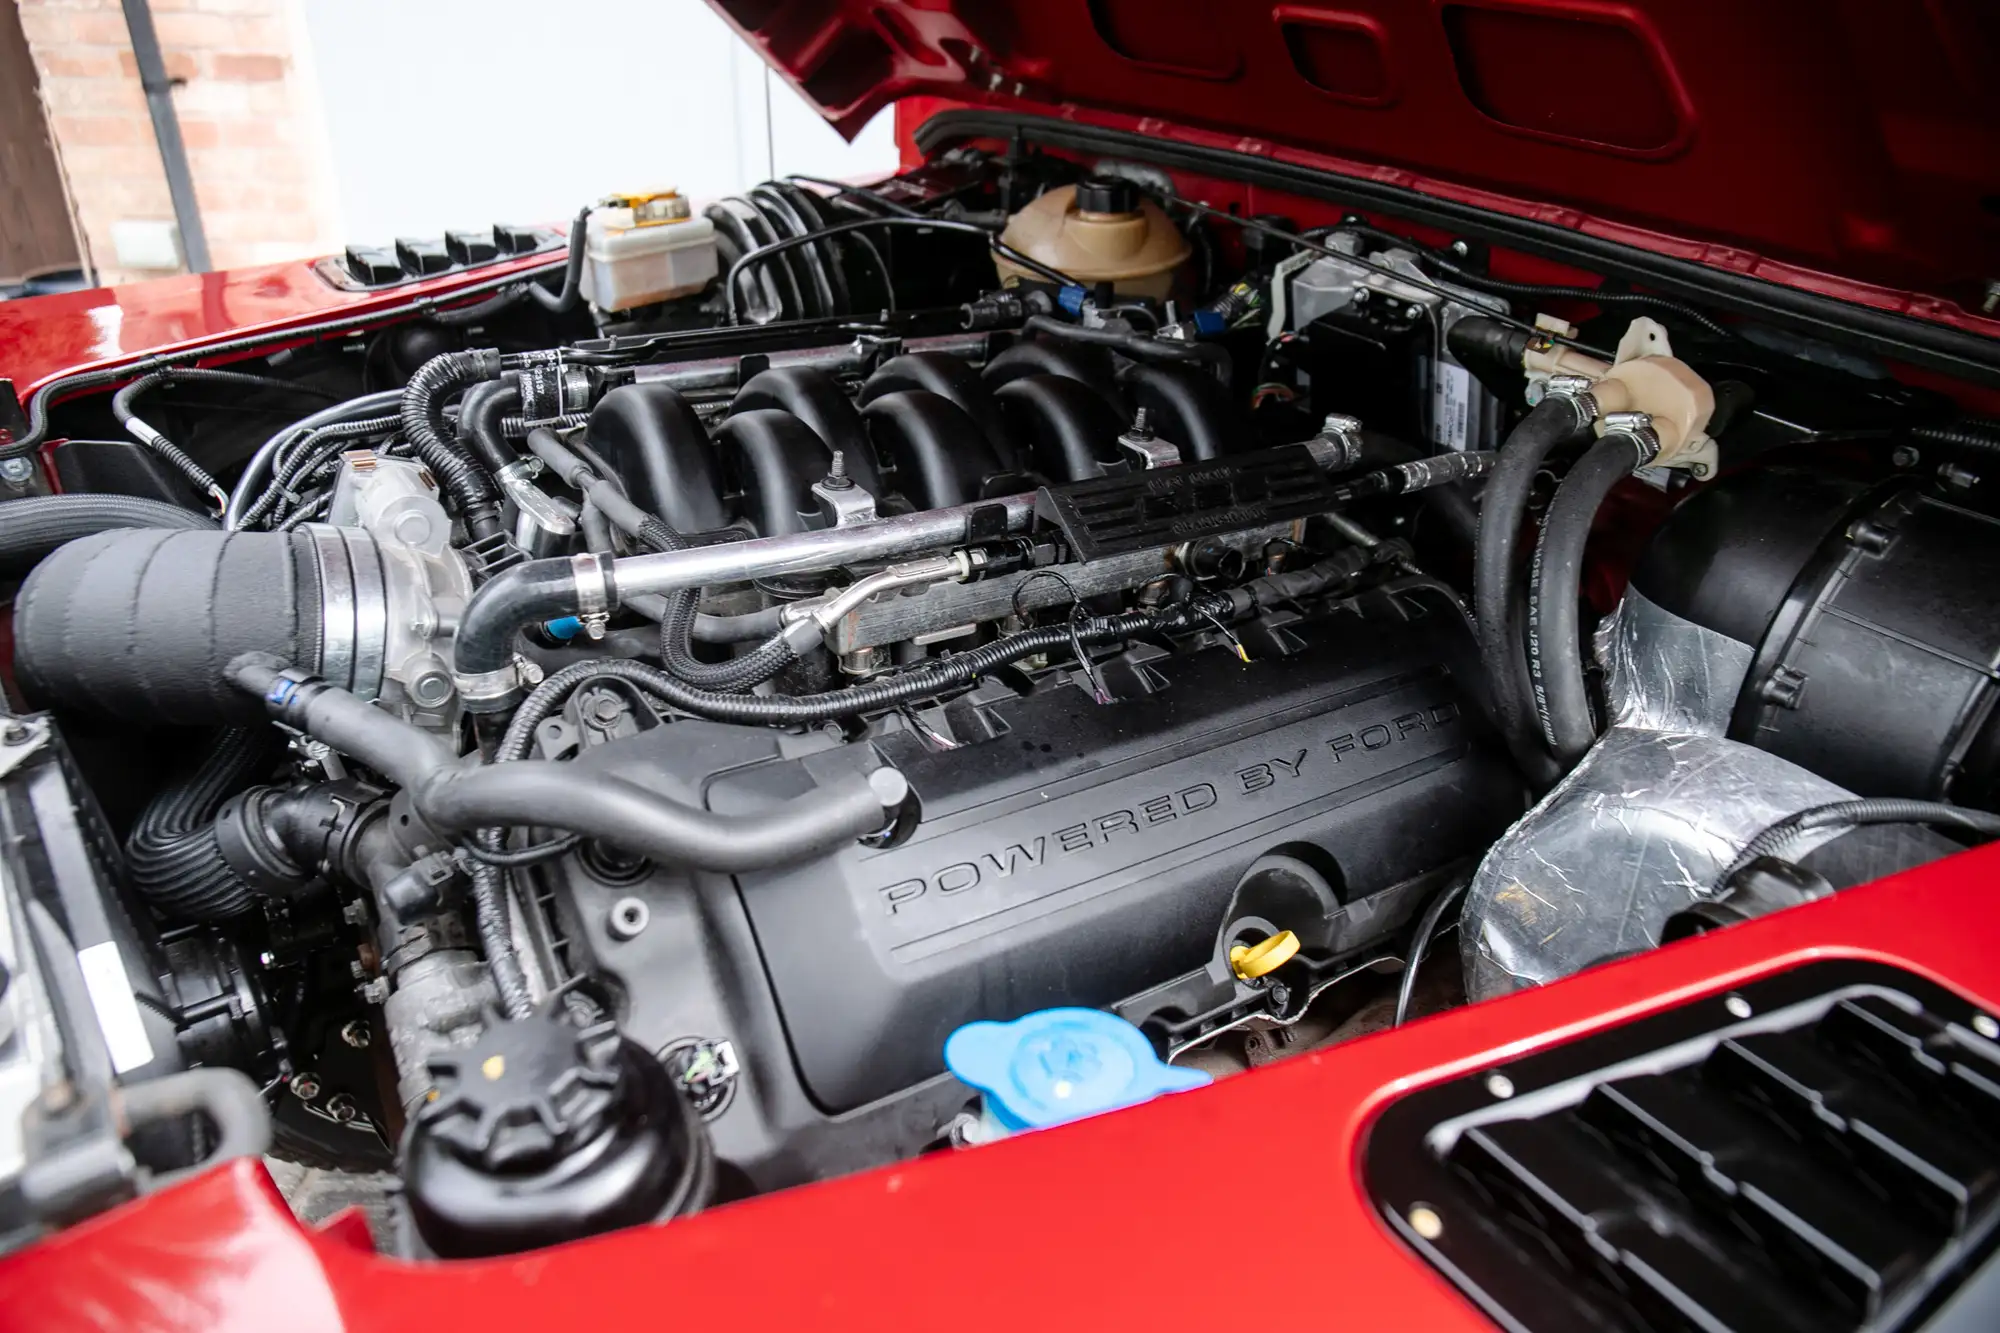
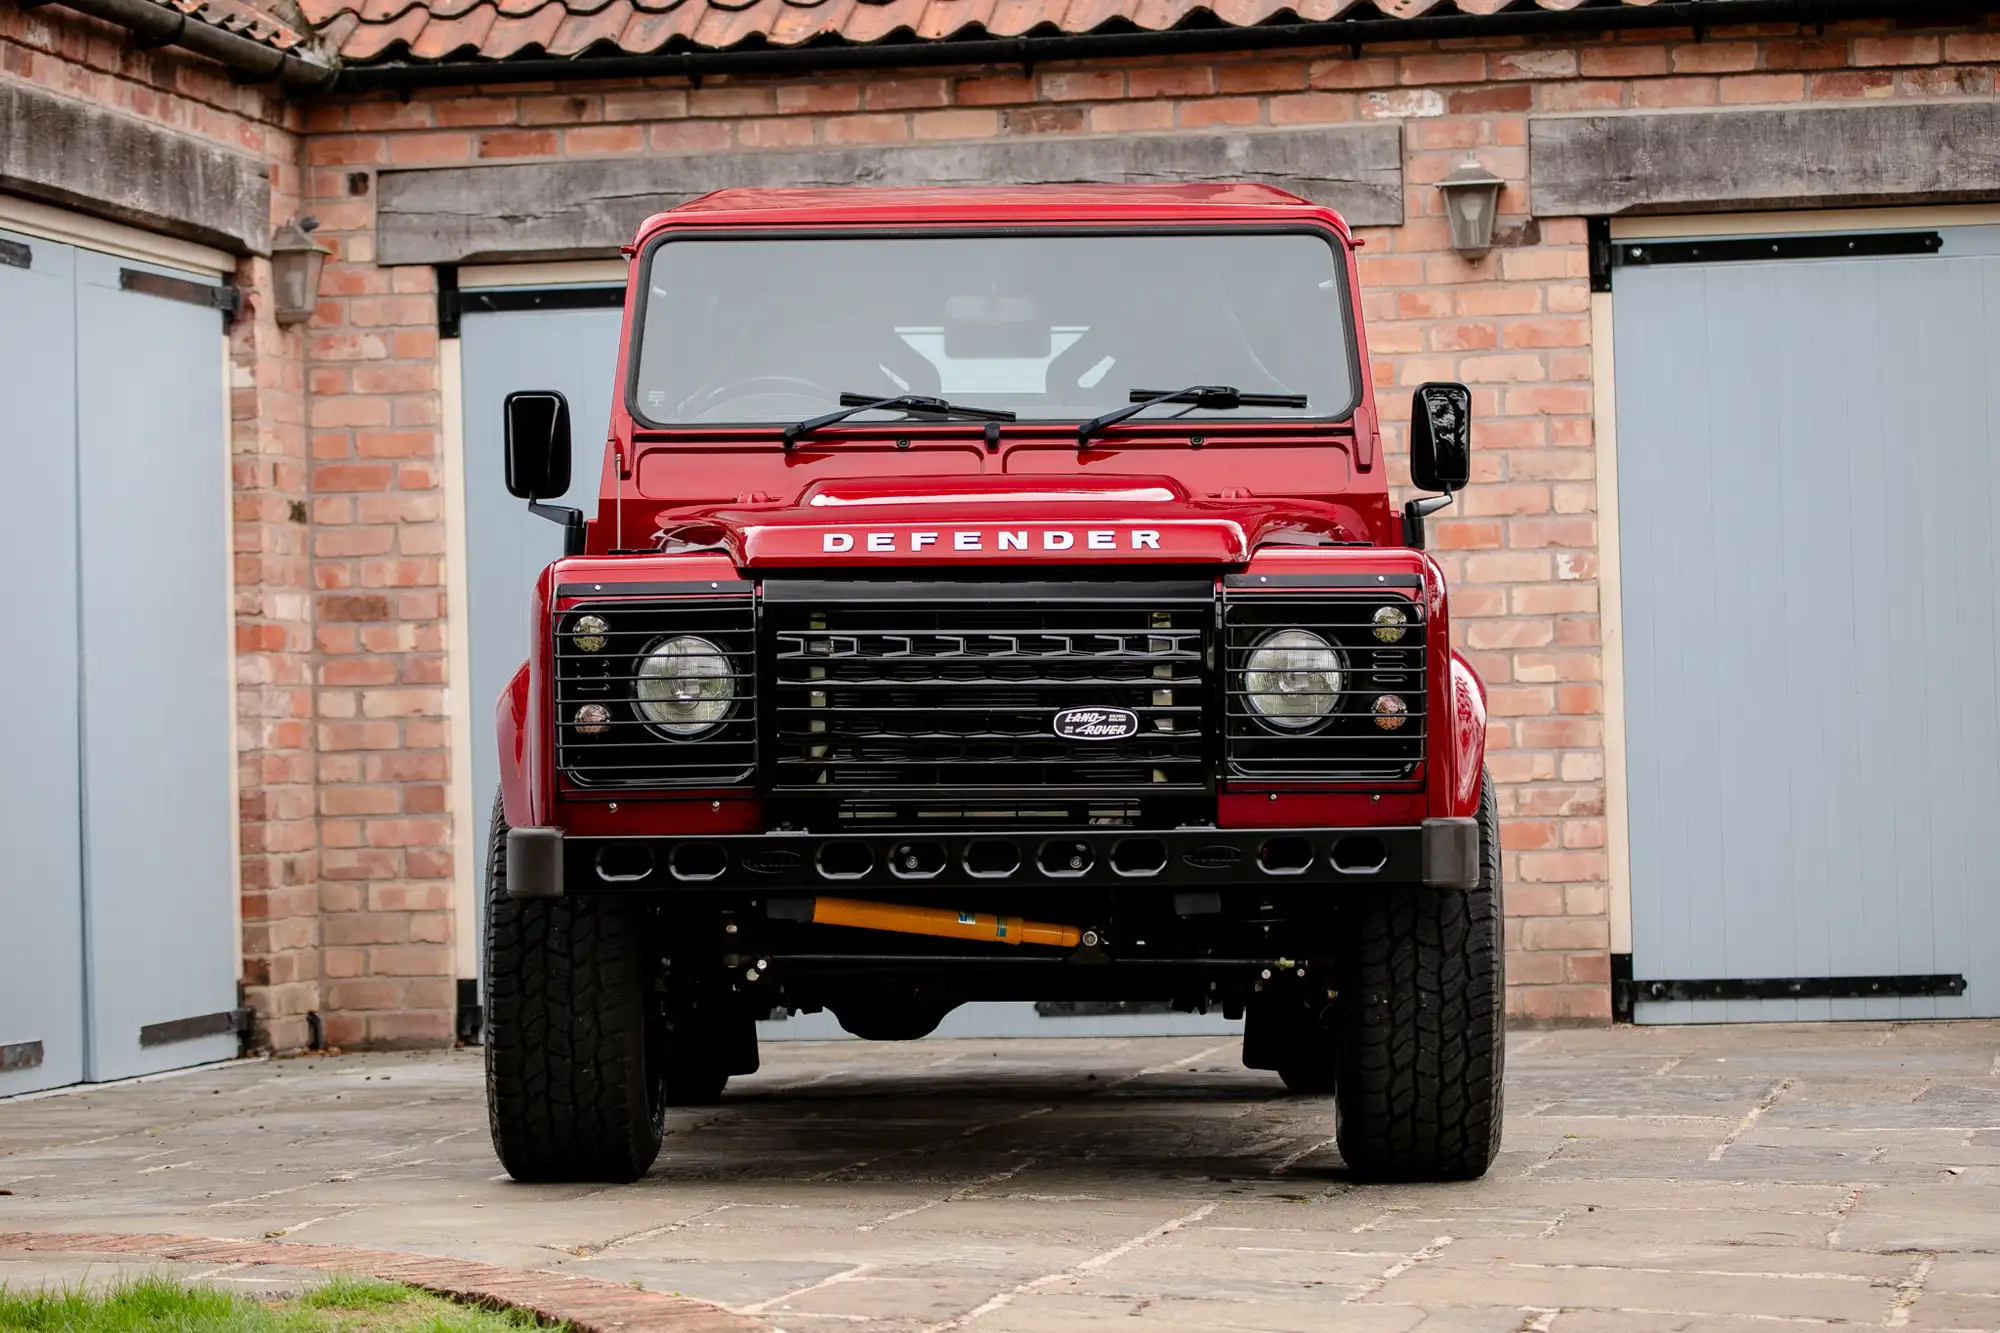
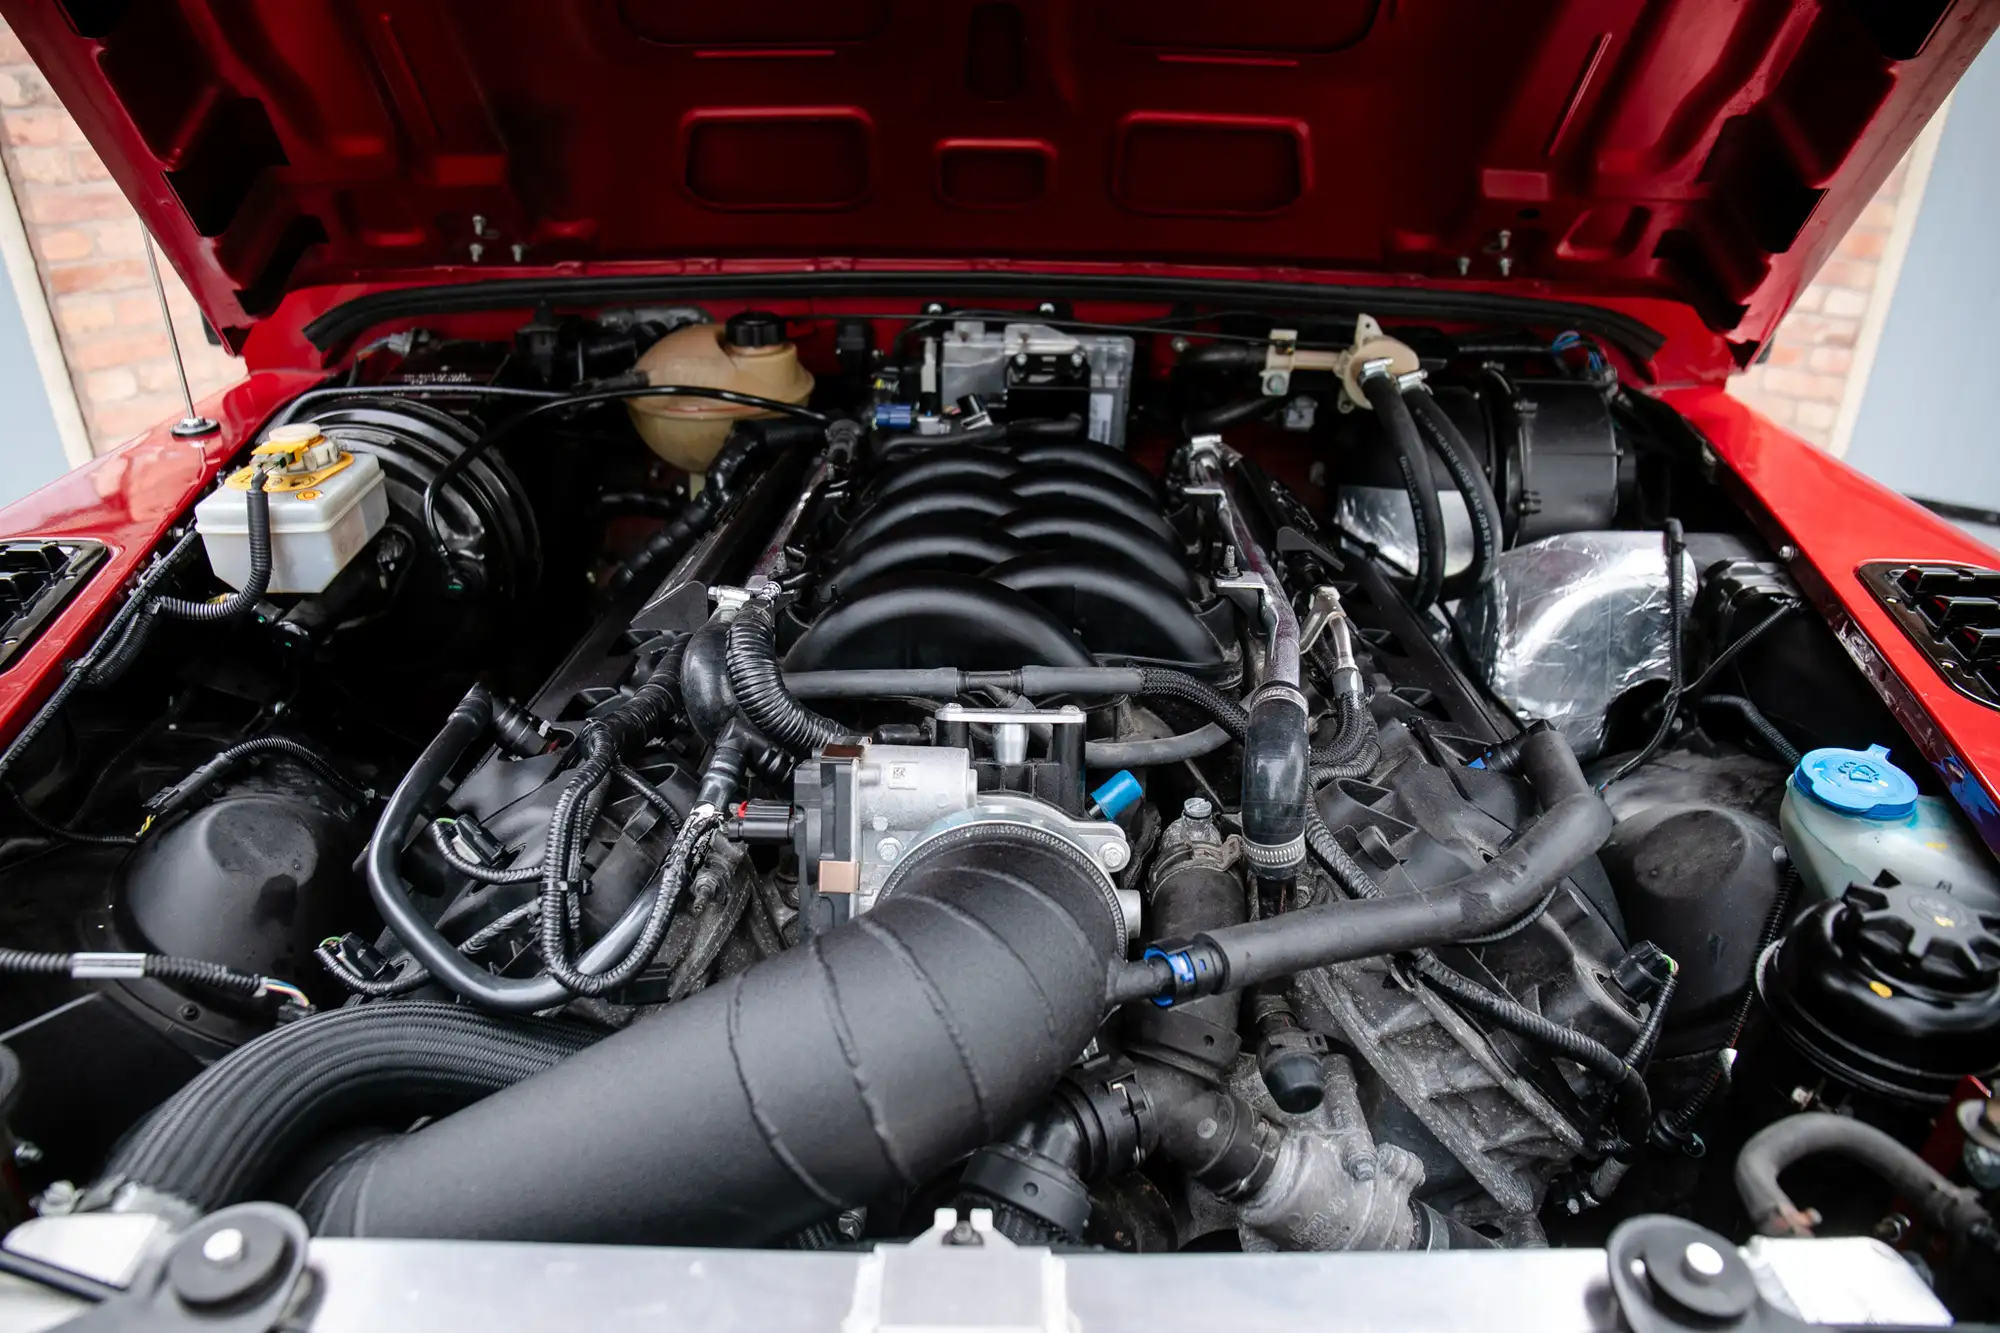
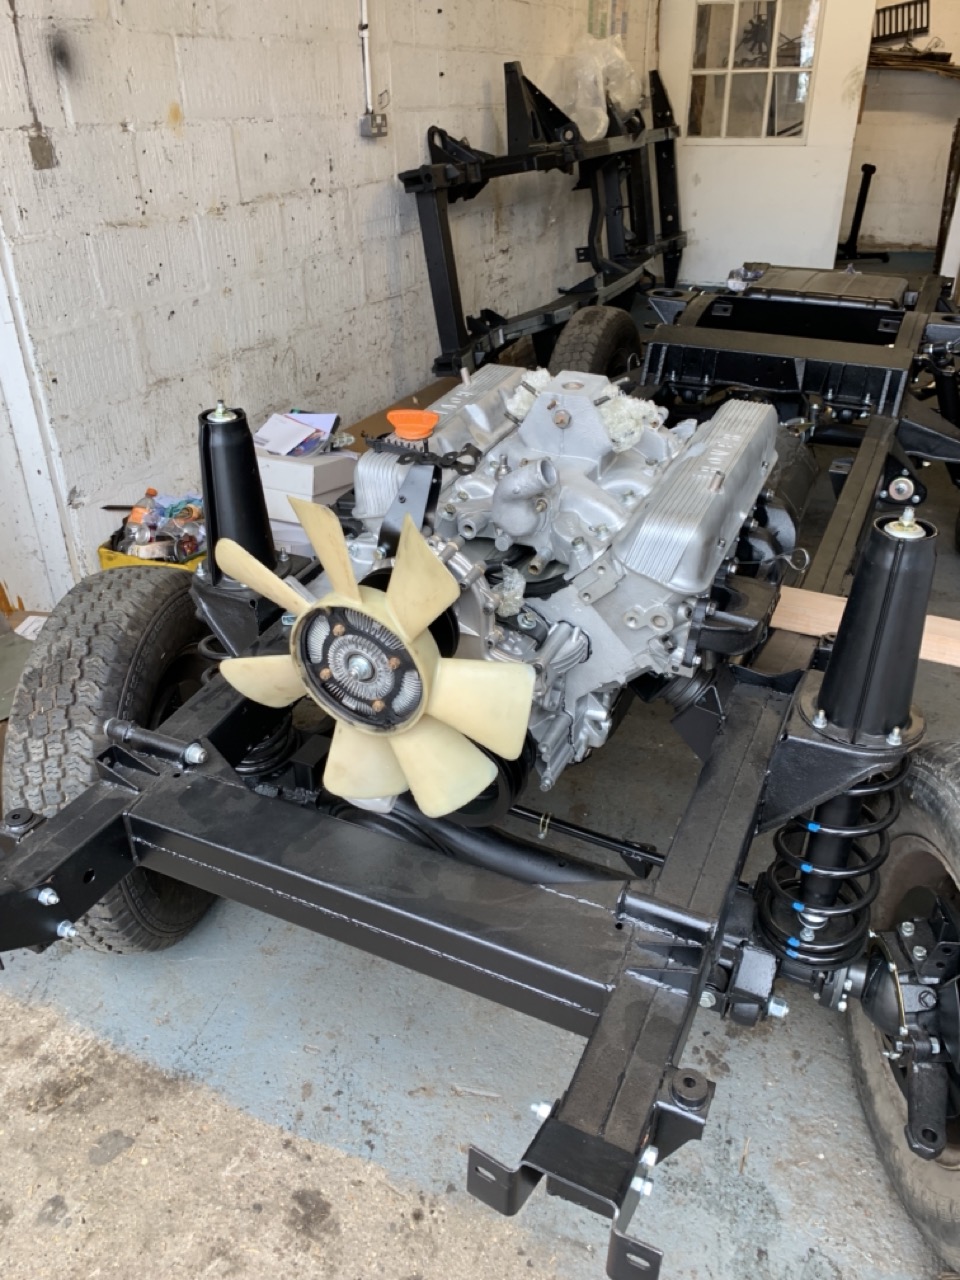
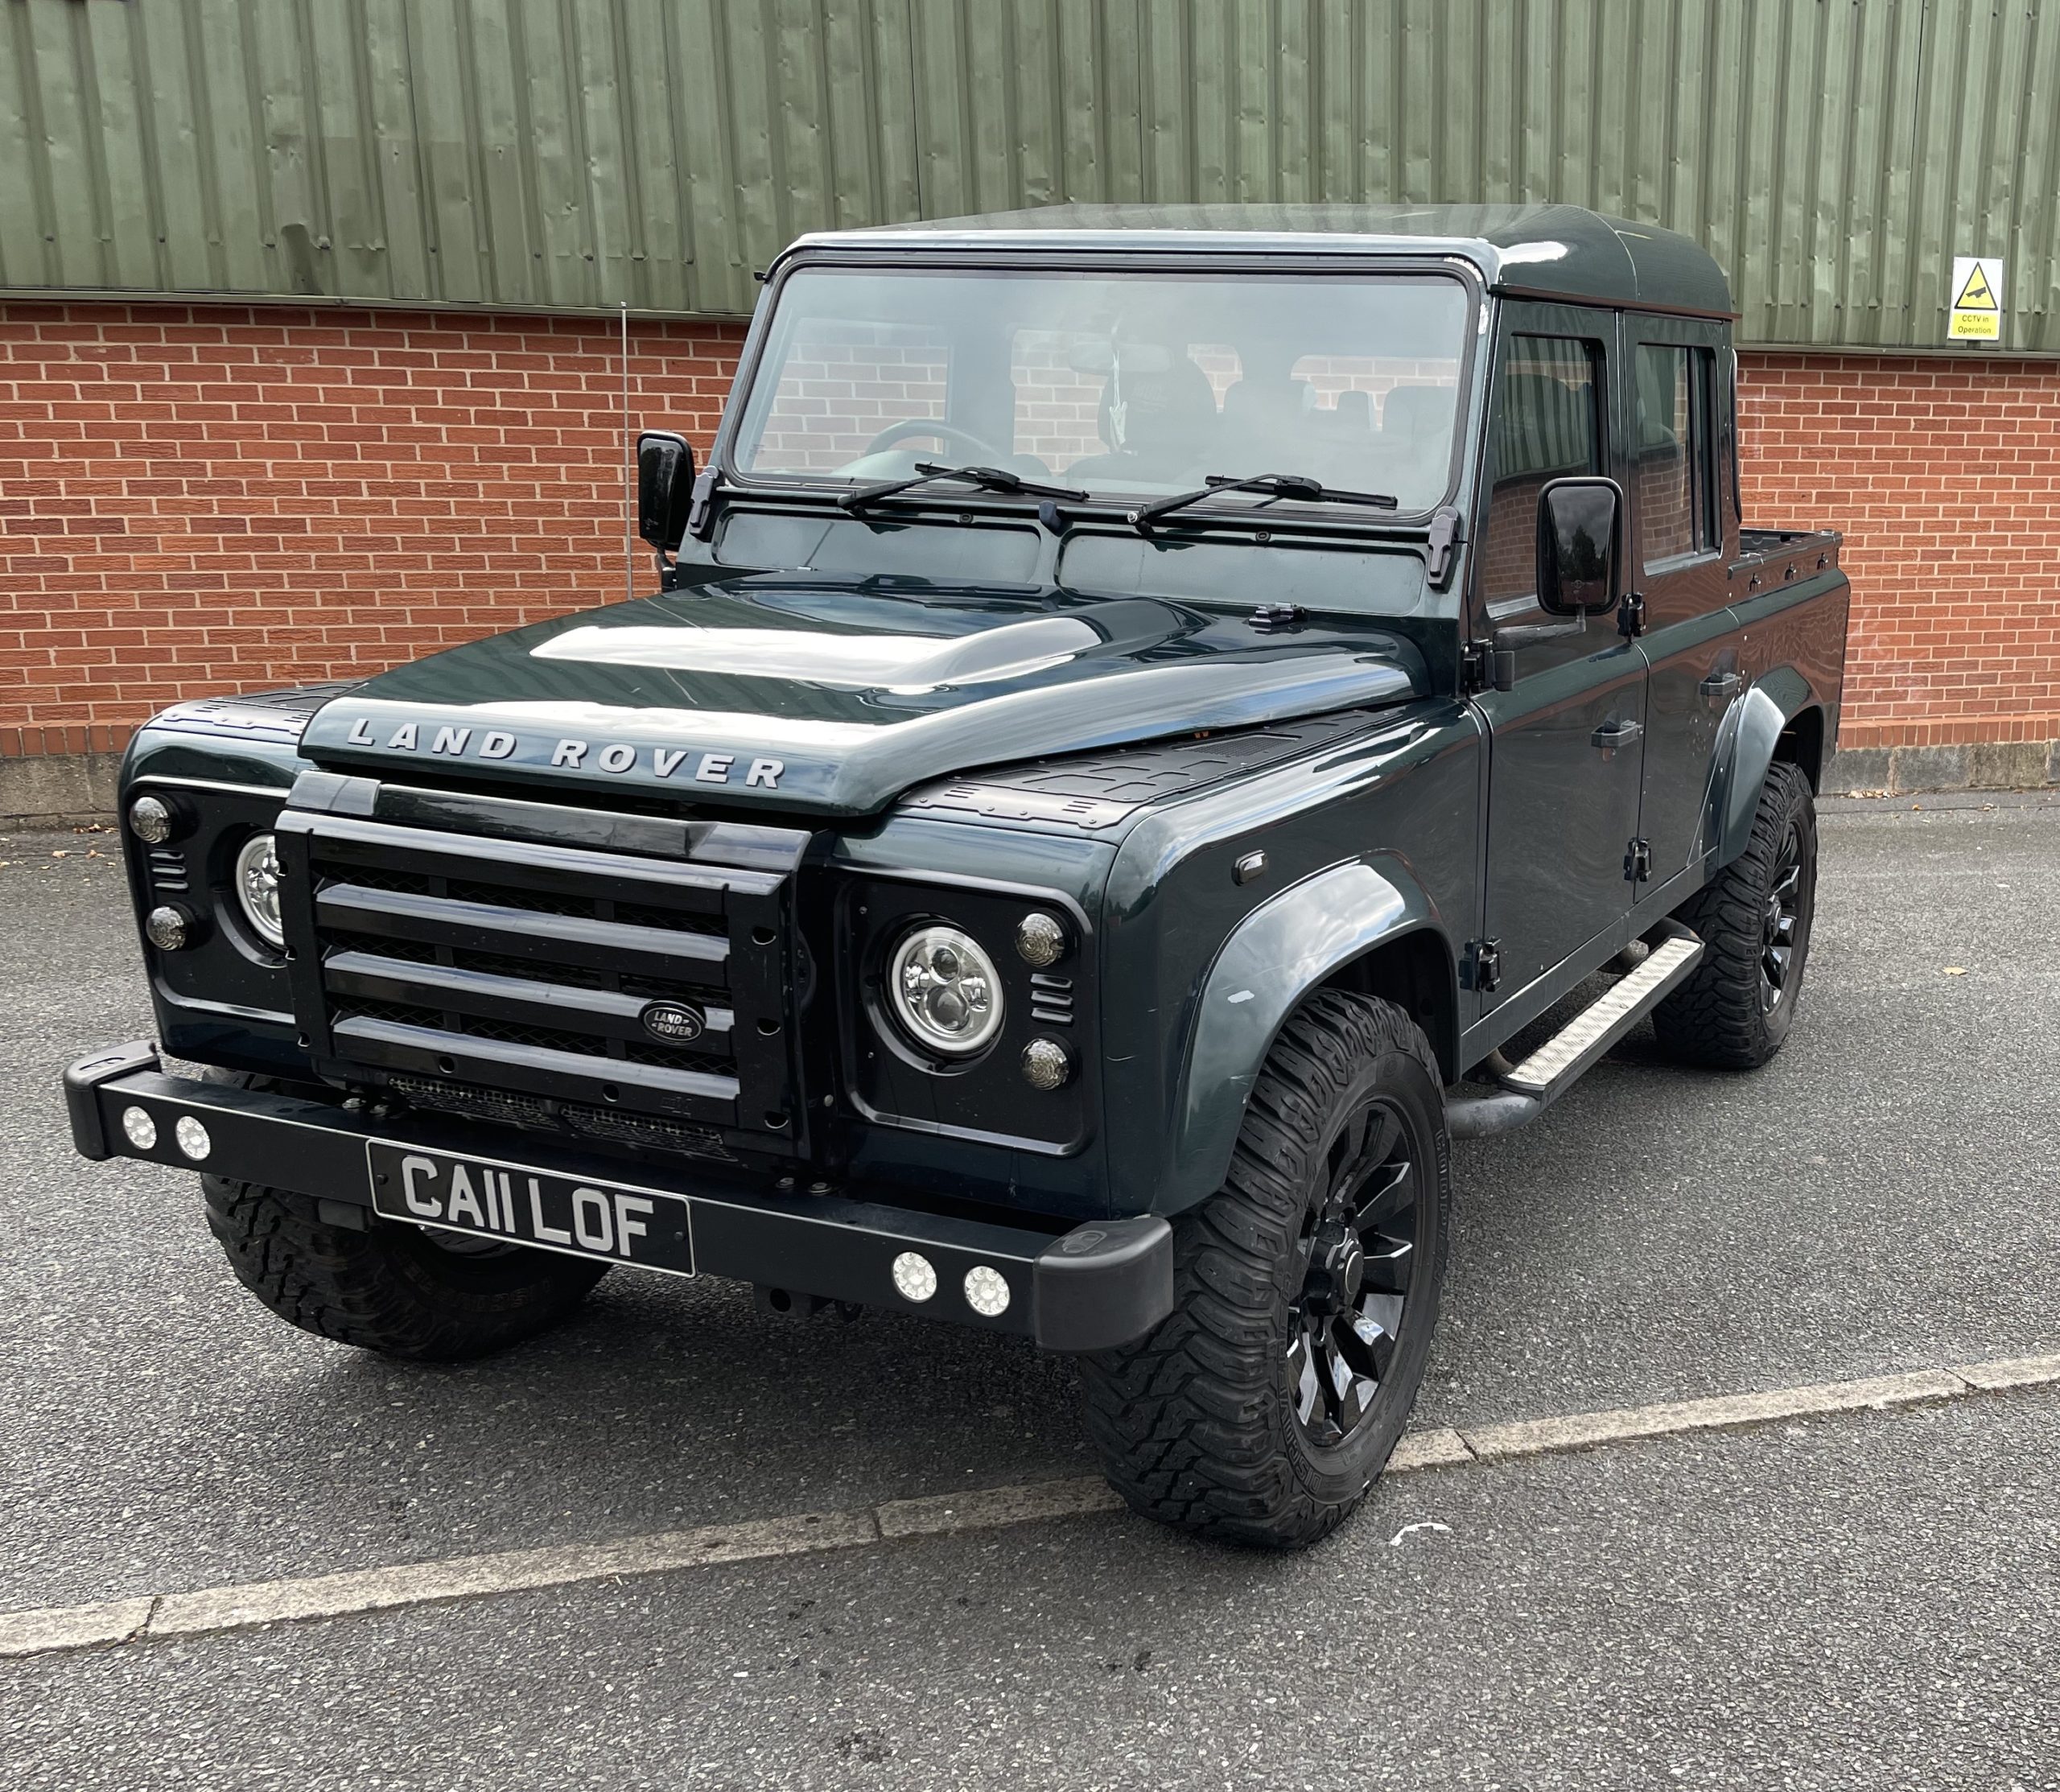
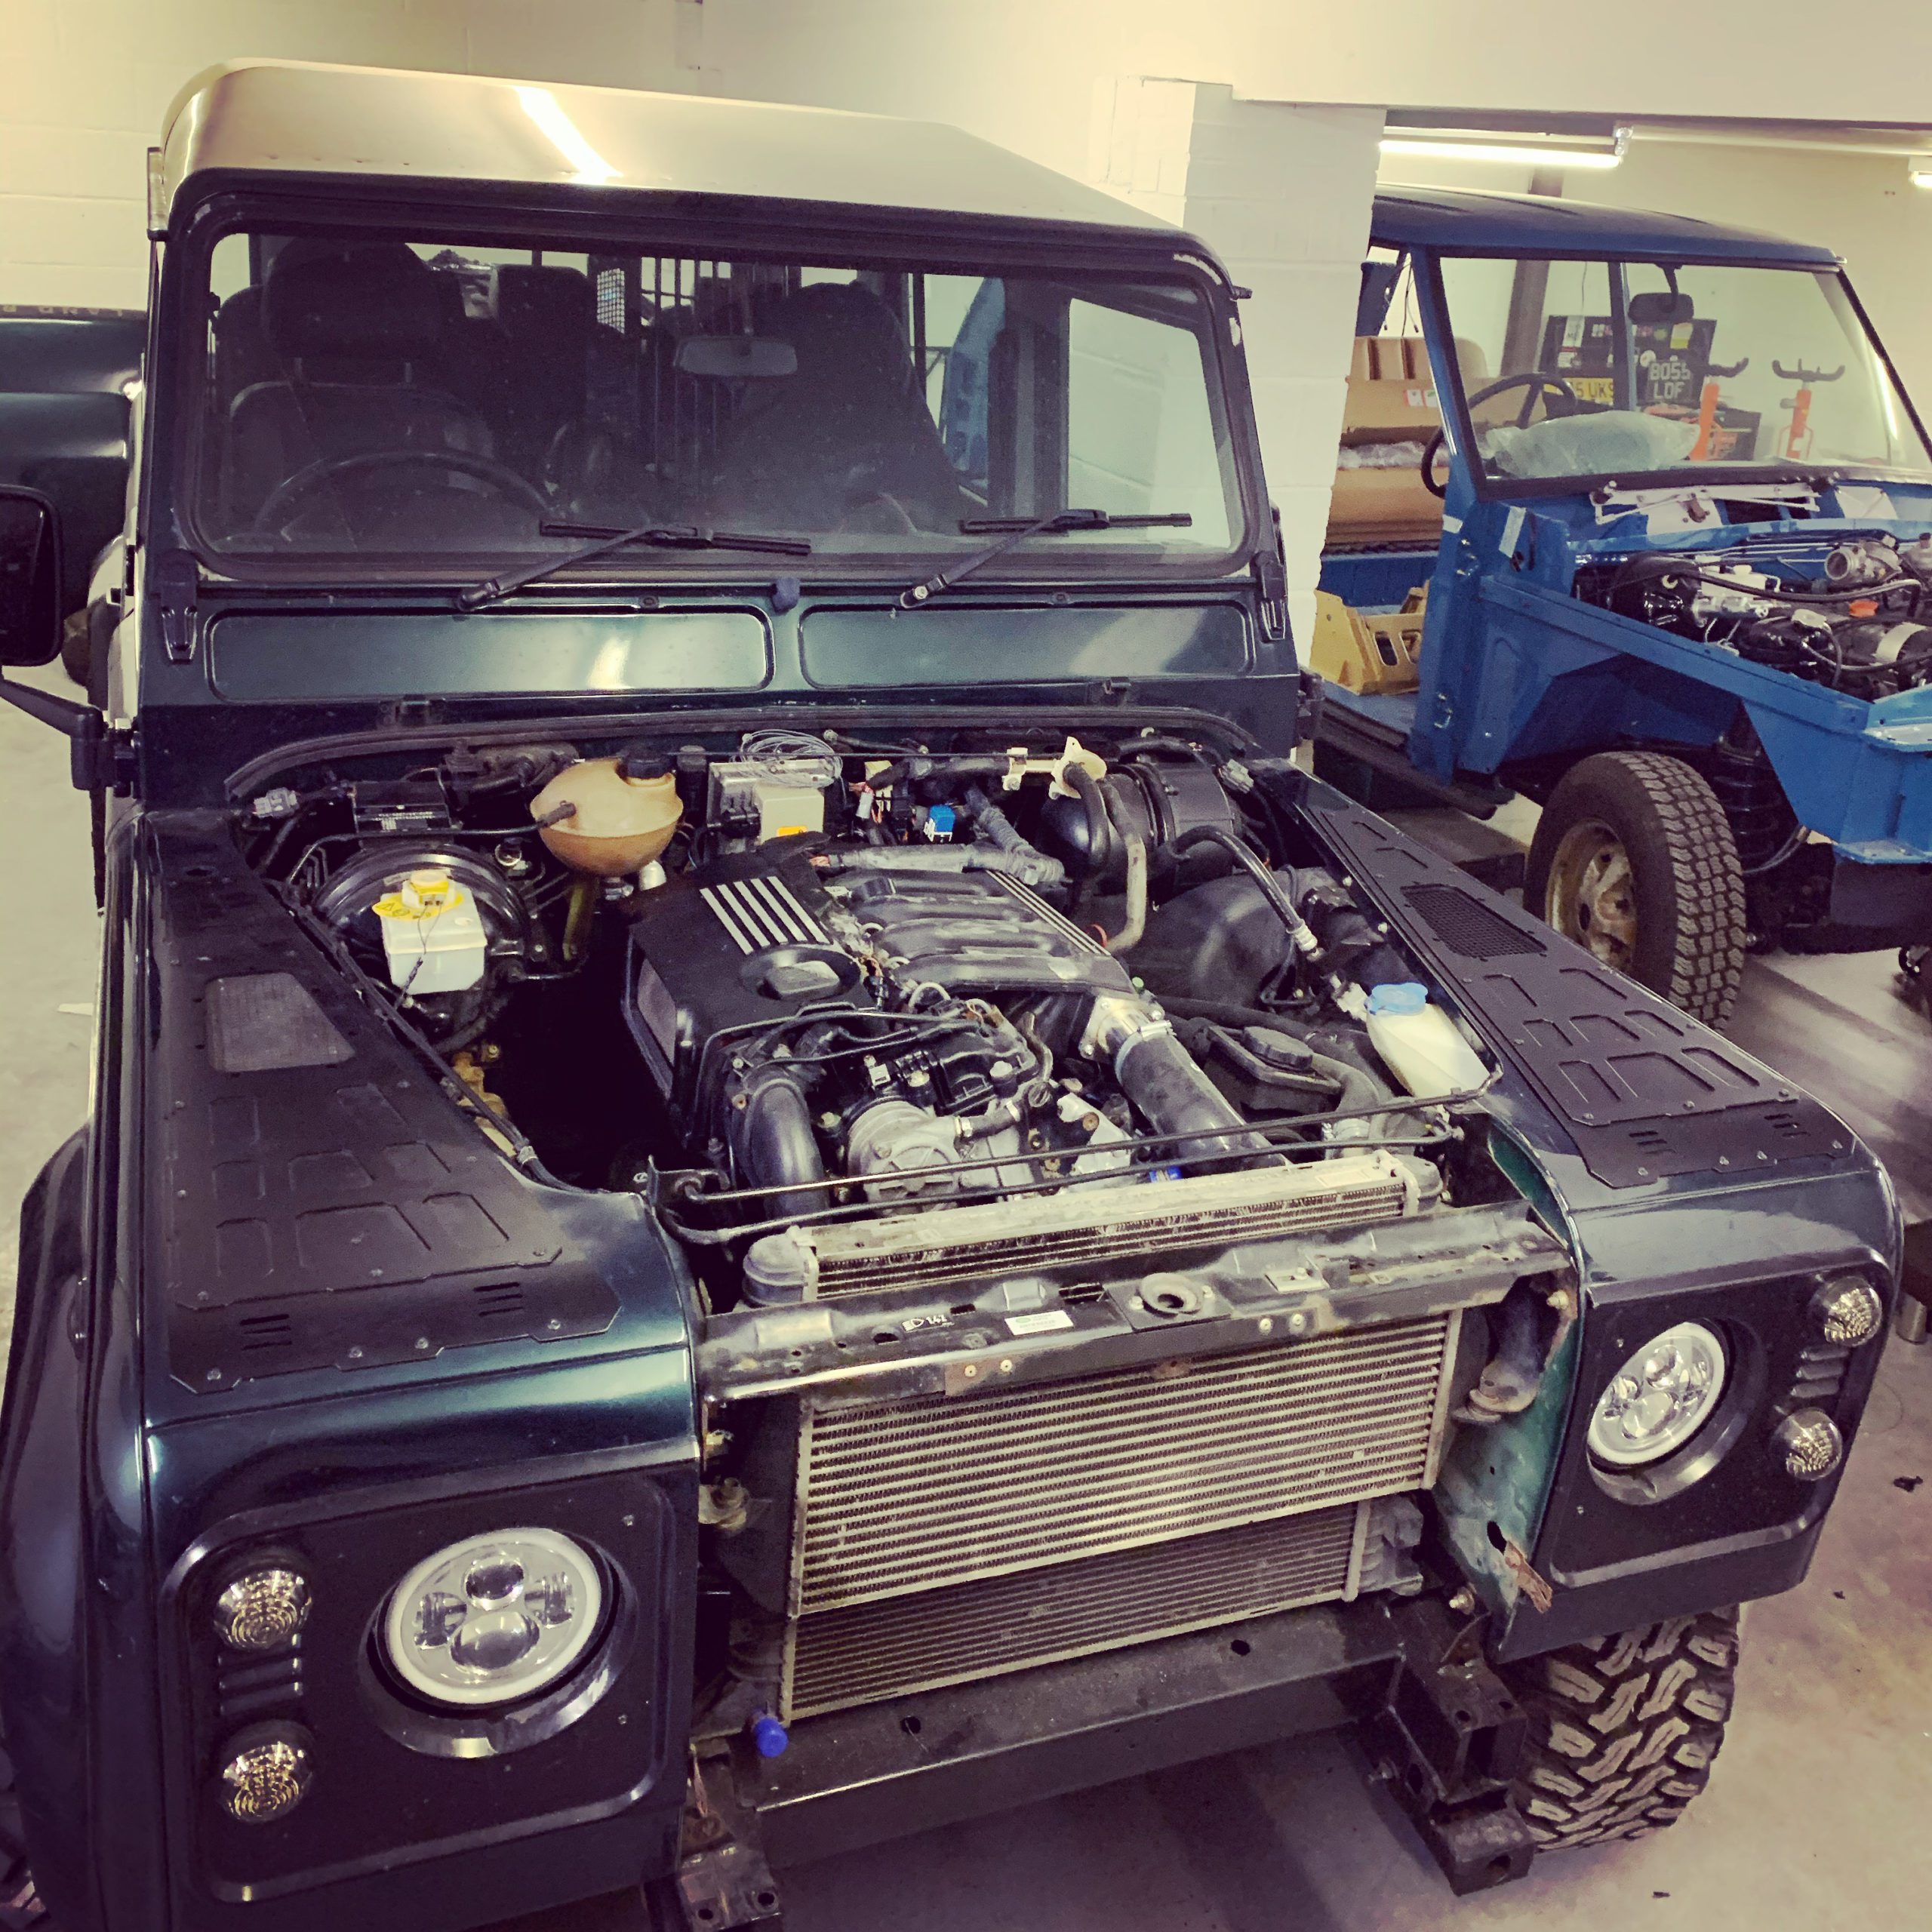
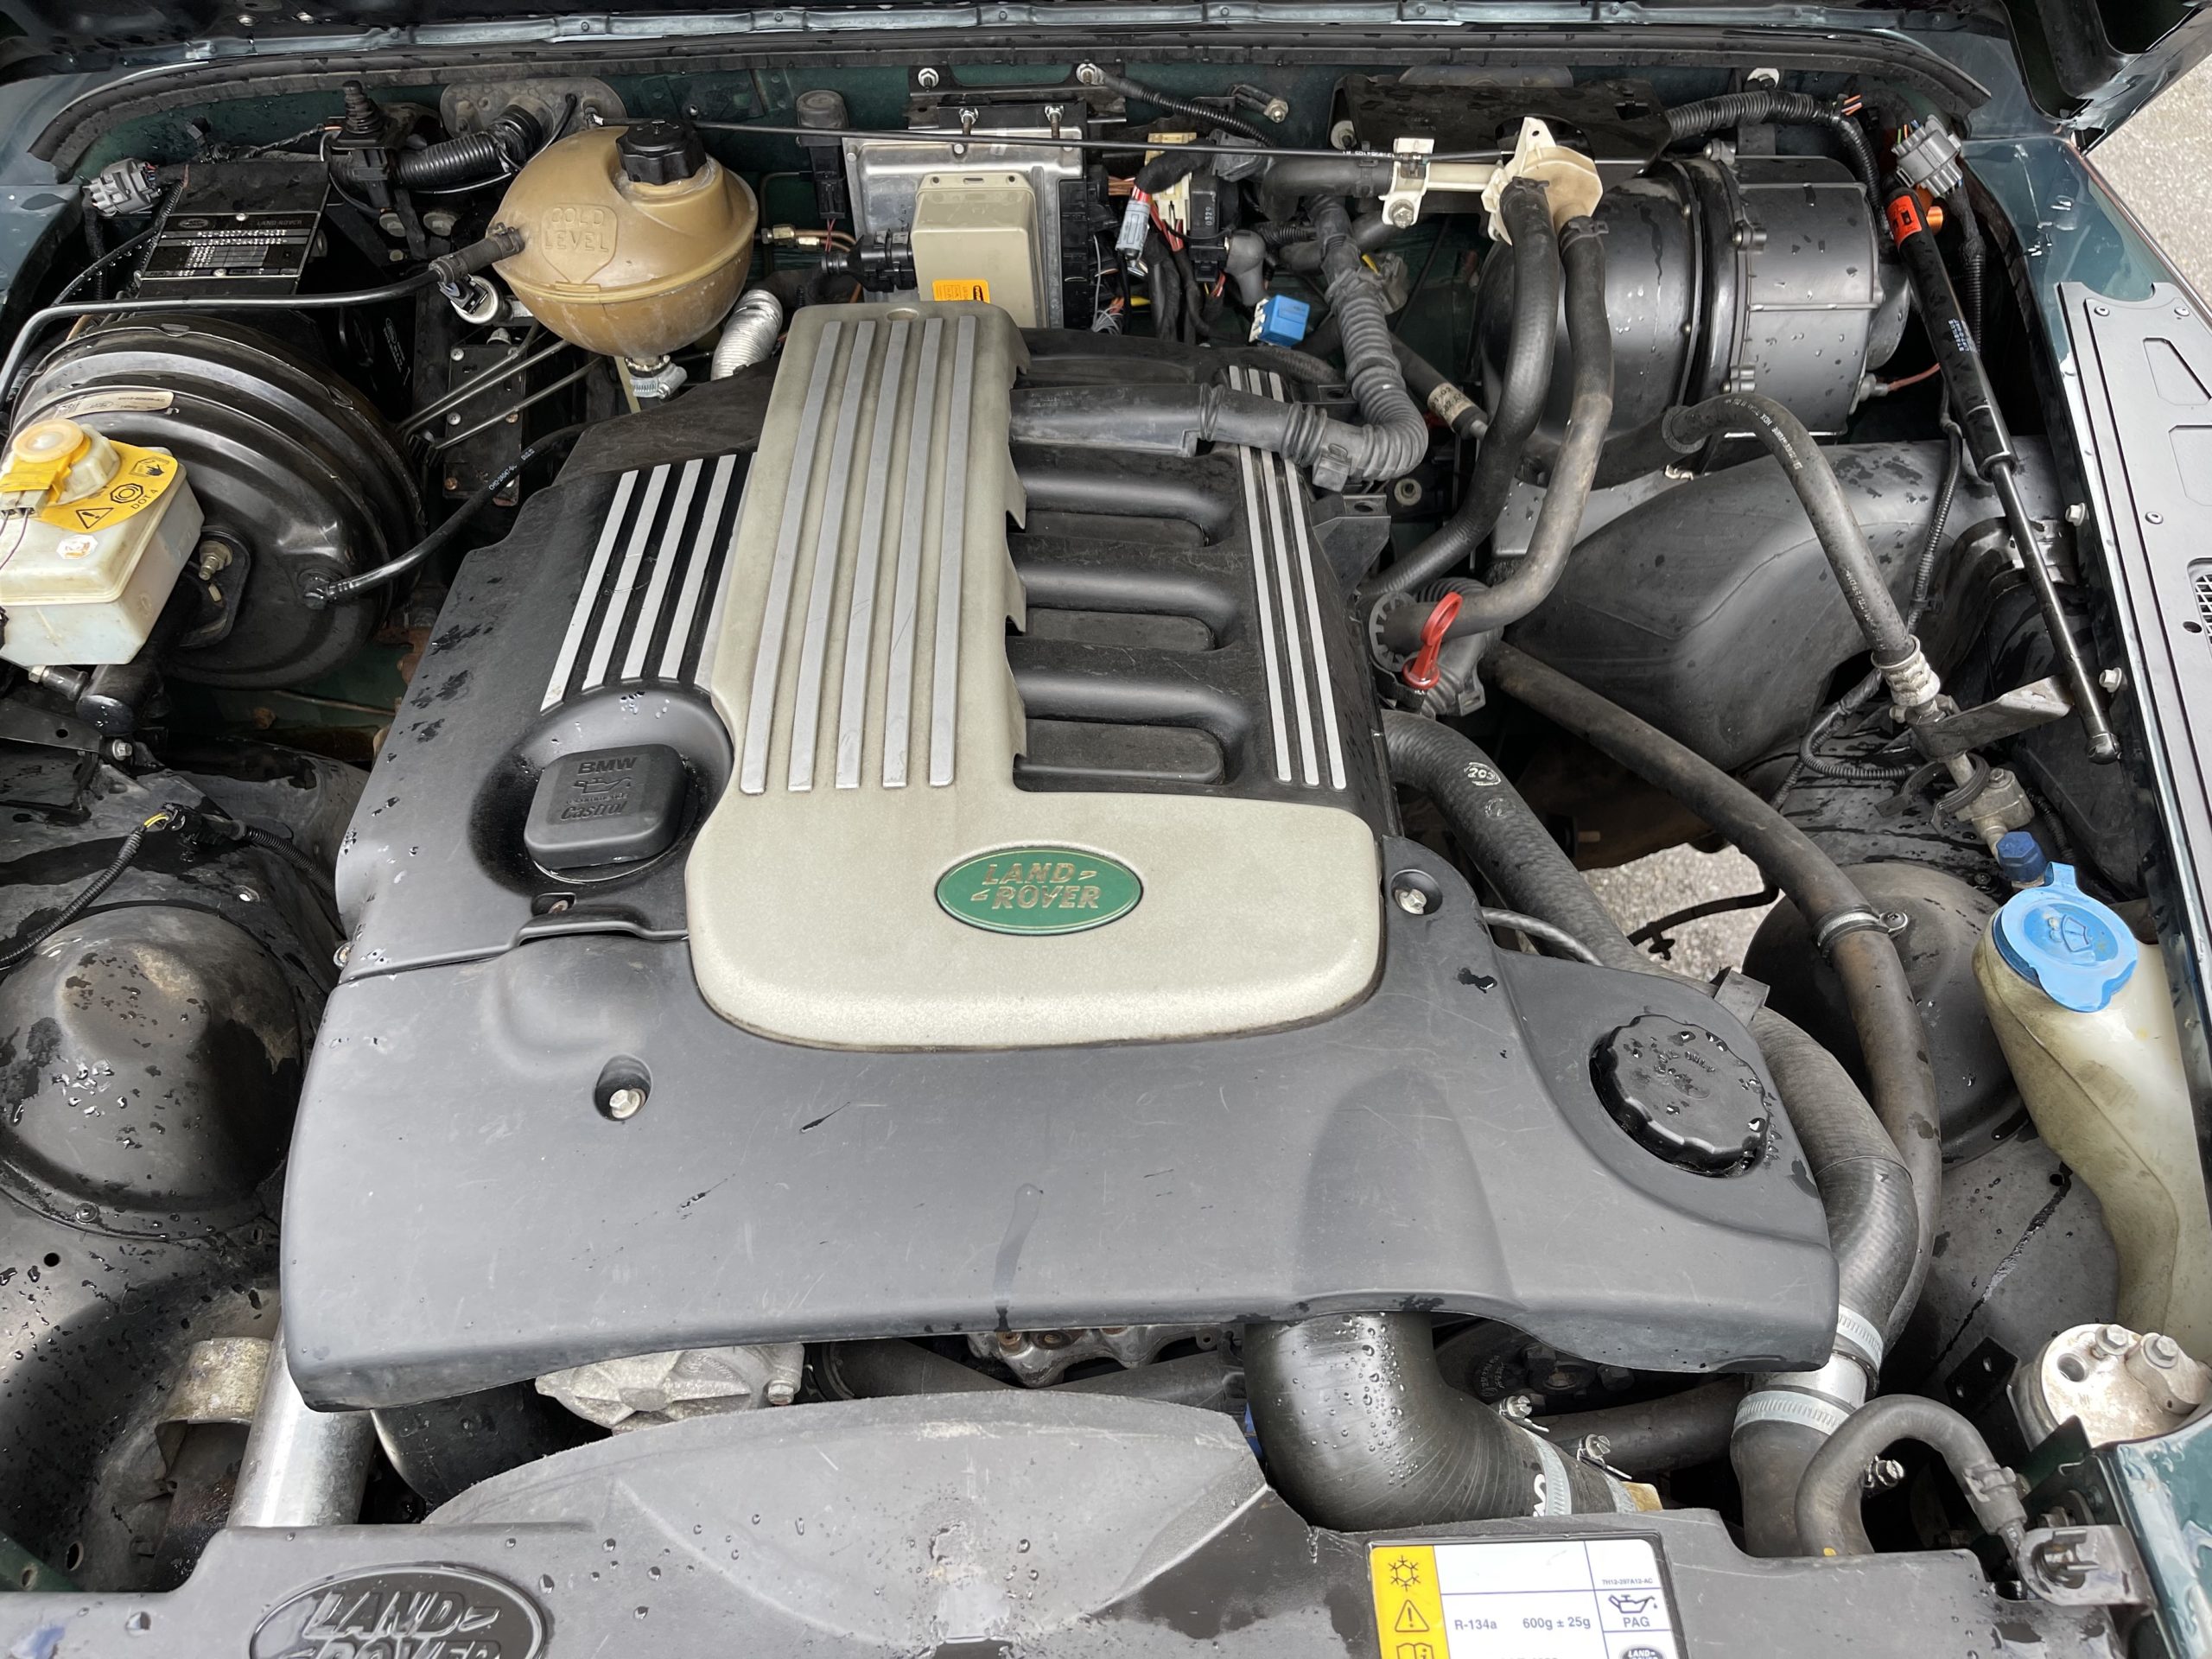
After 18 Months, project VooDoo is complete! This Defender 110 started out as a low mileage 2014 TDCI Utility, in factory Firenze Red. We took this vehicle and rebuilt it from the ground up, starting with a brand new Maer Galvanised chassis. The engine is a 5.2 Litre VooDoo V8 from a Shelby GT350. Producing over 500 brake horse power and a similar amount of torque- this engine is particularly special as it has a flat plane crank shaft, but an American firing order. In reality this means a loud thundering burble at tick over, but when higher in the rev range it sounds like an Italian super car! The Engine came from a fire damaged GT350 with only 600 miles on, we had it air freighted from the USA along with the gearbox.
After building the last ‘DefStang’ With a manual transmission, we decided with this 110 to try an automatic- using the Ford 6R80 gearbox coupled to a Stage 2 performance transfer box built by Winchester gears, UK.
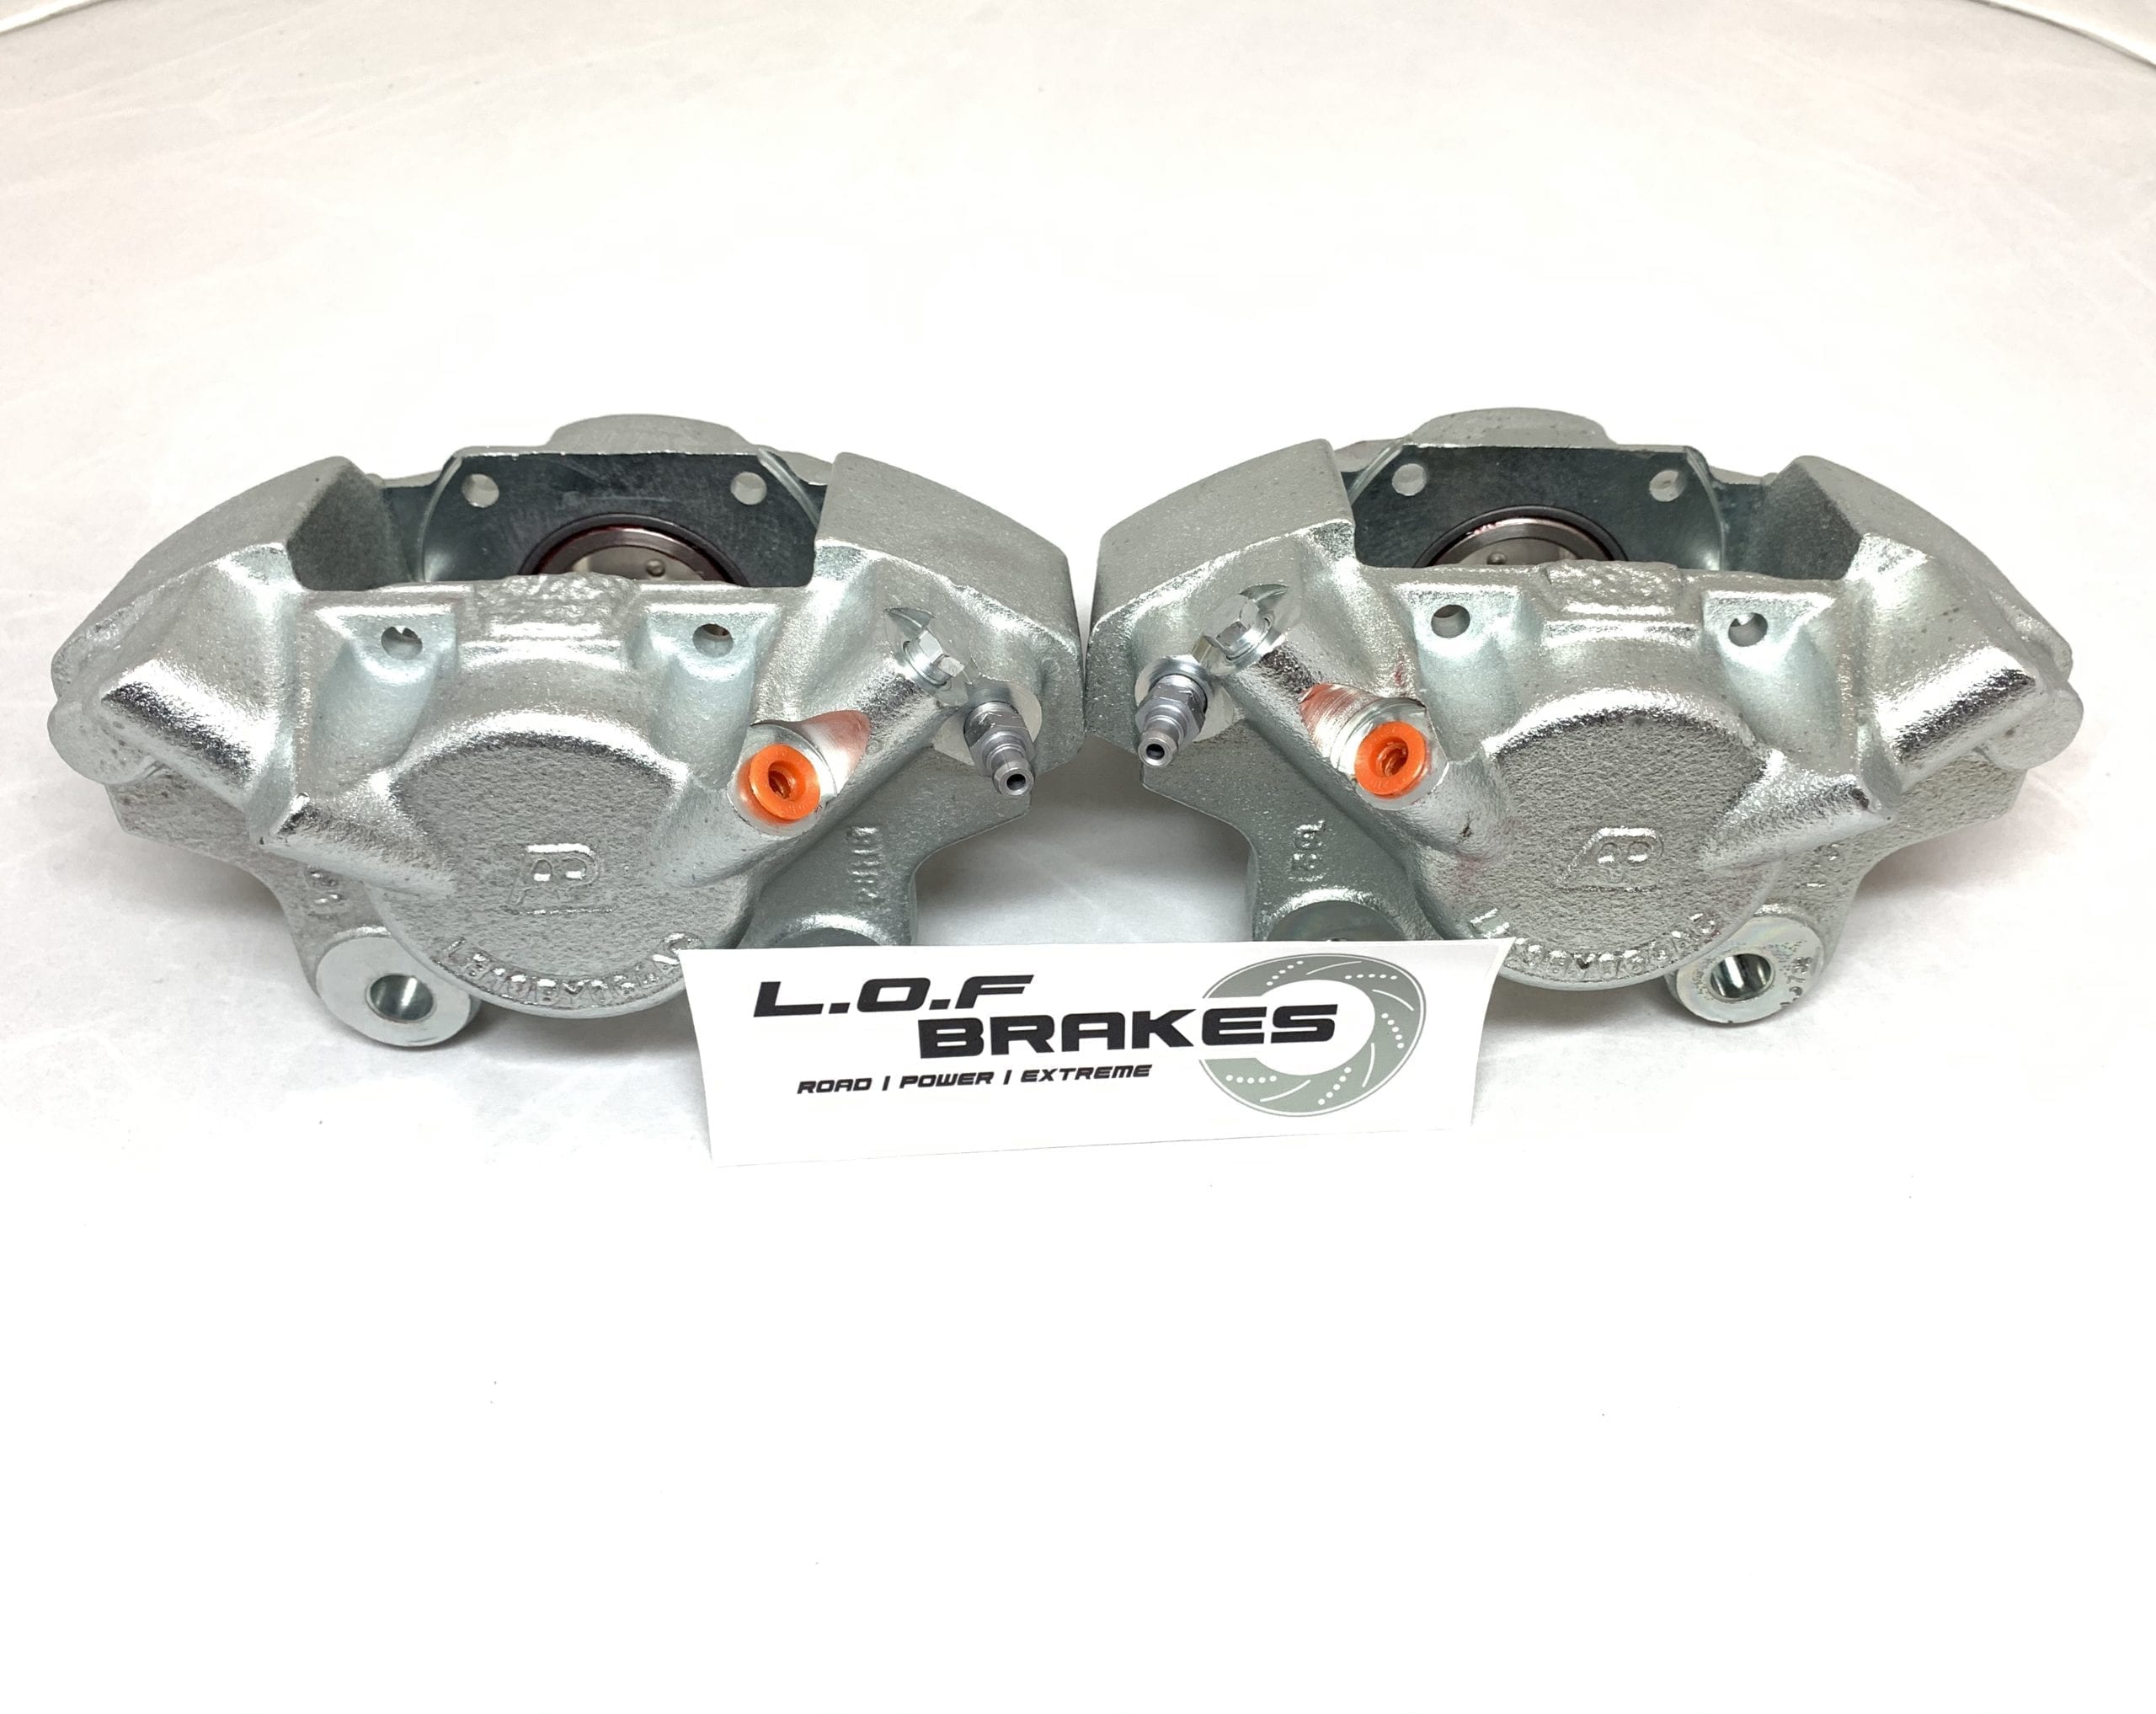
Alongside the new Engine and Gearbox, we fully reconditioned the axles, complete with LSD Differentials from Winchester gears. The Next concern was stopping the almighty V8, we installed a set of the LOF 18″ AP Racing brakes as sold by LOF!
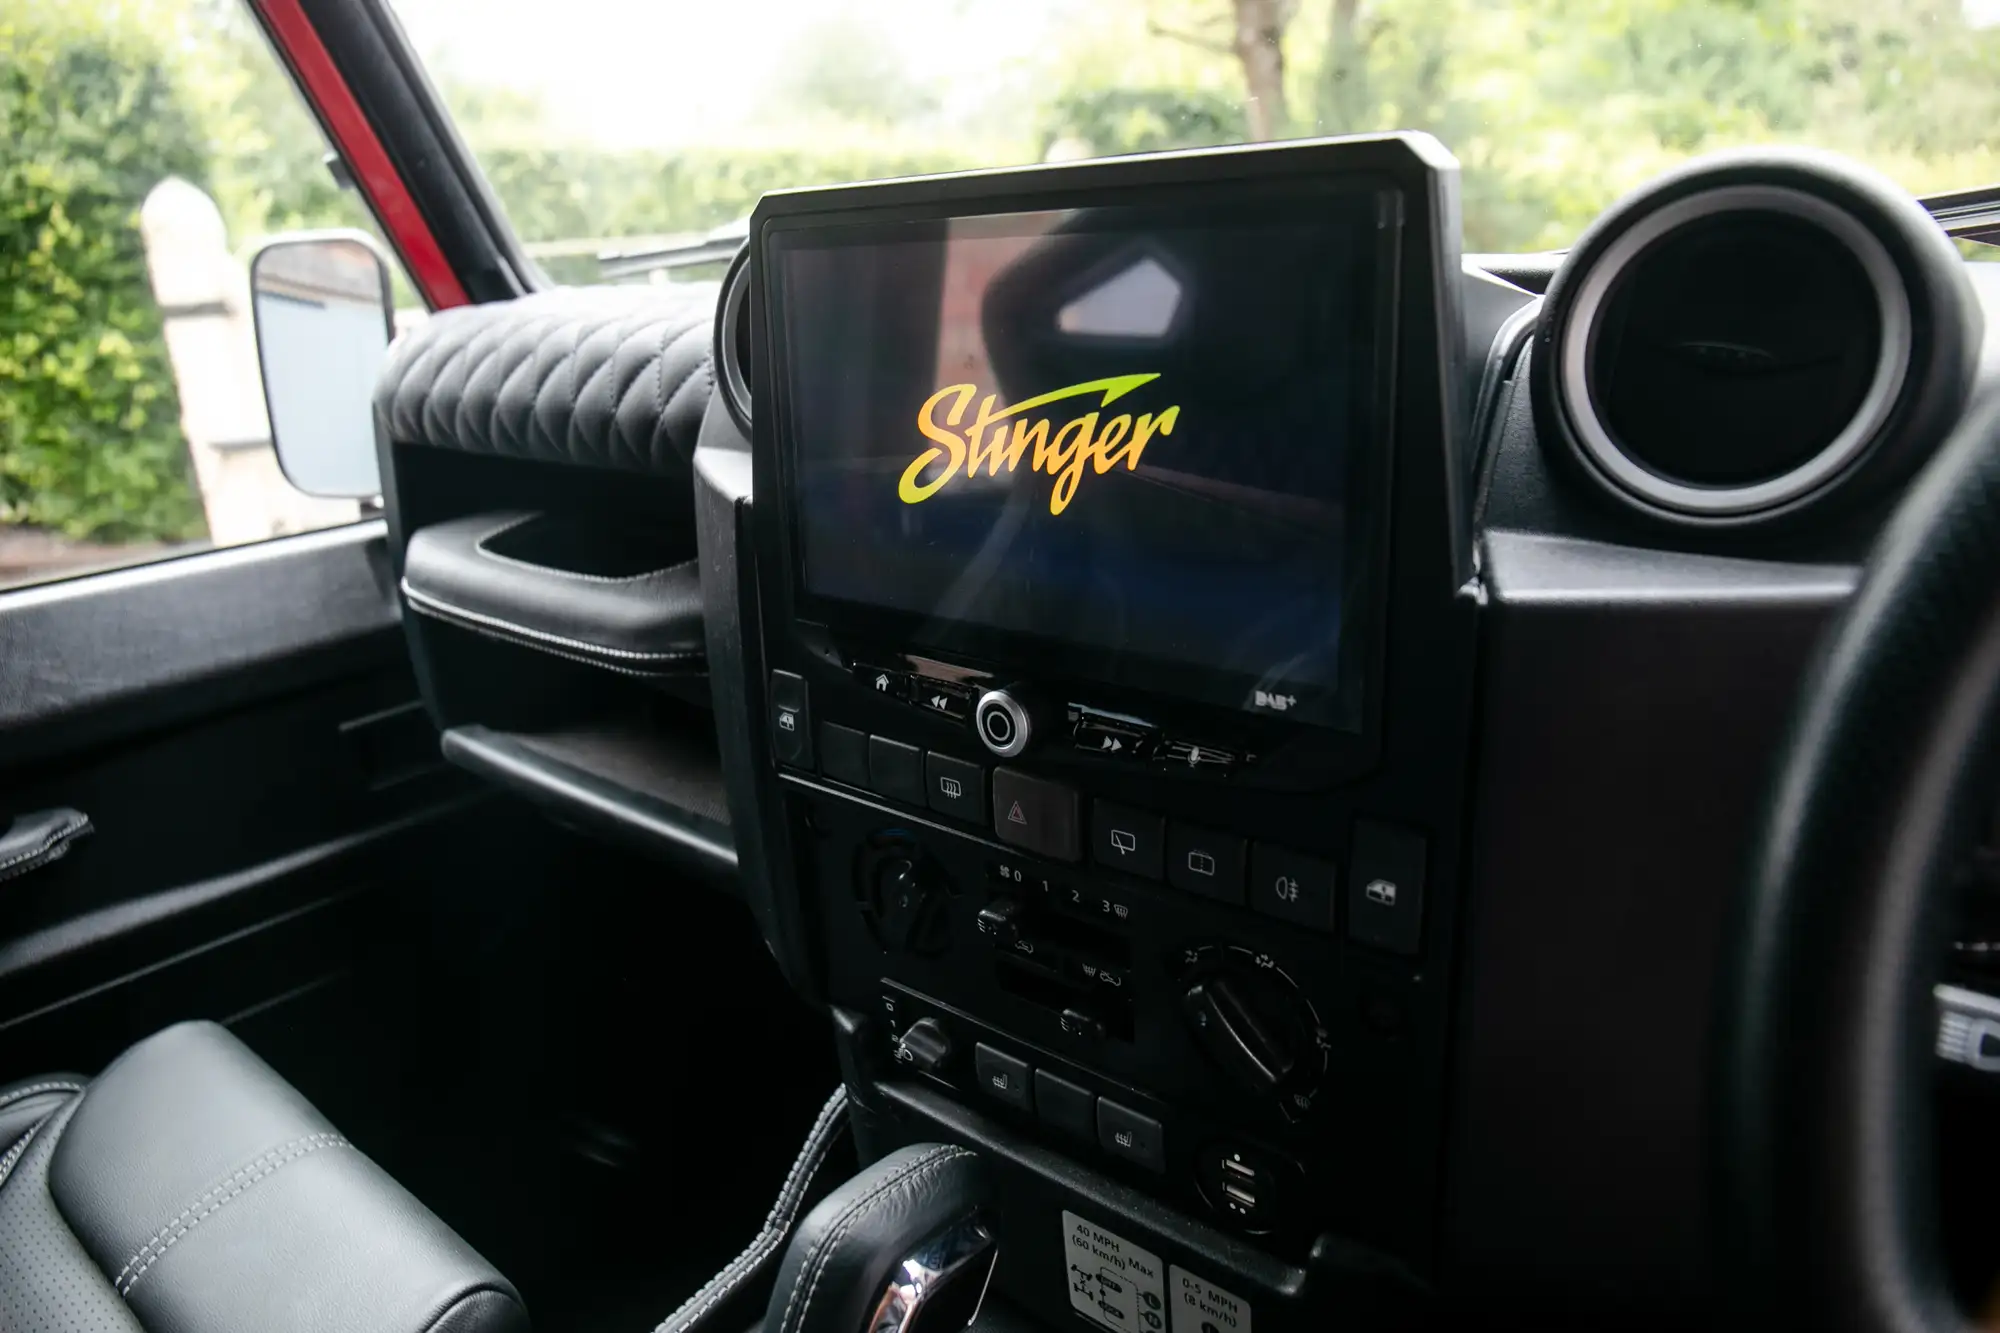
The Base vehicle was originally sourced from Lucari Solutions in Rye, Sussex. The Defender had already been upgraded with the 2 up’ rear executive seating and cubby box layout, as well as the alcantara head lining. We commissioned Lucari to make us an automatic centre console & Cubby box to suit the Ford F150 gear shifter. We also installed the new Stinger infotainment system!
Throughout this project, we worked with Dan Thomas at DT Engine solutions- who made us a 3″ Stainless steel exhaust system and also piped up our automatic gearbox cooler amongst other things!
The Dash controller and electrics was made by Martin at Futuranet, this box makes installation simple- plug and play from the Ford Perfomance ECU to the Land Rover dashboard + Loom!
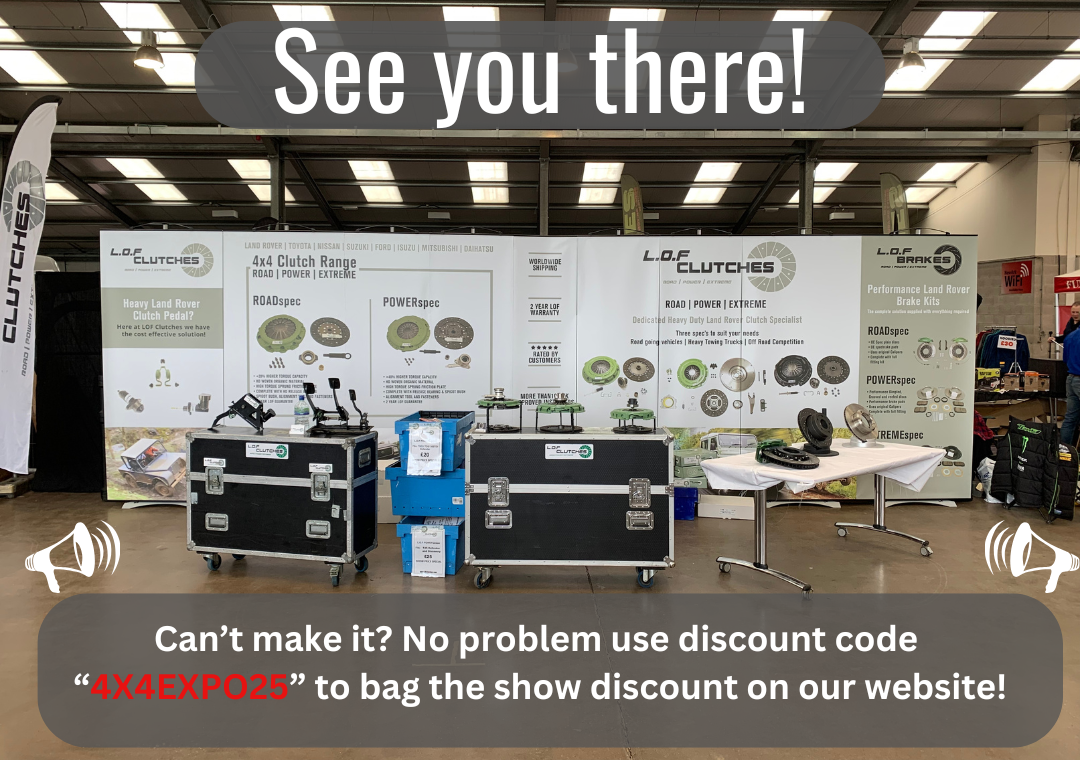
We will be attending the 2025 4×4 Expo show in Staffordshire with all of our Land Rover and 4×4 clutches+ Brakes on Display. Come along and have a day out surrounded by all makes and models of 4×4 vehicles!
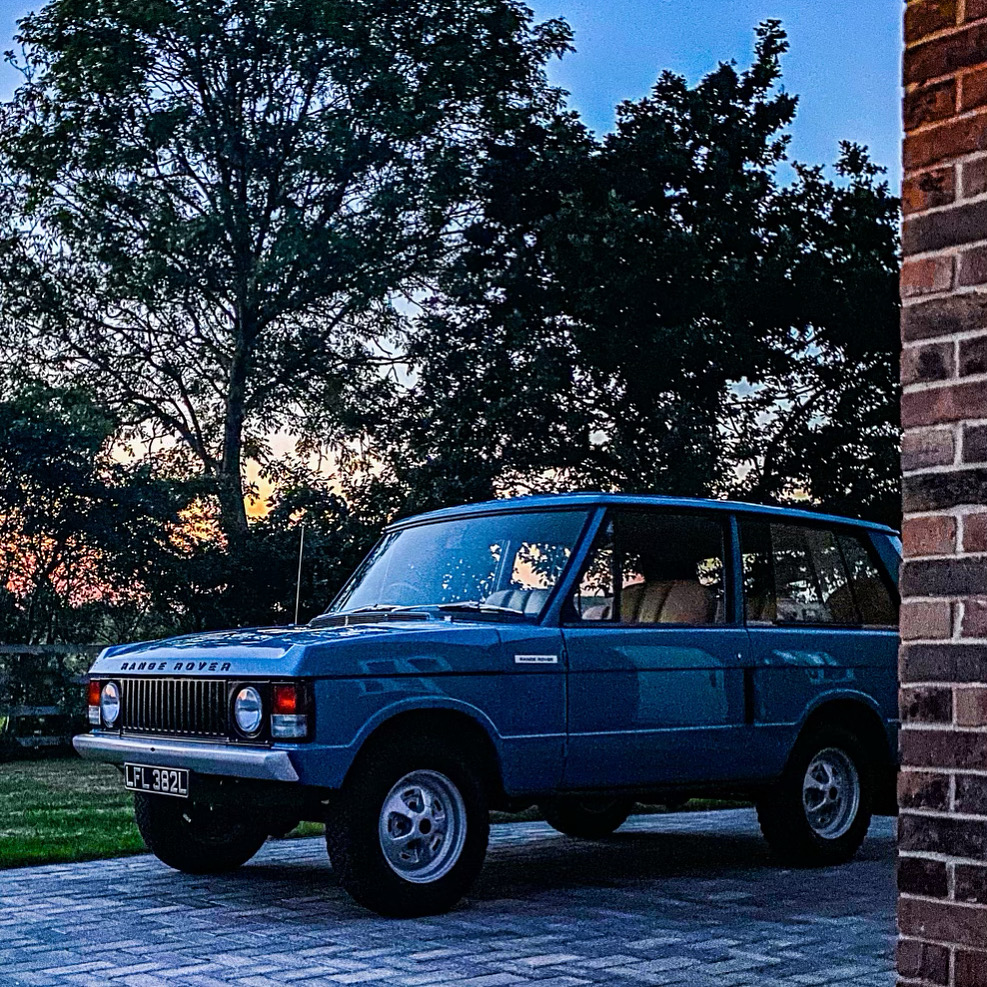
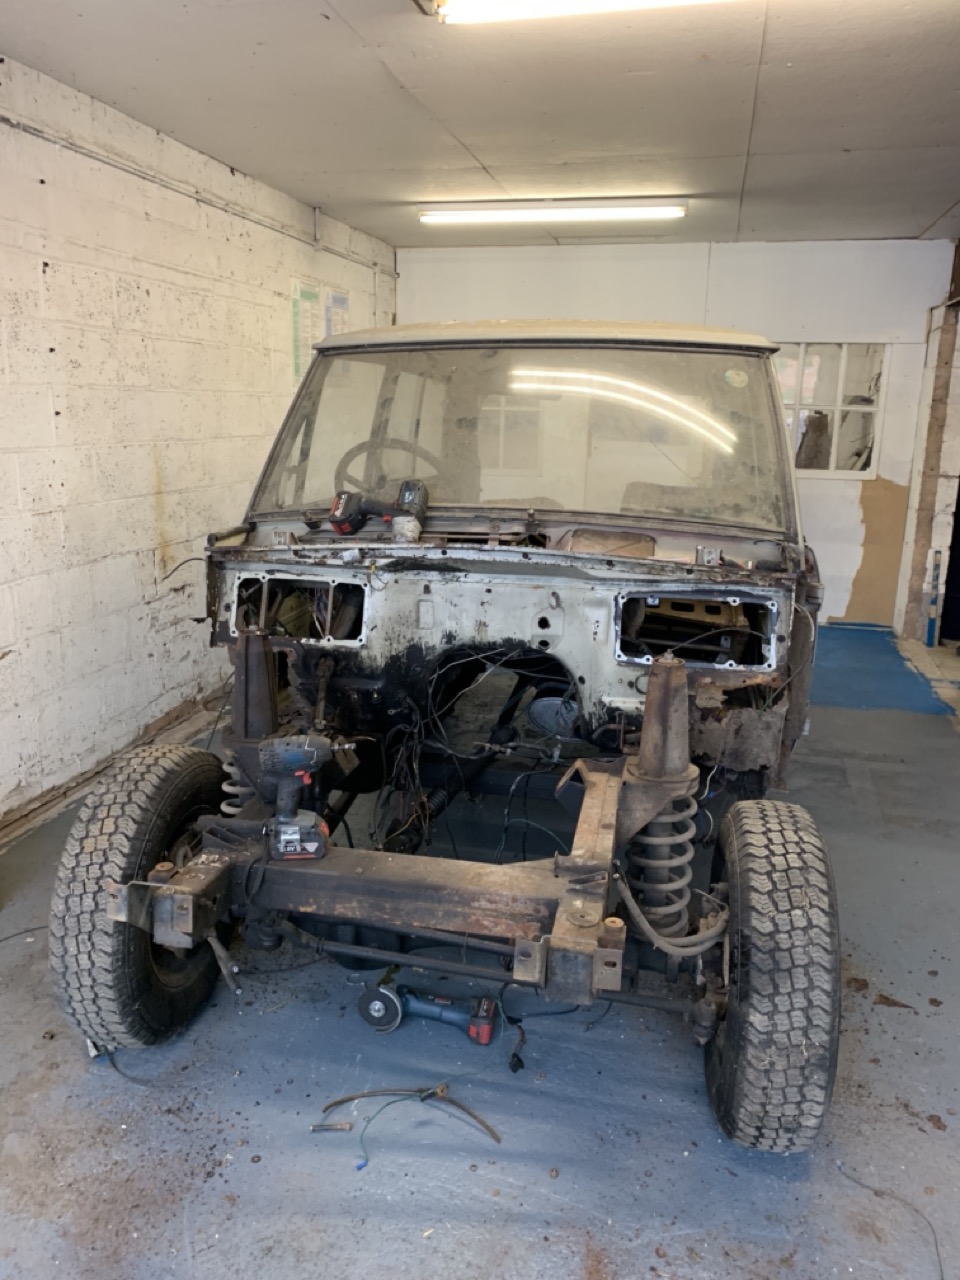
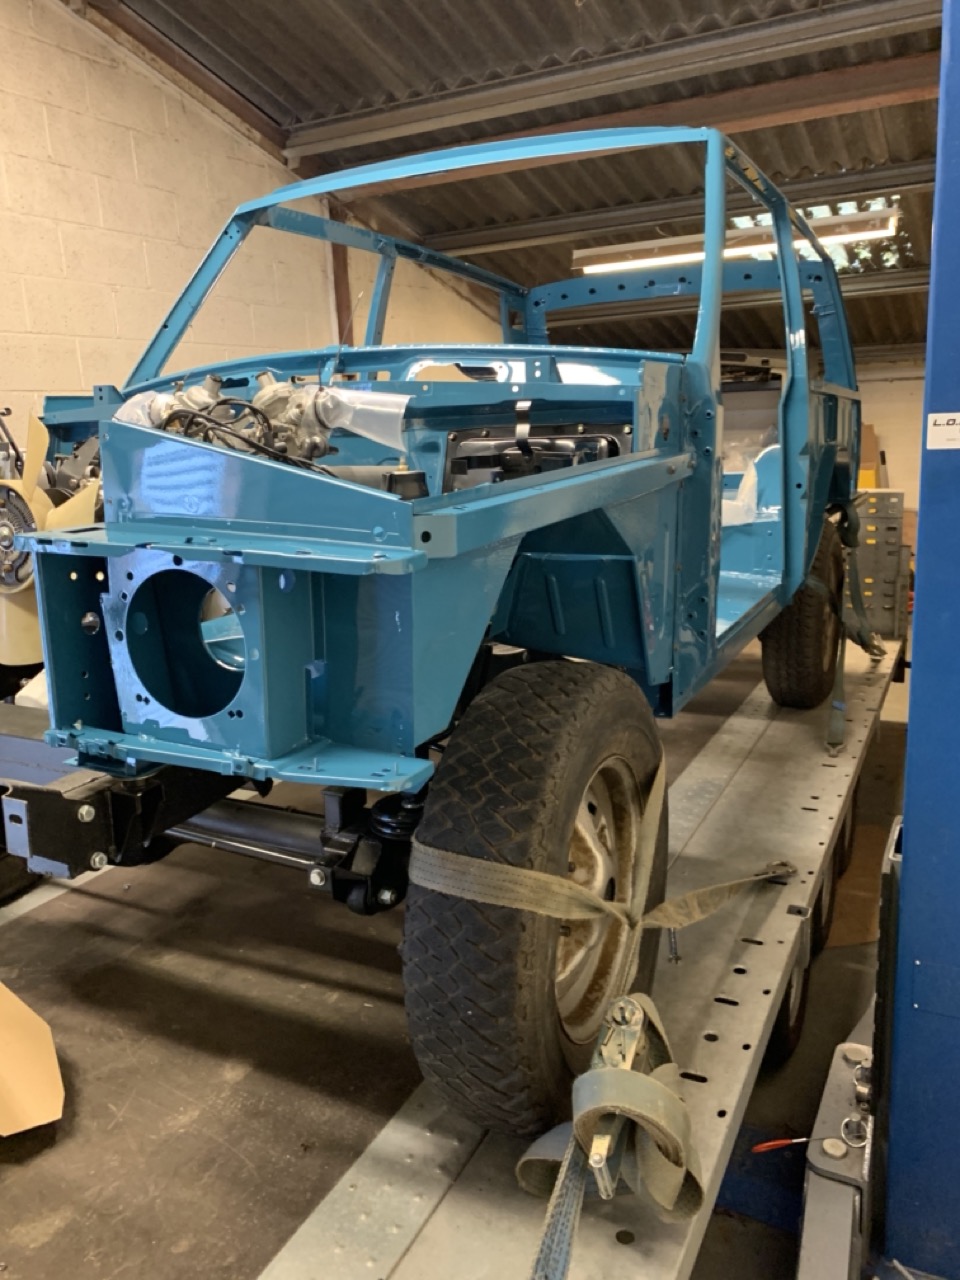
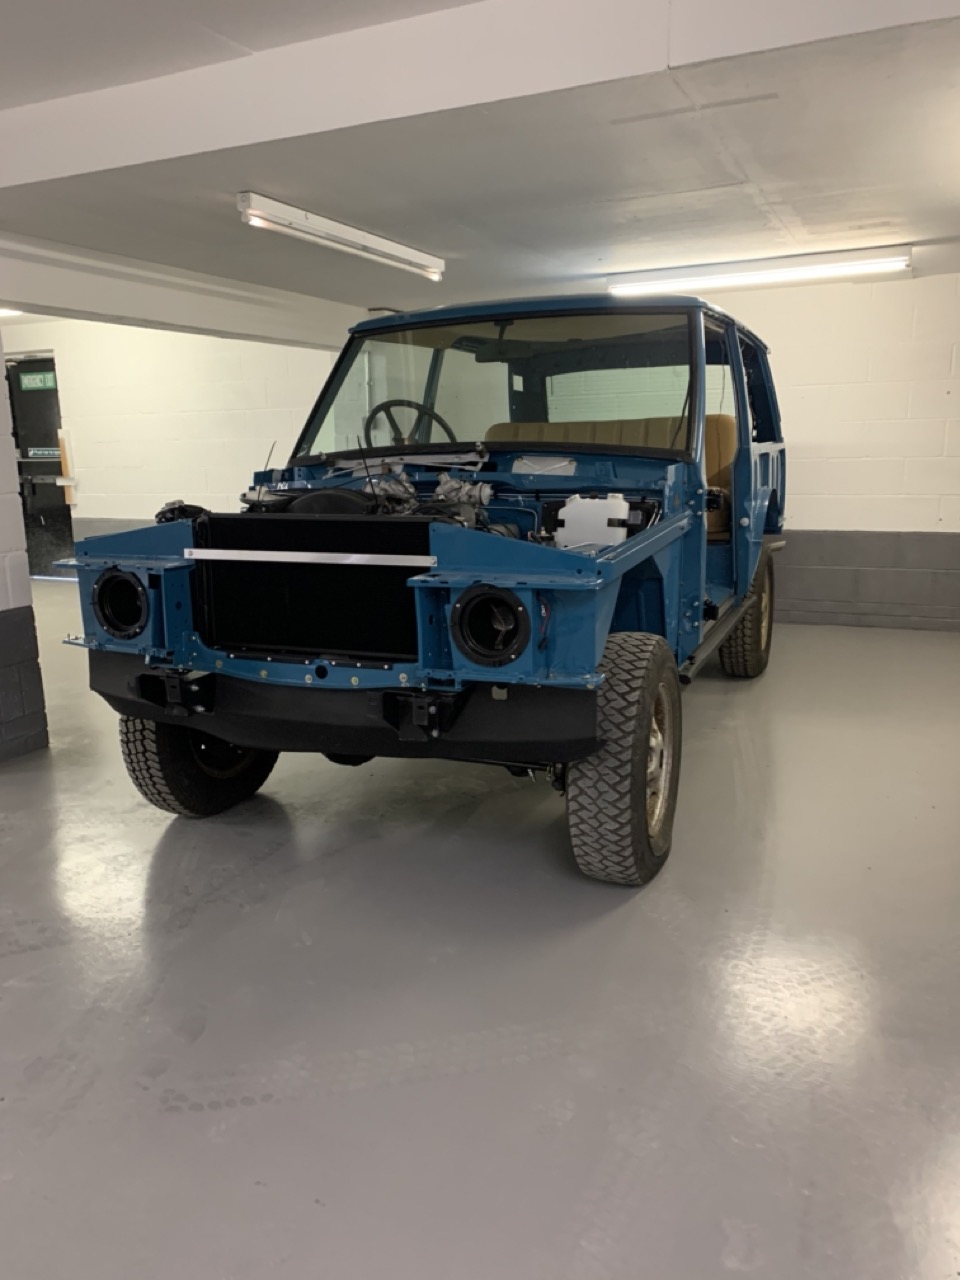
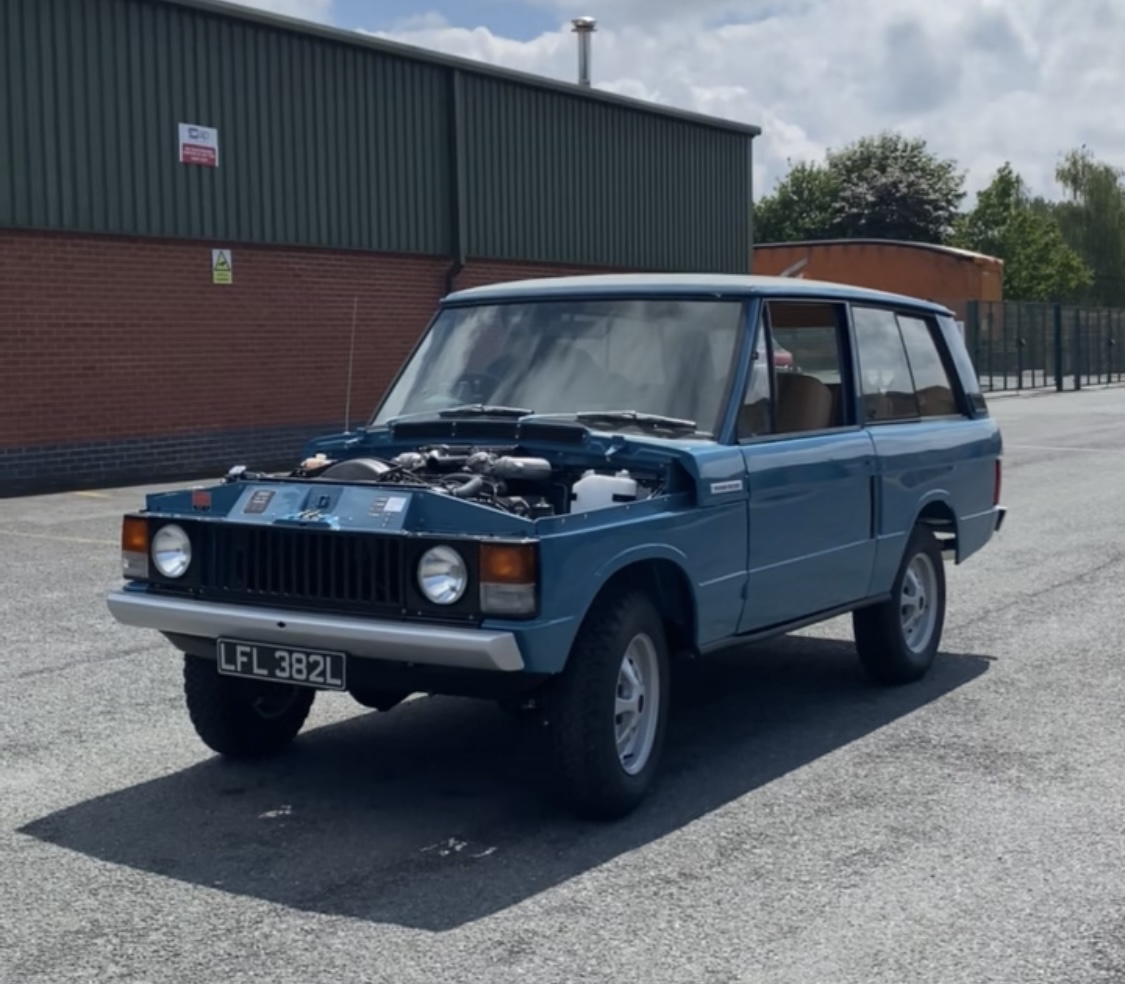
A project we finished a while ago (2021) and thought we should make a post about, a 1972 Suffix B Range Rover classic 2 Door. When we adopted this back in 2015, it was the rather boring Sahara Dust grey colour and had been retro fitted with a Perkins Diesel engine. It was always a dream to build a Tuscan blue 2 door and this made a great donor vehicle!
The Chassis and drive train was all in good condition on the whole, with the chassis only needing a few bits removing and re-welding in place,
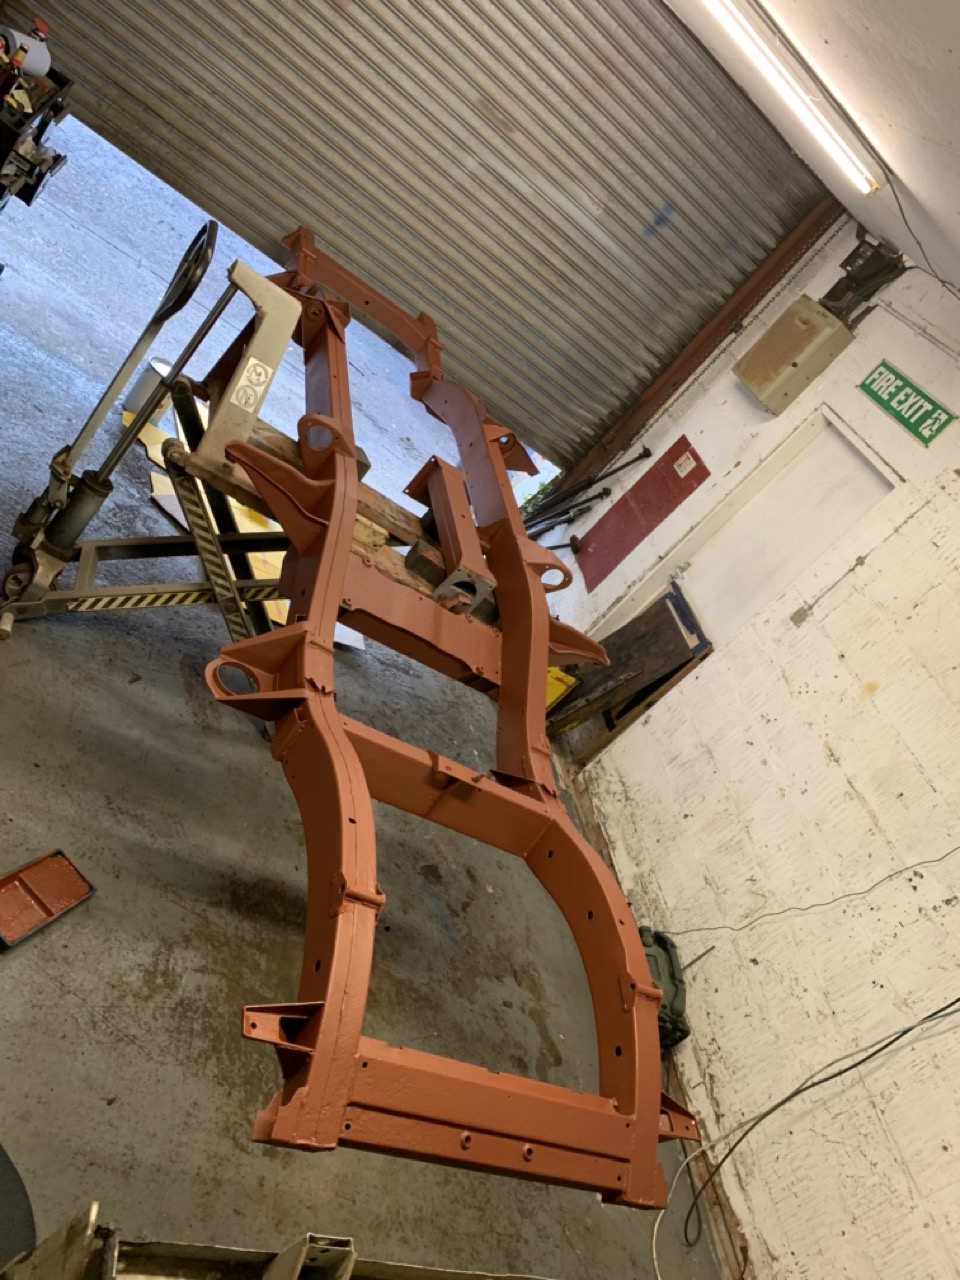
We decided due to the great condition of the chassis not to galvanise it but instead sandblast + Red oxide primer and Buzzweld it black.
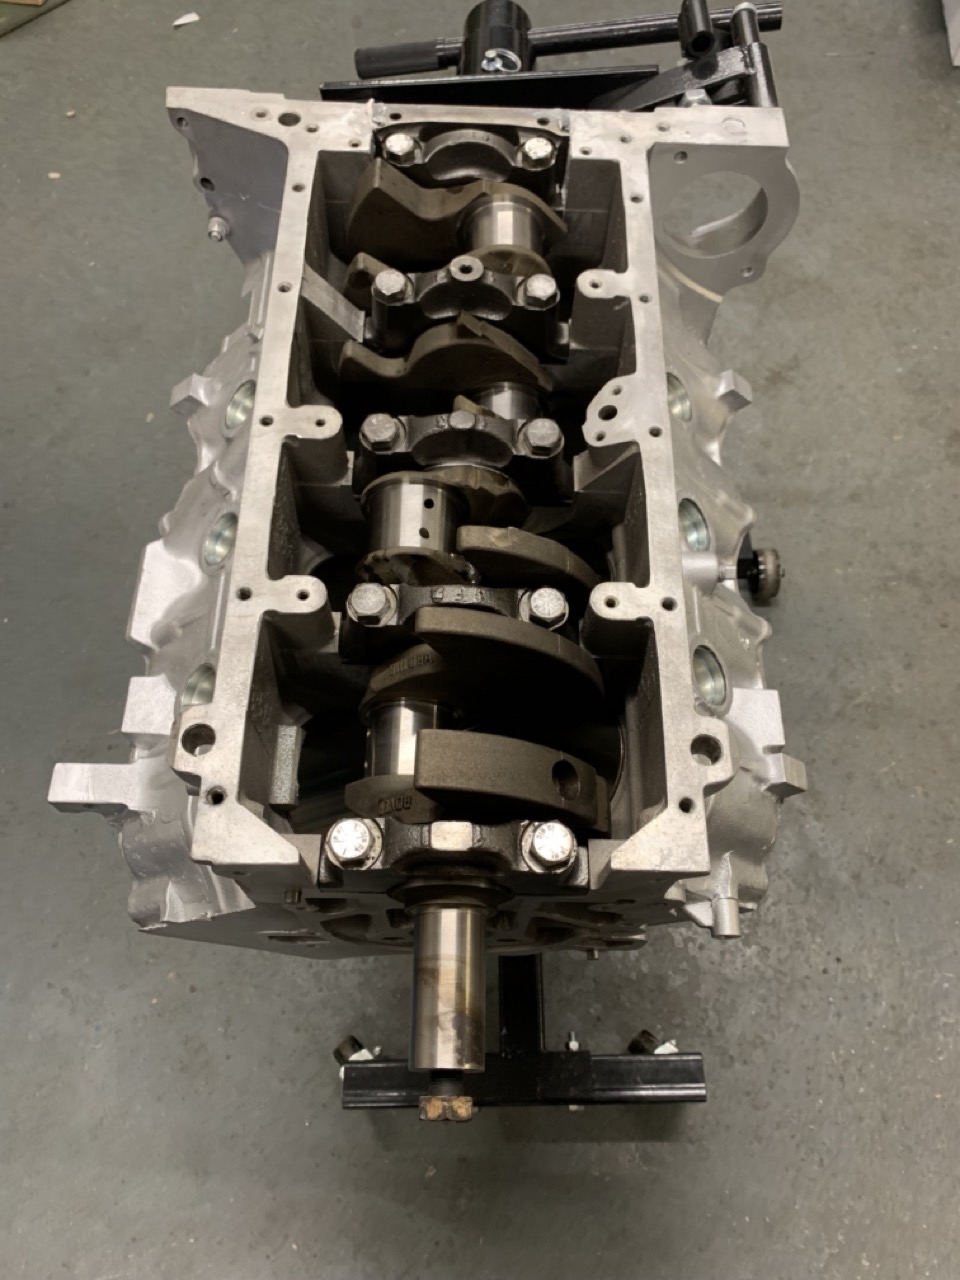
Next up was the V8, we managed to source a Rover 3.5V8 from a suffix A Range Rover which was in good condition, we sent the block, heads and crank to a Rover engine specialist locally.
Next up the engine was mated with the Chassis + Reconditioned axles and reconditioned LT95 Gearbox with thanks to Winchester gears
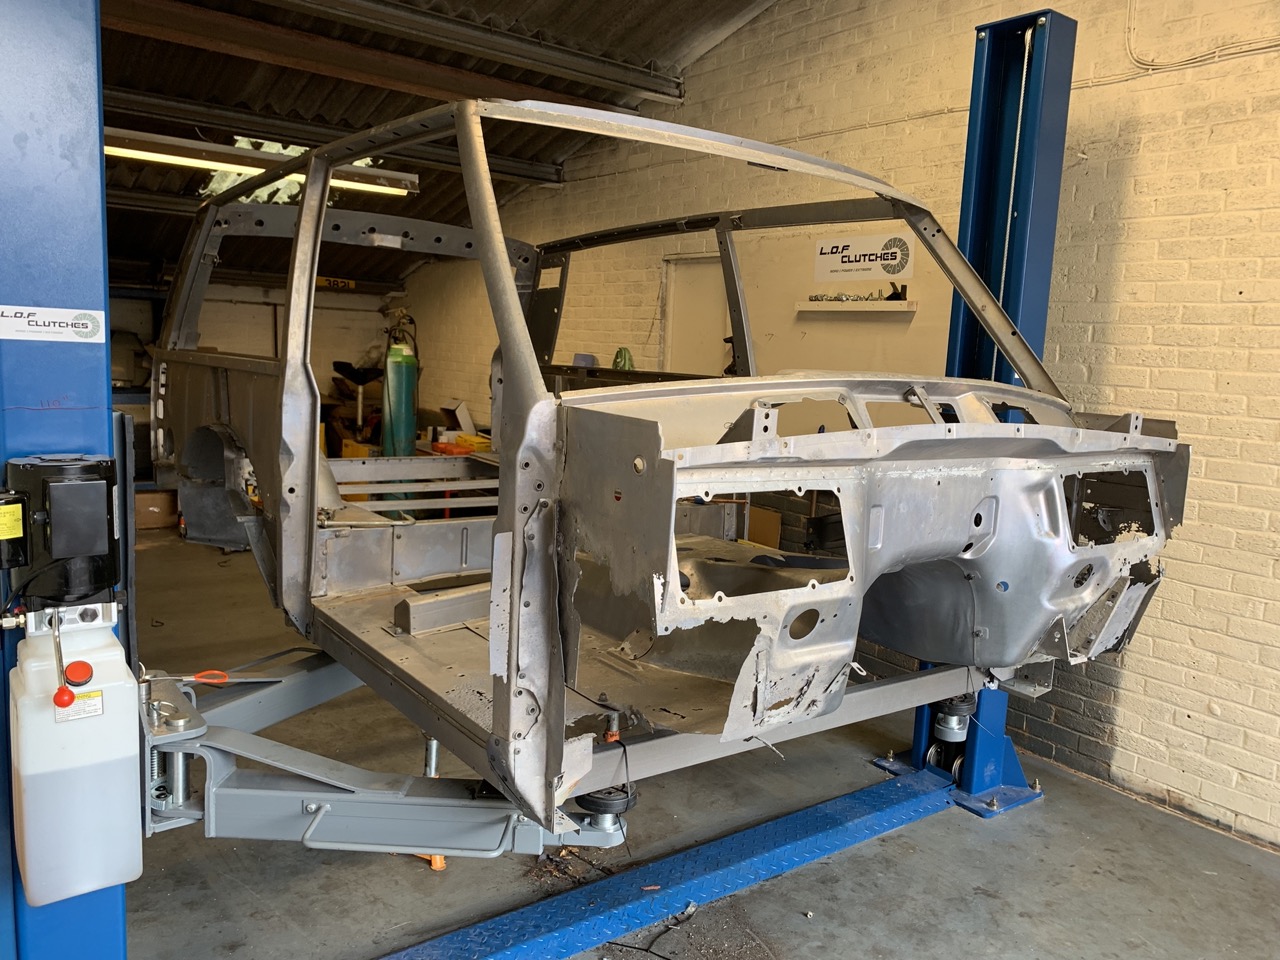
In the meantime- the 2 door body shell went off to be acid dipped and stripped by Surface processing in Birmingham.
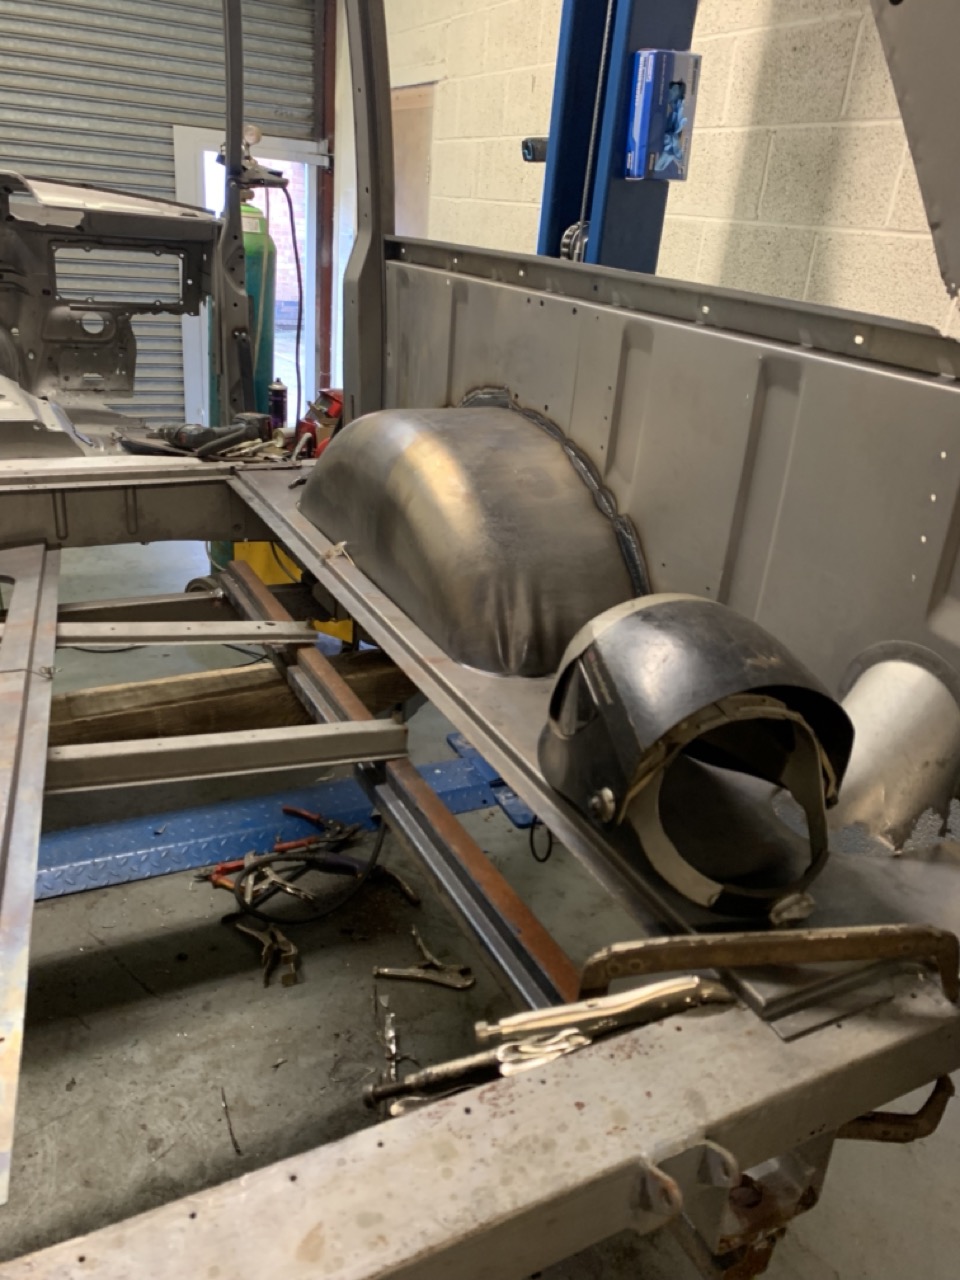
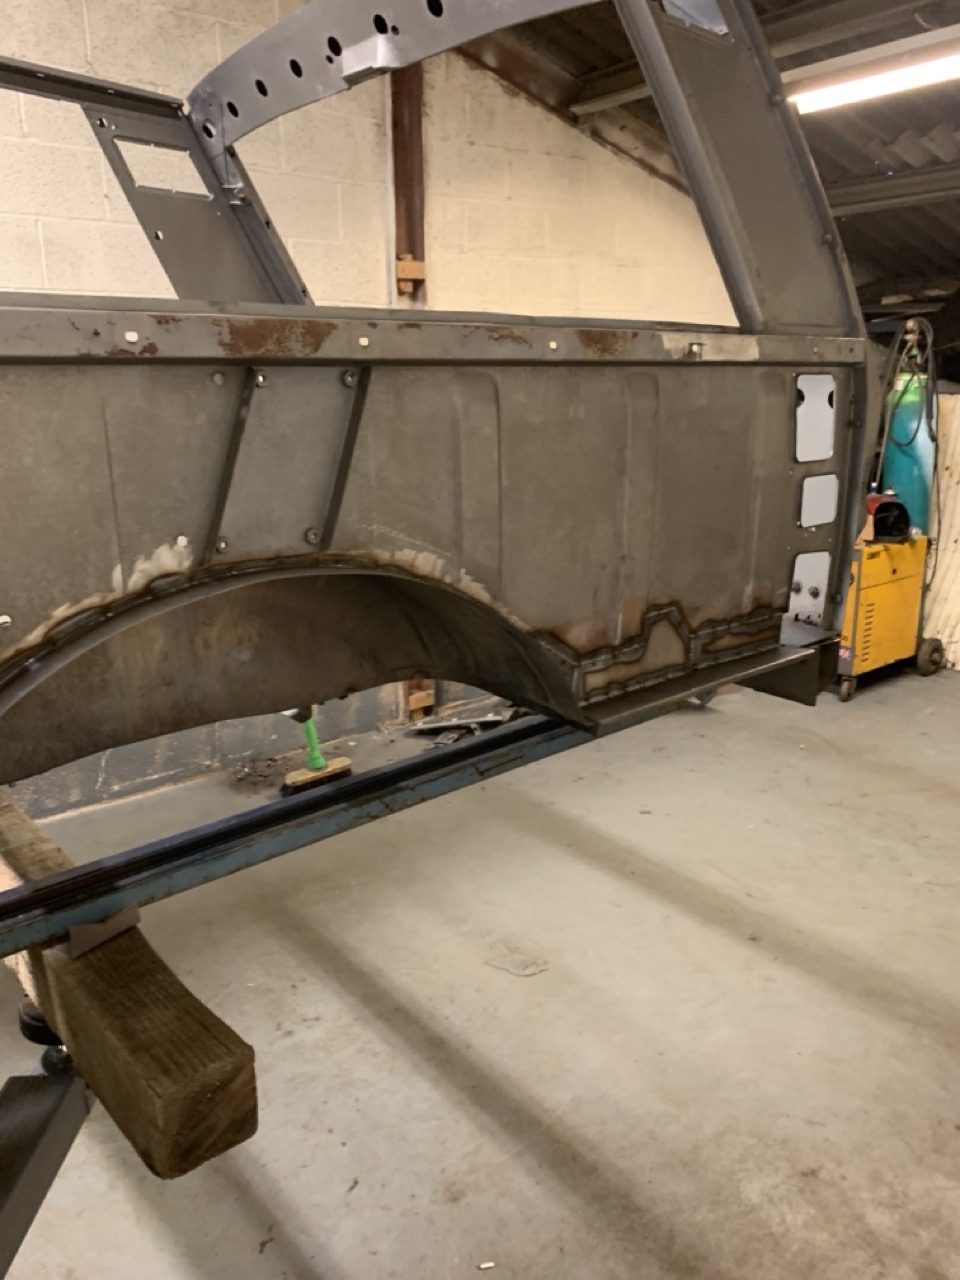
Luckily the body when it came back did not have too much structural damage, but there was a fair bit of single skin areas which were rotten through.
Out came the welder, and with some excellent reproduction panels from DDS Metal Services, we made a start!
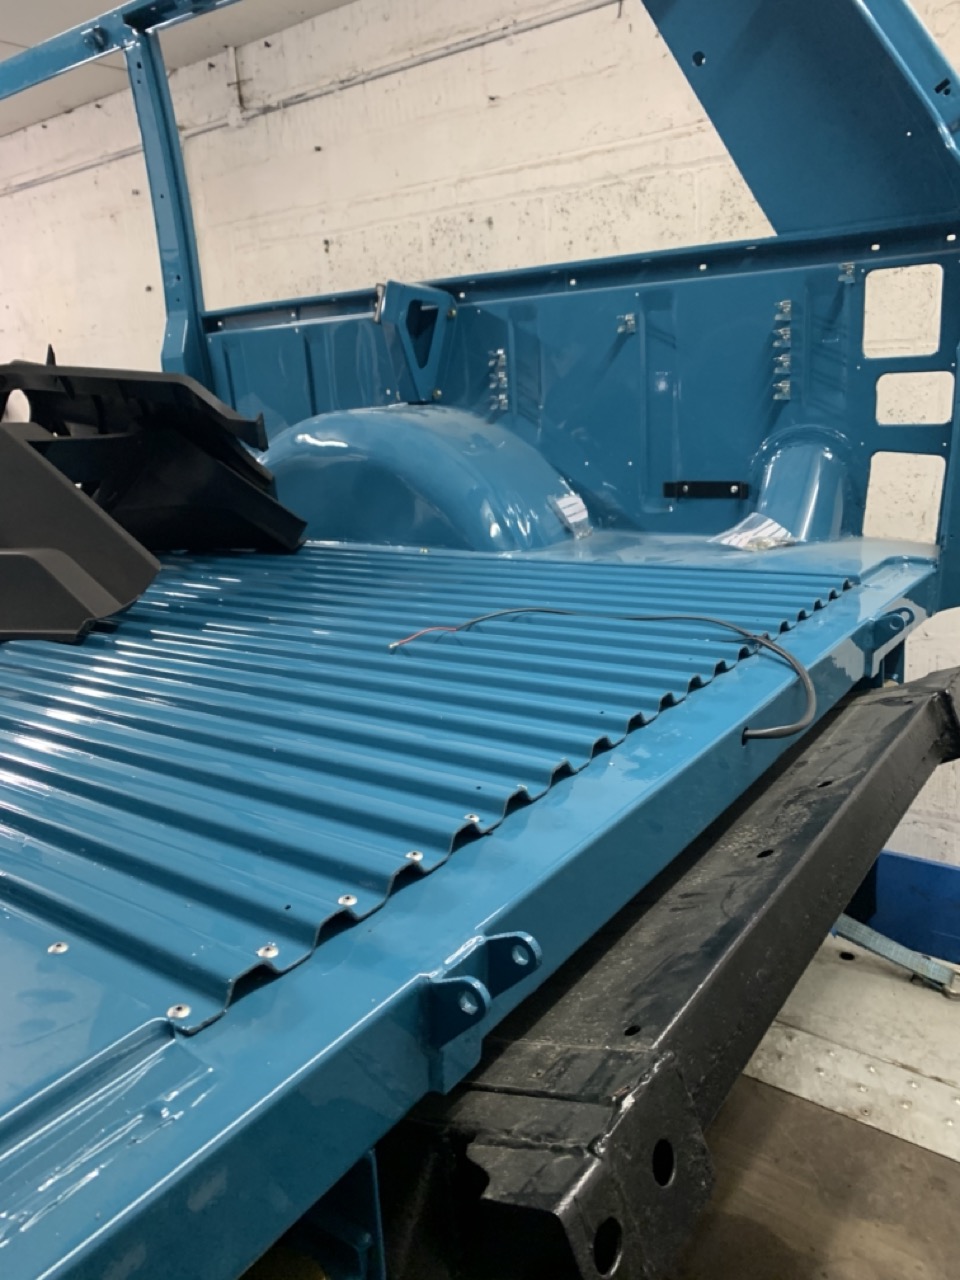
Once repaired (And it wasn’t a 2 minute job!) we then sent the body shell of the range rover off to our local painter who epoxy primered the shell before making it look pretty, finishing it in the famous Tuscan Blue colour.
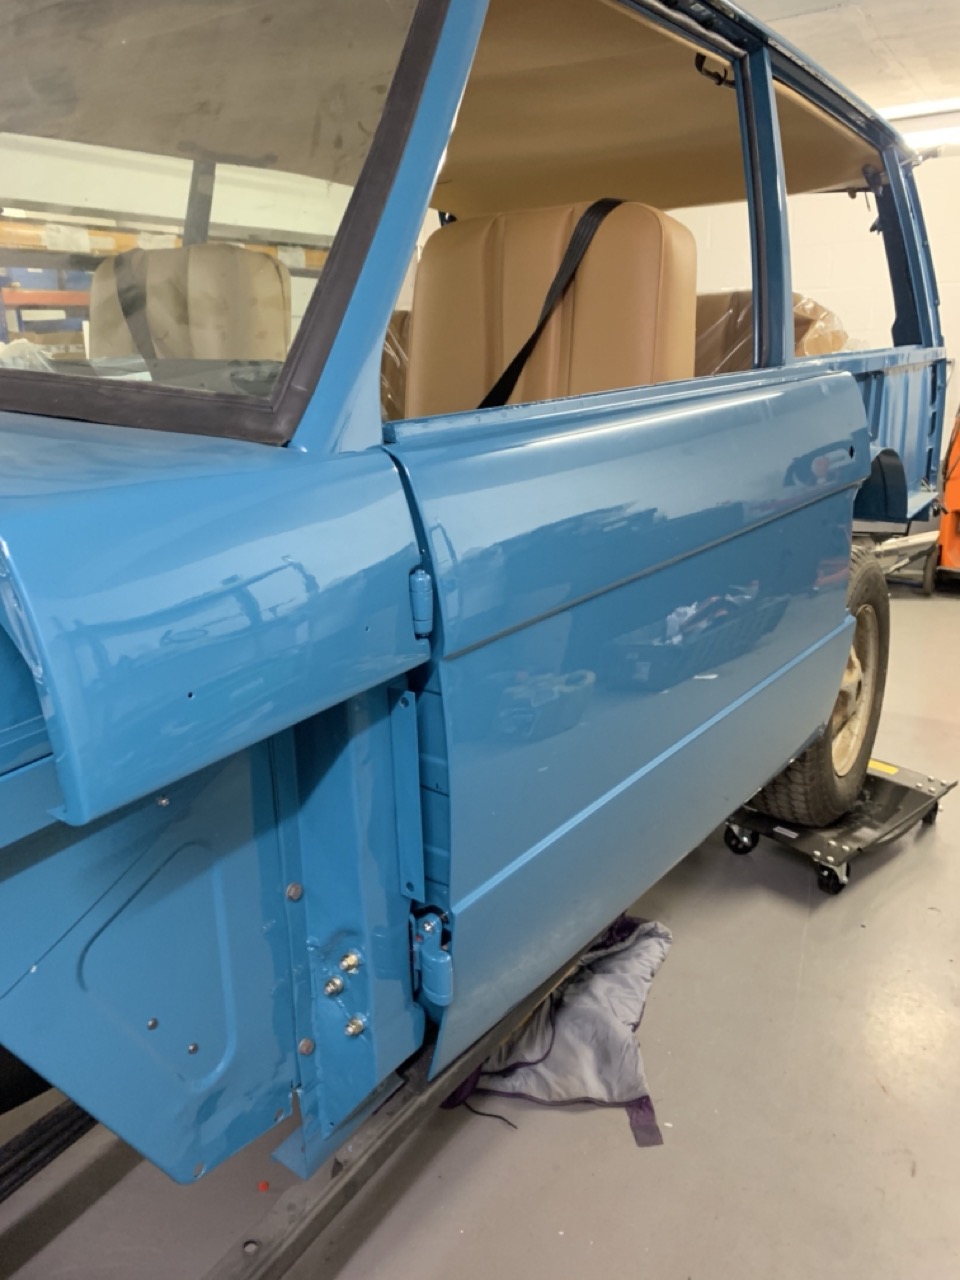
Next up was the fun bit- installing all the body panels as they slowly returned from paint, along with crafting all the brake lines, light bowls, wiper mechanisms and interior. What was a huge help was the nut and bolt kit provided by Tony at LR Fasteners Every bolt came bagged and labelled, as well as all manor of fixings and rivets/ clamps/ brackets etc- from memory the kit was over £900- sounds a lot but worth its weight in gold, probably saved over 100 man hours in finding fasteners!
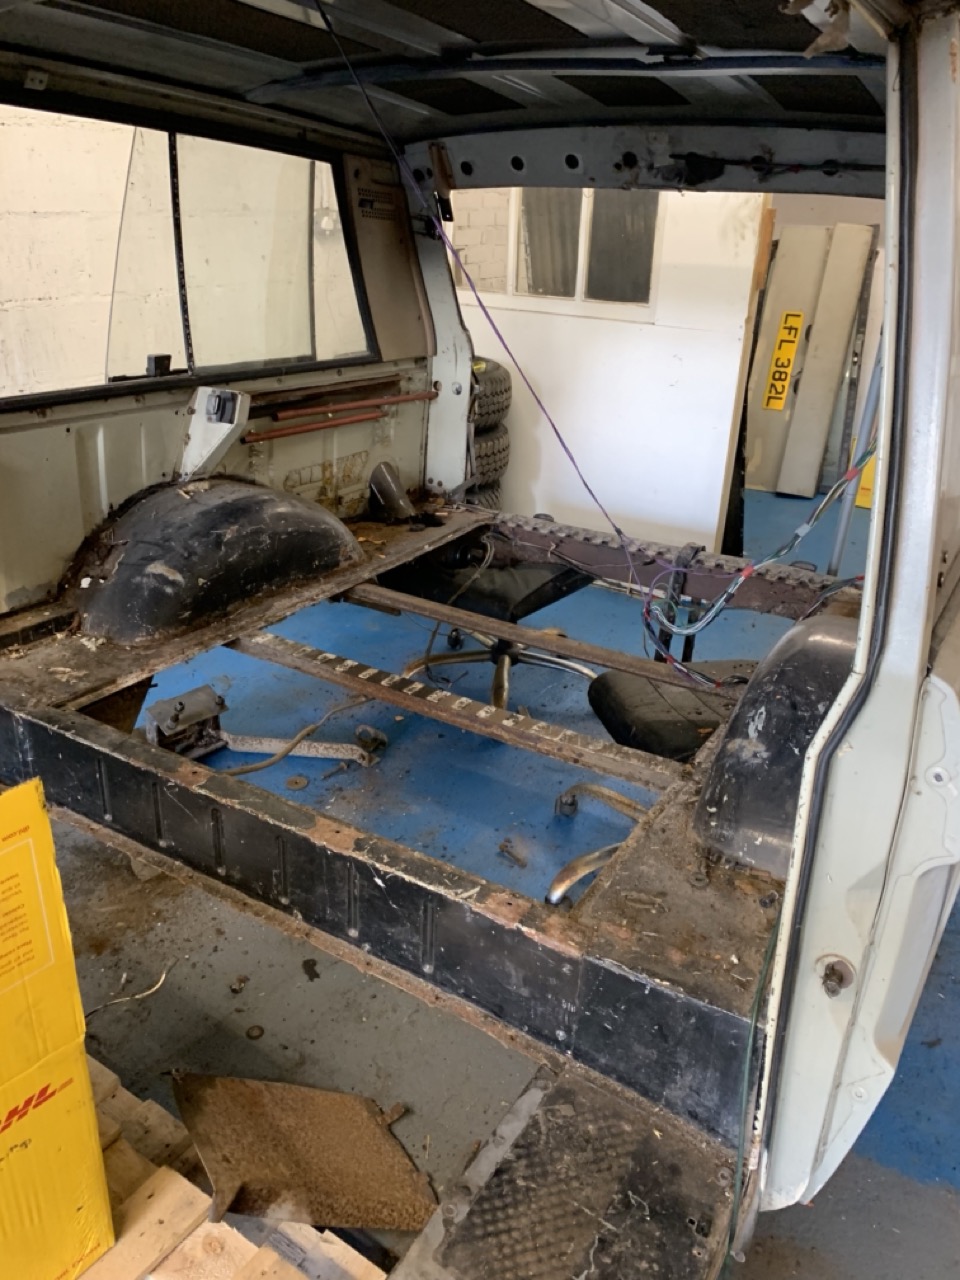
Its funny- the rear floor on the 2 door looks like it was stolen from somebody’s workshop roof!
The Final stage was to mount the ‘2 doors’ Blimey they are heavy, and over a meter long!
Once all the panels were on, and the wiring loom from Autosparks was installed, there was months of fettling and finding the final missing pieces, but in due course we got there- the maiden voyage:
Once up and running we spent a few summer days doing some shakedown miles, before then sadly entering it into the Silverstone Auctions
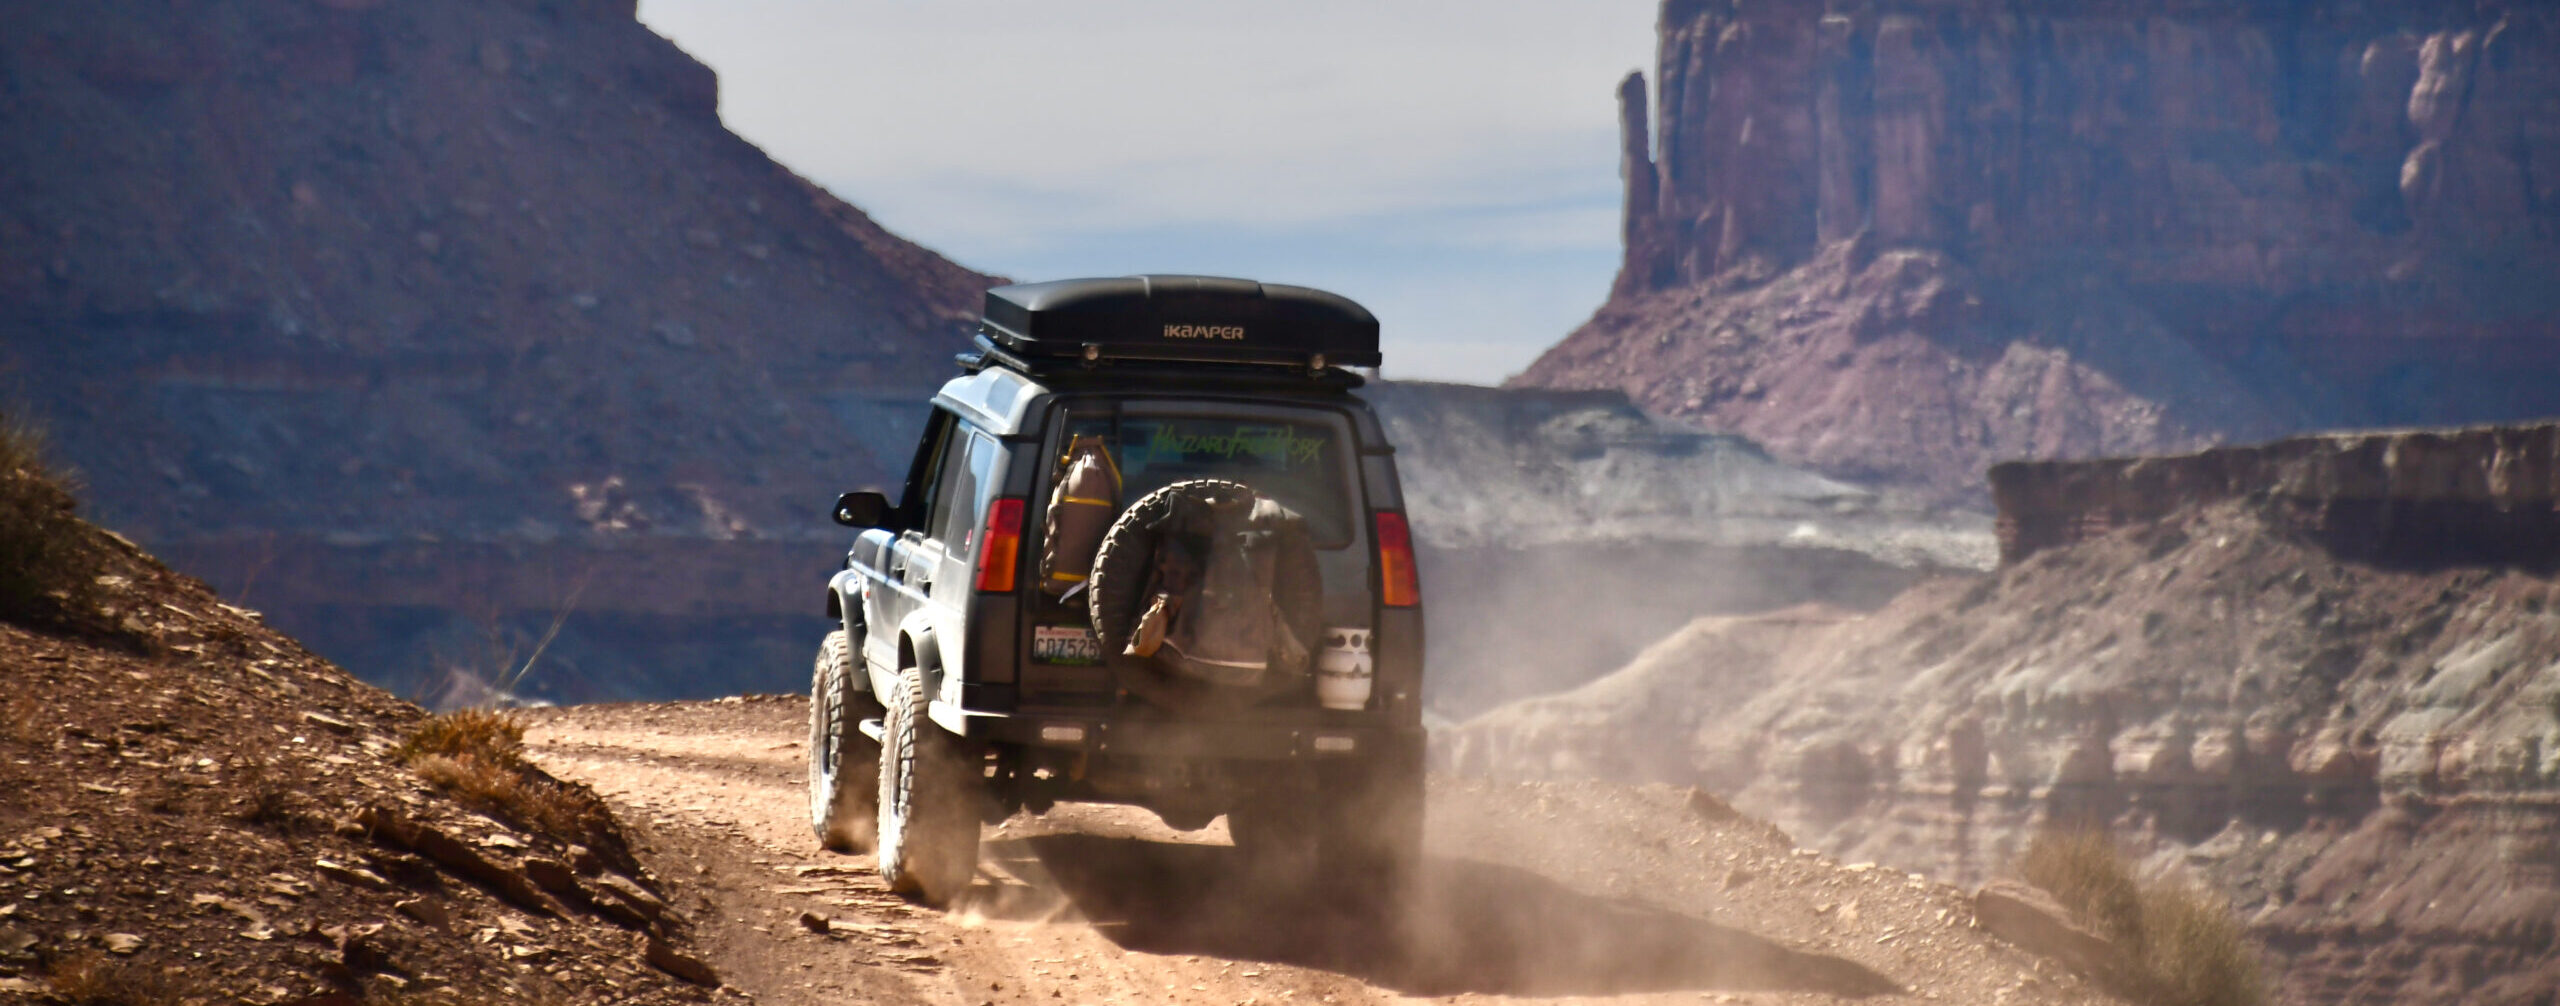
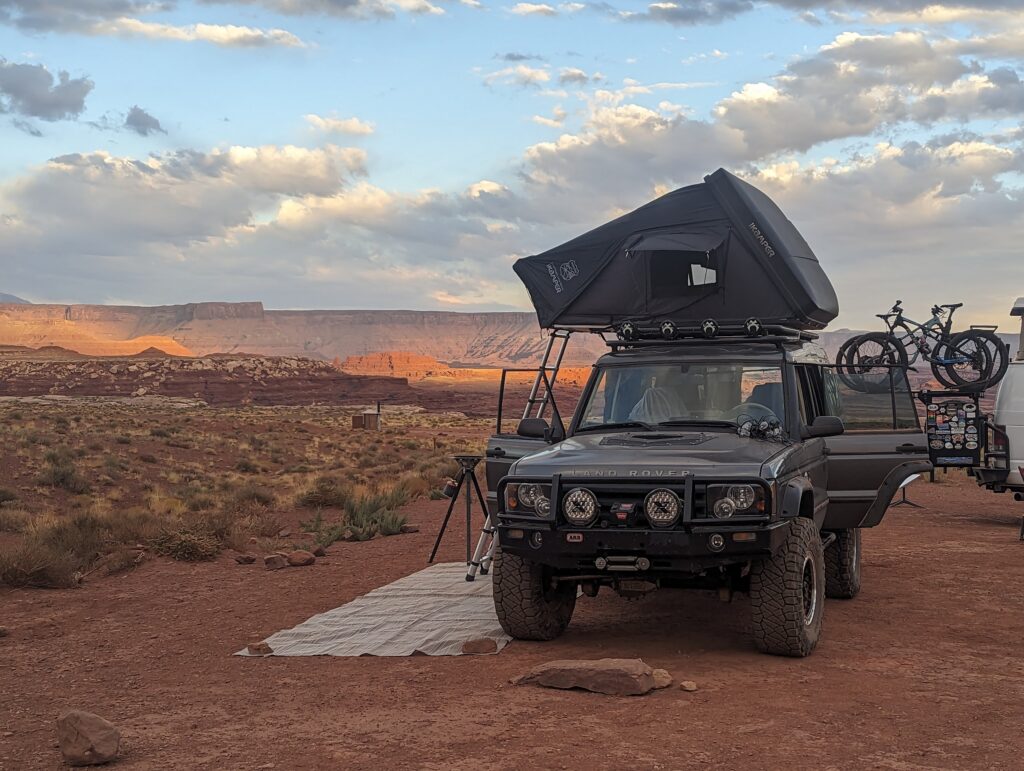
Checkout this Land Rover Discovery 2, owned by a customer of ours over in the USA! This D2 is powered by a 5.3 Litre GM petrol V8!
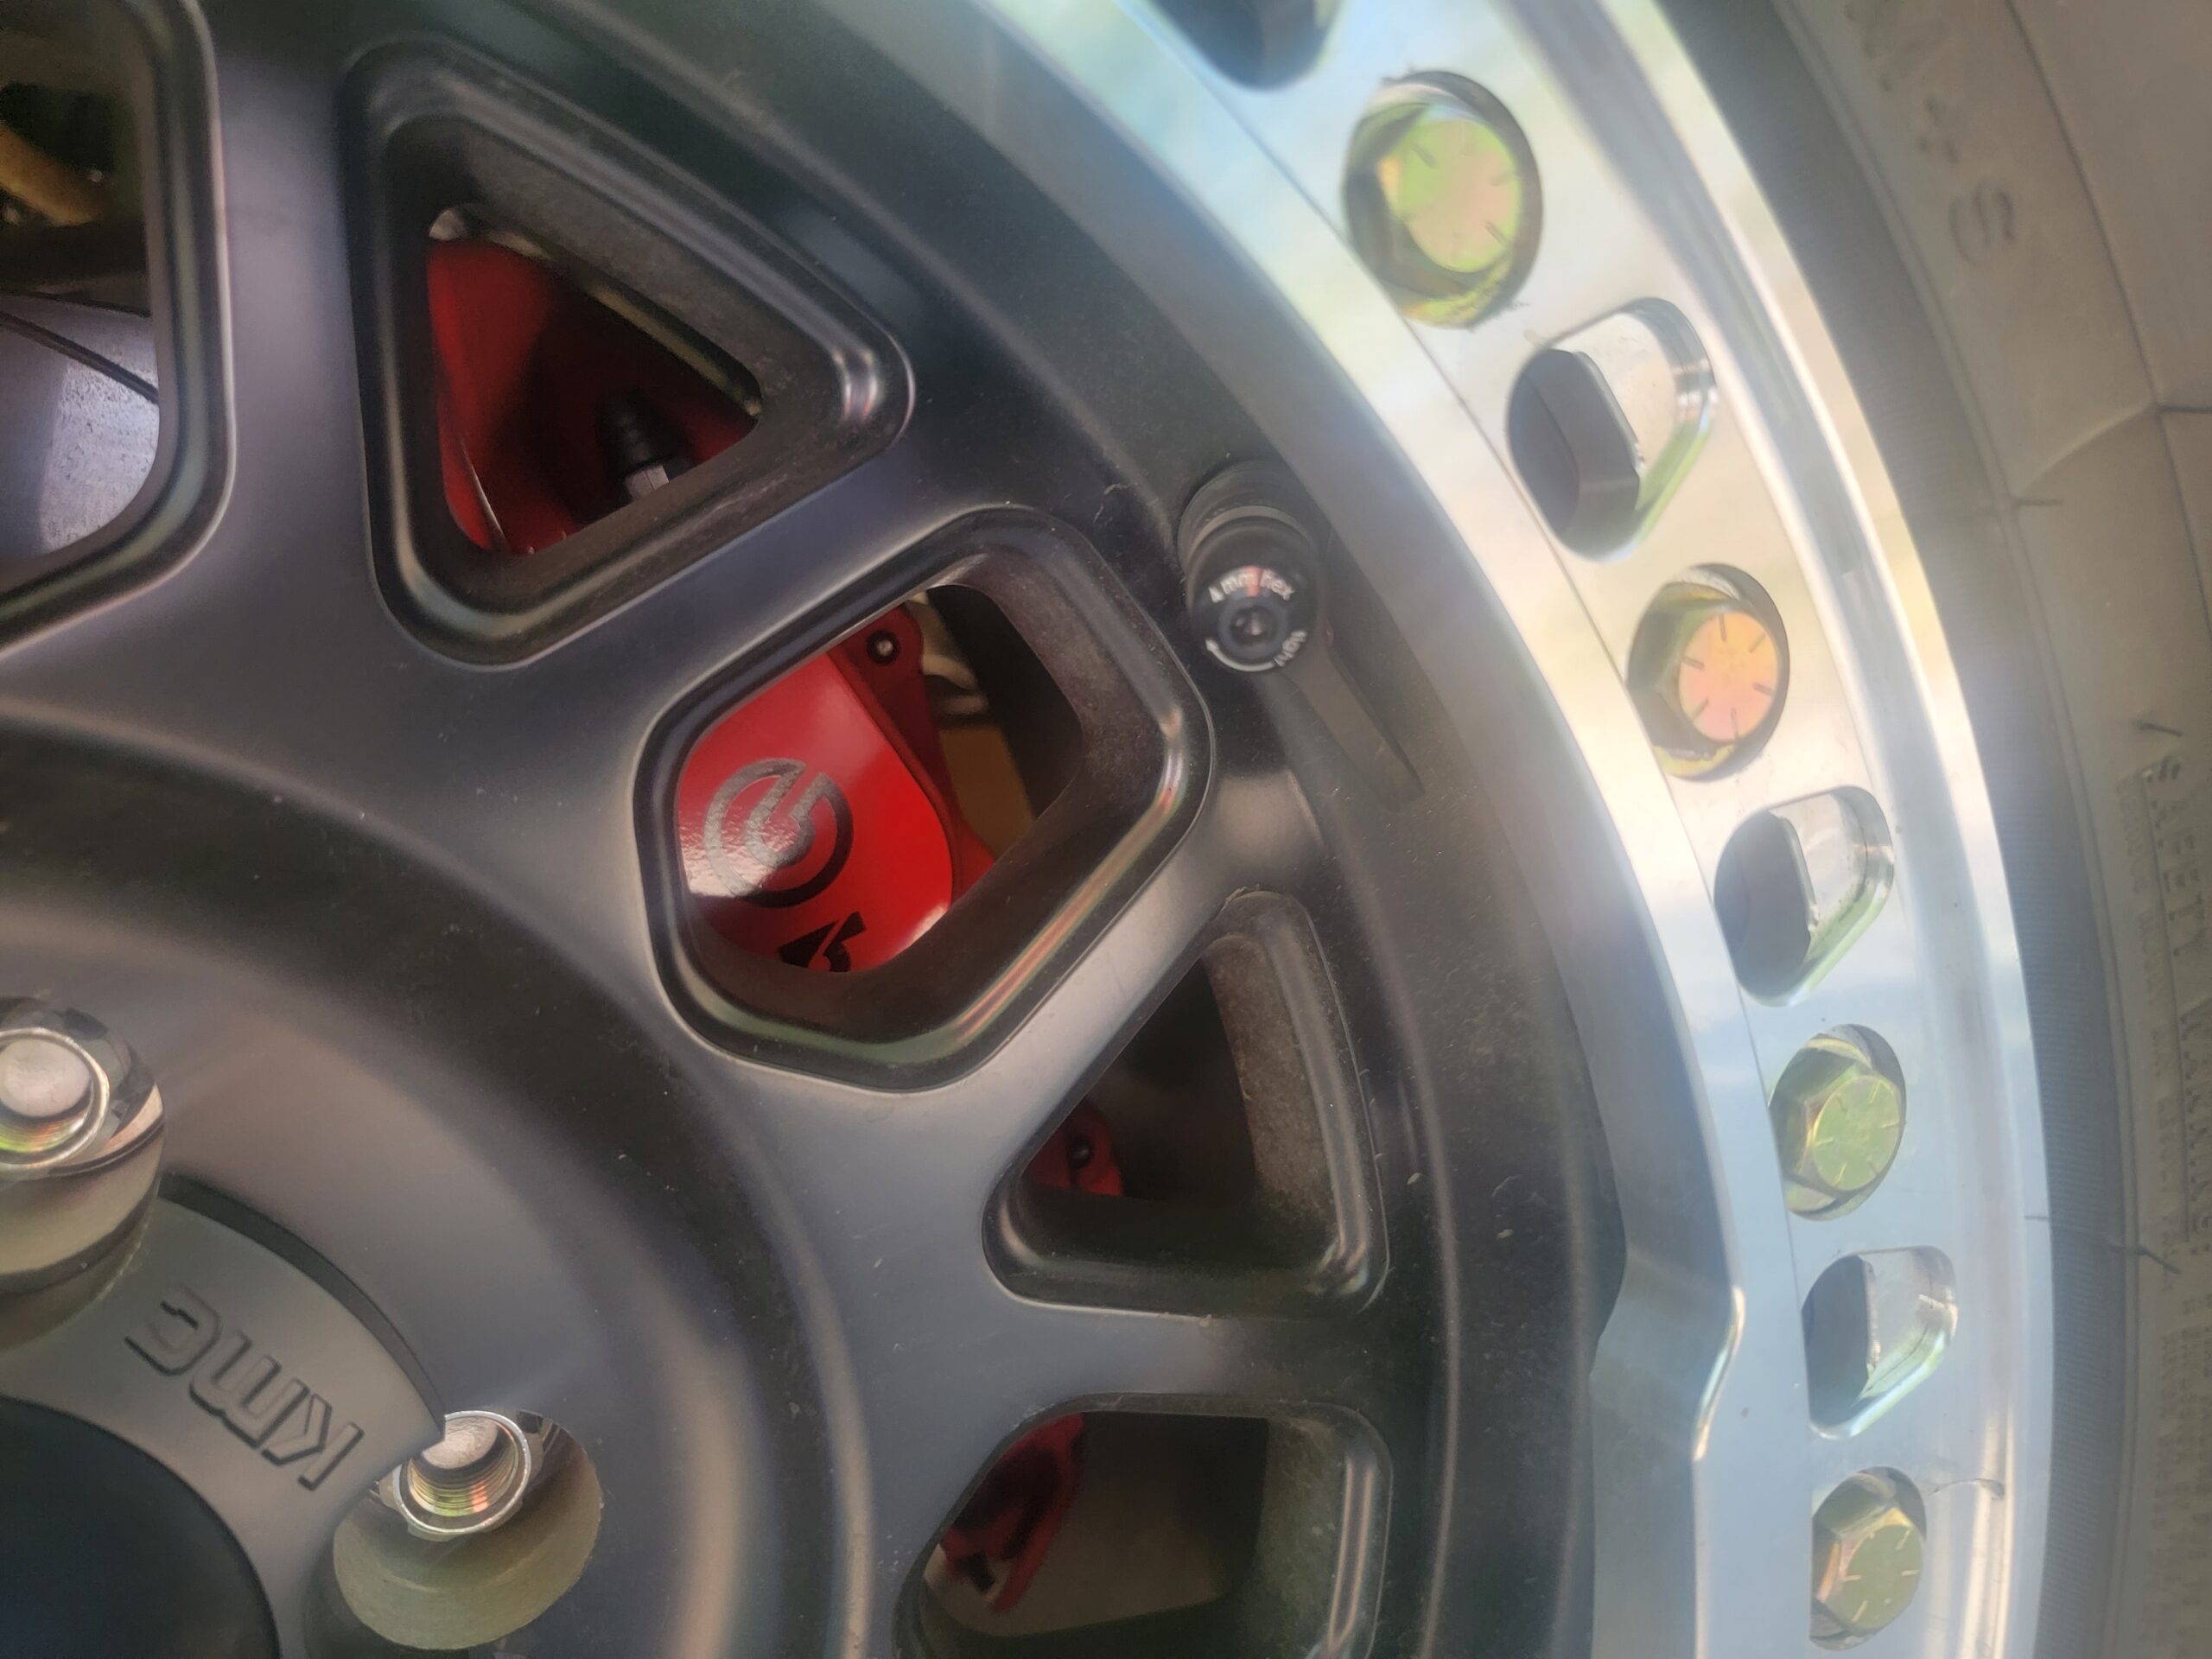
With all the extra power from the American V8, the customer Chris, came to us for a serious brake upgrade.
We supplied him with our 330mm EXTREMEspec Discovery 2 brake kit, which incorporates 4 pot brembo brake calipers, Custom LOF Brake discs, Custom mounting hardware and Pioneer 4×4 Brake lines.
Here at LOF clutches we are keen on making Land Rovers as driver friendly as possible, so over the years we have developed a few key products to make the clutch pedal as light as possible;
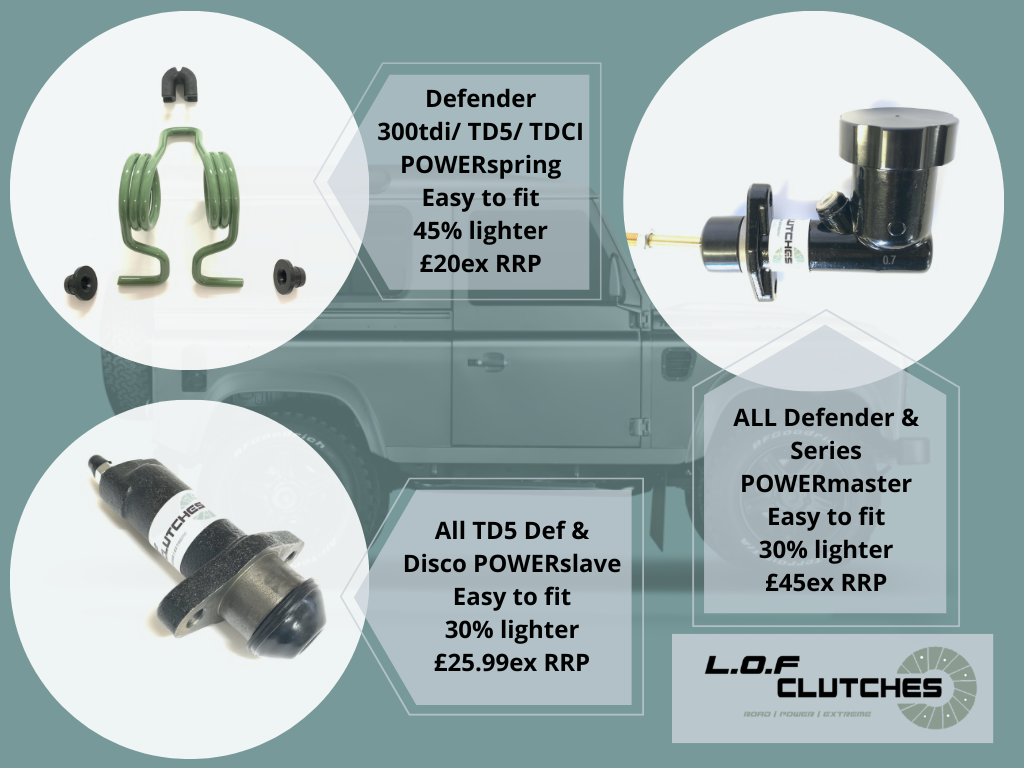
Including our LOF POWERmaster, POWERslave and POWERspring.
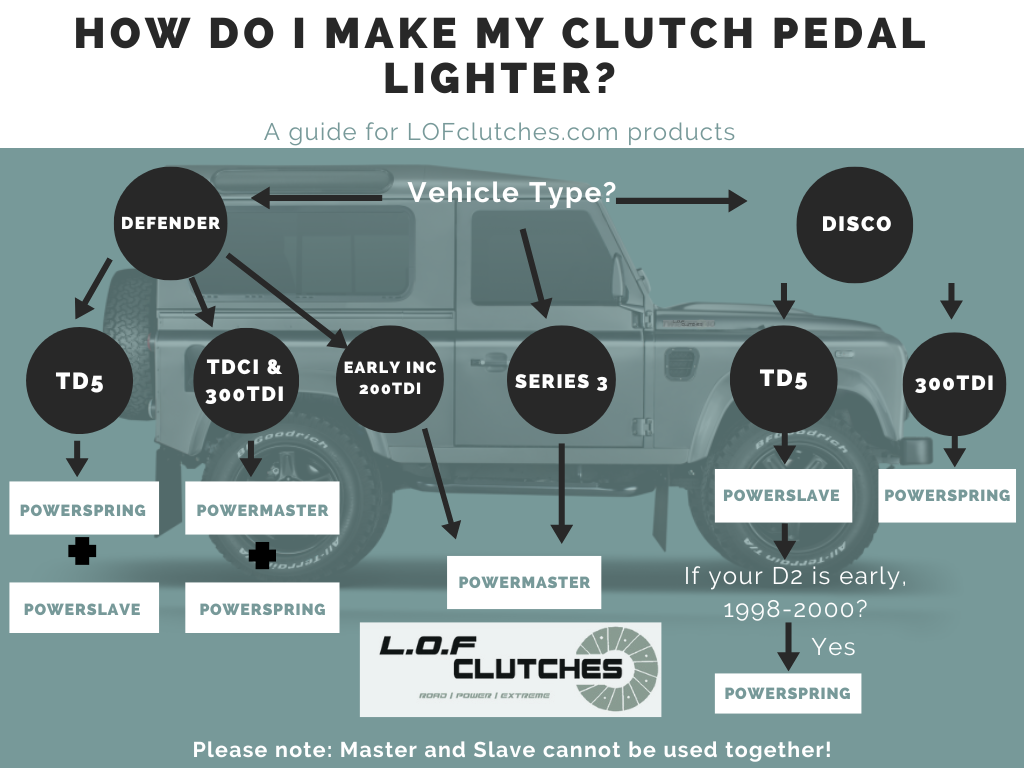
In the Diagram below you can see the various combinations of LOF products which can aid to make your clutch pedal as light as possible!
For the TD5 Defender the solution is always the POWERslave cylinder and the POWERspring, with this combination the pedal should be able to be pressed with 2-3 fingers!
For the TDCI Puma (TD4) the solution is to replace the original pedal spring with the LOF POWERspring + POWERmaster, this combination in the TDCI (07-2016) should see the pedal weight reduced significantly!
Last year we jumped at the opportunity to be part of something great:
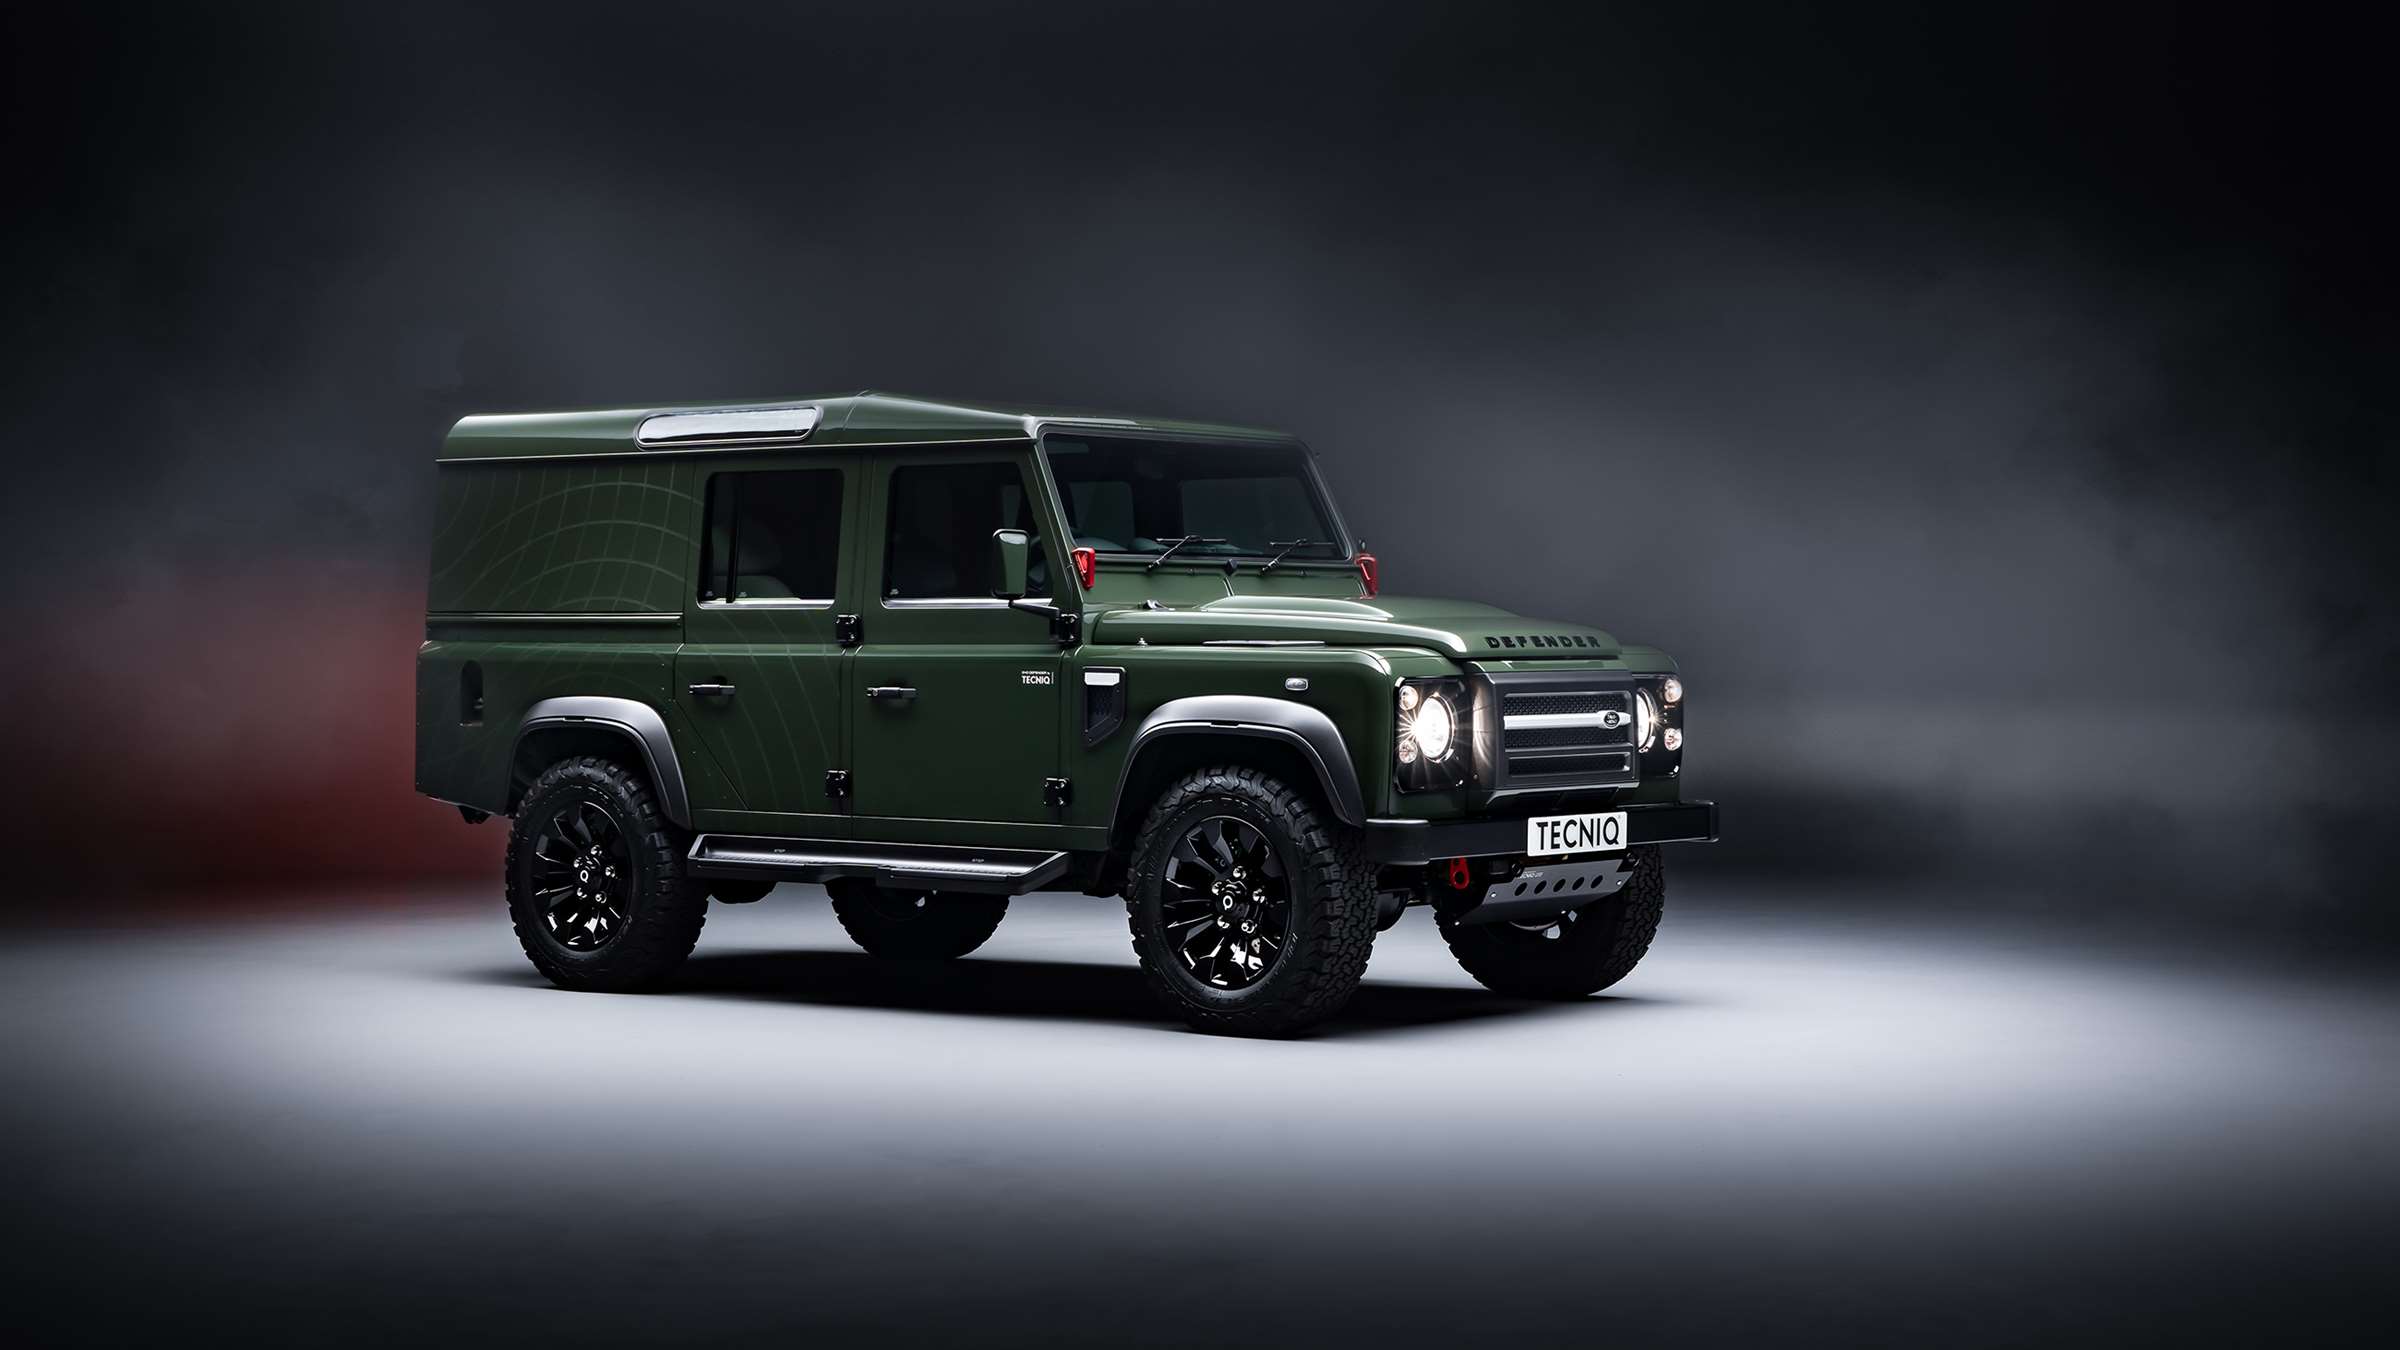
We were contacted by a company in Essex, Tecniq, to help them in building a 1 of 1 Defender 110″ Which was to be Auctioned off at the Bonhams Good Wood Revival Festival in 2022.
Is this the coolest commission built Defender in the World?
This Chinook Helicopter themed Defender was commissioned on behalf of the Royal Air Force and was sold at auction to raise money for the RAF Association fetching £125,000 at the @goodwoodrevival festival last year!
Here at LOF, we were lucky enough to be a part of this amazing project, In order for the 110” to look as similar to a Chinook as possible, we supplied a set of our #EXTREMEspec brakes with a twist, Left hand Calipers anodised red (Port) and Right hand calipers anodised Green (Starboard)
Such a cool iconic Defender to be a part of that is for sure! (As seen in The Times )
Here at LOF we like to challenge ourselves with a project build once in a while, building high powered Defenders like the DefStang and the Agri give us a good base platform to test our products and designs. Our blog about the DefStang caused such a stir and so much interest we decided it was only right we did one about our 110 DCPU installed with a 3.0D M57 engine from a BMW.
The Base truck was a low mileage Defender 110, sourced from our friends up at Engine 710 in Edinburgh, Painted factory colour Aintree Green, this thing was a beauty, albeit it had some battle scars from where it had been used on a country estate in the highlands. The 2.2 TDCI engine was ok, but a bit of a beige trouser driver engine and actually gave us some grief (DPF/ EGR valve issues)
As this truck was being used by one of the LOF team we decided to make it as reliable as possible and get rid of those modern gremlins as found on the 2.2 TDCI!
The Engine of choice was a 180BHP narrow block 6 cylinder diesel M57 engine, as used in the 3 series and 5 series BMW cars. We used this engine as it is commonly available, ‘pre LCI’ meaning the timing chain doesn’t snap at 100k miles religiously like on the post 2007 engines!
Assembly: in order to keep this project as short as possible, we used the original MT82 6 speed gearbox. We also re-used the Intercooler, Radiator and fuel tank lift pump.
First stop was removal of the old engine, we then had to weld in some new engine mounts. These we had supplied by 4×4 Fabrication in Cheshire, Dave lee the owner is also a keen M57 converter and has drawings for all the BMW engine swaps, he offers these mounts in thick mild steel, keeping the engine at the correct angle.
Once fabricated, the new M57 engine could be dropped in (also supplied by Dave @ 4×4 fabrication) These engines are cheap as chips, from memory we paid around £600 for this one, albeit as this conversion becomes more popular I am sure engine prices will rise somewhat!
In order to bolts the M57 engine to the MT82 ford gearbox, we used an adapter ring supplied by Syncro Gearboxes. This ring is a bolt on job and allows the correct spacing for the clutch and flywheel. We decided to run this car on a standard BMW Dual mass flywheel, twinned with a clutch kit we designed to give us strength but also to adapt to the 23 ford spline on the inout shaft of the MT82.
So far the above is less than a days work- as you can see these things are easy to do!
Next was the plumbing: using a series of pipes from the BMW road car and the original 2.2 TDCI engine, we were able to pipe up all the correct inlets for the water system, using 1 length of 3/4” pipe to span back to the original Puma Expansion tank in its original location. Its worth noting here- save every pipe clamp, hose joiner and fastener from the 2.2 TDCI install, if you re-use these your engine swap can really look like a factory fitted engine.
Once the water pipes were connected, we used a 200tdi Power steering pipe to connect the M57 power steering pump to the original land Rover steering box- this is literally an off the shelf part and makes it dead easy. use the engine-mounted power steering reservoir from the M57.
Air intake + intercooler: This was slightly more challenging than the water pipes, it required a series of 90 degree silicone hose bends and 1 reducer bend to get from the turbo to the intercooler, and back round to the inlet manifold. ( Although time consuming this is not really hard, it just requires patience checking nothing will rub or slide off under high boost.)
Defender 110 DCPU Enine swap at LOF clutches
ECU: Mount the BMW ECU in the same place as the Land Rover TDCI ECU, we drilled out 2 screws and used the bulkhead studs (M6) to hold the ECU. There is 1 block connector from the M57 engine to the ECU, so it really is plug and play. We then used a dash controller Canbus control (box of wizardry) from Martin Lewis @ Futuranet. Again this is a doddle, plug the LR block connector into the box, plug the short loom made by Futuranet between the BMW ECU and dash controller.
Aircon: Due to speed, we actually did not re-install the aircon on this one, although if you have an aircon engineer handy, its not too hard- use the BMW aircon pump and the Land Rover condenser/ radiator.
Fuel lines + Pump: The M57 runs a high pressure inline fuel pump, we bought a bosch branded one off ebay for circa £35, and installed it on two rubber coated large P clips on the passenger chassis rail just after the gearbox crossmember. Dead easy to do, simply use the TDCI fuel hoses upto this pump, connect the pump inline, and then use some braided fuel hose to run upto the injection pump on the M57 engine. (tidy the lines with P clips or similar!) PS the fuel pump will need an ignition live which can be brought through the passenger seat box grommet.
Drivetrain: We left the Defender 110 drivetrain alone, its fairly tough in standard form. The only modificatons we made were a LOF EXTREMEspec MT82 output shaft and also due to the new increase in power (240 BHP) we installed a set of our 16” EXTREMEspec front brakes!
The Results: Simply wow, I can see why the Ineos Grenadier chose this power plant, the M57 pulls from low RPM, it boosts low and as soon as the boost comes on it throws you back in your seat. We towed a 3.5 ton trailer to get an idea of its power and it simply glided through the gears effortlessly! The LOF team member who drove the car used to get 320-350 miles to a tank, once the M57 was installed, he was getting over 420 miles to a tank!!
I highly recommend this conversion, its cost effective too, should you sell your 2.2 TDCI for say circa £2000, doing the DIY route I think you could get this conversion done for a net £2000 cost! (without shiny extras!)
We were very lucky to have Marcus Williams @ MW machines guiding us through the process, Marcus has a world of knowledge when it comes to M57 engine conversions, and since doing this one with him, he has gone on to do various iterations including both the 8 speed and 10 speed BMW auto gearboxes!
If you are looking for an M57 conversion and wish to have it done by a company, we have some great friends and specialists in doing these listed below (in no particular order)
Here at LOF, we often get asked for help on what to order when changing the brakes on a Land Rover Defender (90/110/130) So we thought we would add some key info to help everyone!
A few pointers to note:
Defender 110″ rear brakes are the same as 130″ rear brakes- including the discs and calipers
Discovery 1 rear brakes are the same as Defender 90 Rear brakes- including the discs and calipers
If your vehicle is a 90″ with a low spec, it may have solid front discs instead of vented (Easily checked by looking at the outer edge of the disc and noting vents centrally)
Solid front discs as above, and vented front discs run different calipers
If your vehicle has solid fronts, and you plan on changing the calipers- its worth converting it to Vented calipers and a Vented brake kit
Solid disc front calipers (SEB500440 / SEB500450) are more expensive than vented! (SEB500460/ SEB500470)
When changing the brakes on a Defender, you will have to remove the wheel hub from the stub axle, therefore it is advisable to change the wheel bearings at the same time, as a matter of course.
Changes in rear 110 / 130 brakes (circa 2000 model year)
On the Defender 110/130 the brake discs and calipers vary in offset depending on year (from chassis number WA159806) This can be hard to determine and complicated to ensure you have the right discs. Therefore in our opinion, it is worth upgrading your earlier axle to “late spec.” By using late Defender 110 Discs, Pads and calipers, you can eliminate any error. The change in Land Rover part number from FTC3846 to SDB000330 is down to the off-set of the disc, and matches in the offset of the Caliper. Hence by using a SDB000330 Late brake kit + SMC500260/270 calipers, it brings everything up to date and matching.
Defender 90 Solid Front brake discs
As mentioned above- early Defender 90’s and low spec non ABS 90″ defenders came with solid front discs rather than vented. When the time comes to change the brakes and calipers on these vehicles, it makes sense to upgrade! Why? Because the solid front calipers are circa £20 more expensive than vented front calipers. Thats why we have not listed AP brand solid fronts! If you wish you upgrade your brake kit, you will simply need to order the following, which bolts on without modification: A Vented front brake kit & Vented front calipers
Defender 90 Rear brake upgrade
On the Defender 90, the rear brakes run a slightly smaller discs and smaller calipers with small bore pistons. Here at LOF we offer a “Defender 90 Rear brake upgrade” Which offers the chance to convert from 90″ rear discs and pads, to late model Defender 110 brakes. This makes a marginal increase in performance and also helps with Defender 90’s used for heavy towing. The cost compared to using a 90″ rear set up is minimal hence why it is a good option!
If you would like any more help or advice regarding brakes, feel free to get in touch @ [email protected]
LOF clutches is offering 3 race car owners the opportunity to receive LOF sponsorship in 2022
We are looking for 3 Race car / competition truck owners to send our all new LOF Heavy duty 4×4 clutch kits to for their trucks in 2022. We are asking for anyone running a truck within our range of products to get in touch, simply email some details about you, your truck, races you are entering and the specification to [email protected]
The ideal trucks would be based on or have the drive train from a Suzuki Jimny / Ford Ranger / Nissan Patrol / Isuzu / Daihatsu / Nissan or Mitsubishi. (or possibly others where we can accommodate)
Some competitions / rally / race scenarios we would like to see our products showcased at include:
Launched now for spring 2022, POWERspec performance brake kits for Discovery 3+4
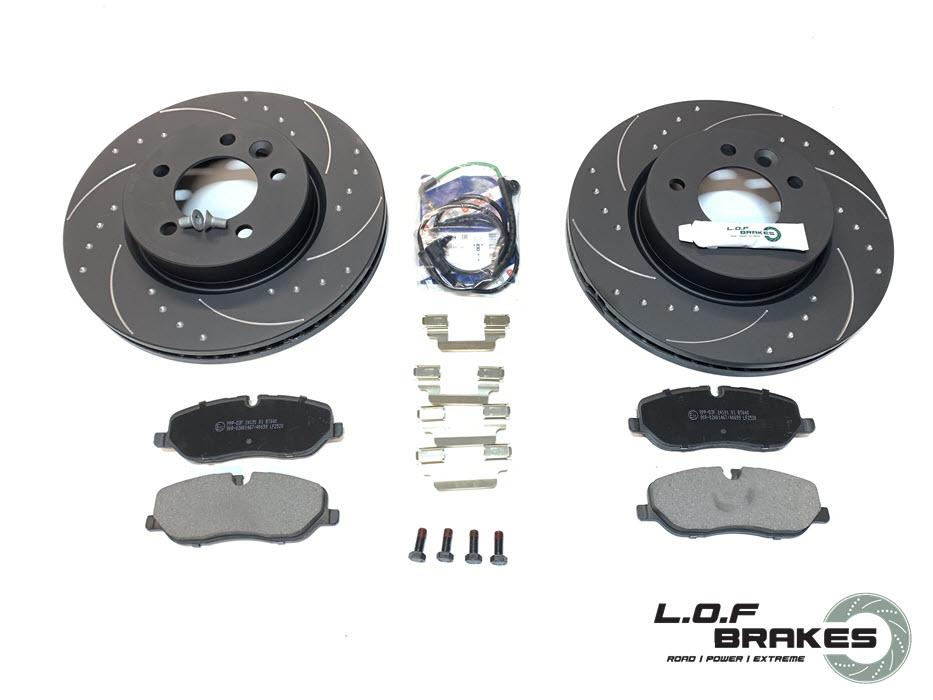
We thought it was time we completed our range, after many requests by Discovery 3 and Discovery 4 owners for POWERspec Brake kits, we finally managed to finish them. These kits include everything required to do a brake disc and pad change on a Discovery.
Discs: The well recognised POWERspec brake discs, Dimpled and grooved, vented and blackened for best performance
Brake Pads: LOF POWERspec brake pads, with our high coefficient friction material and anti rattle backing surface.
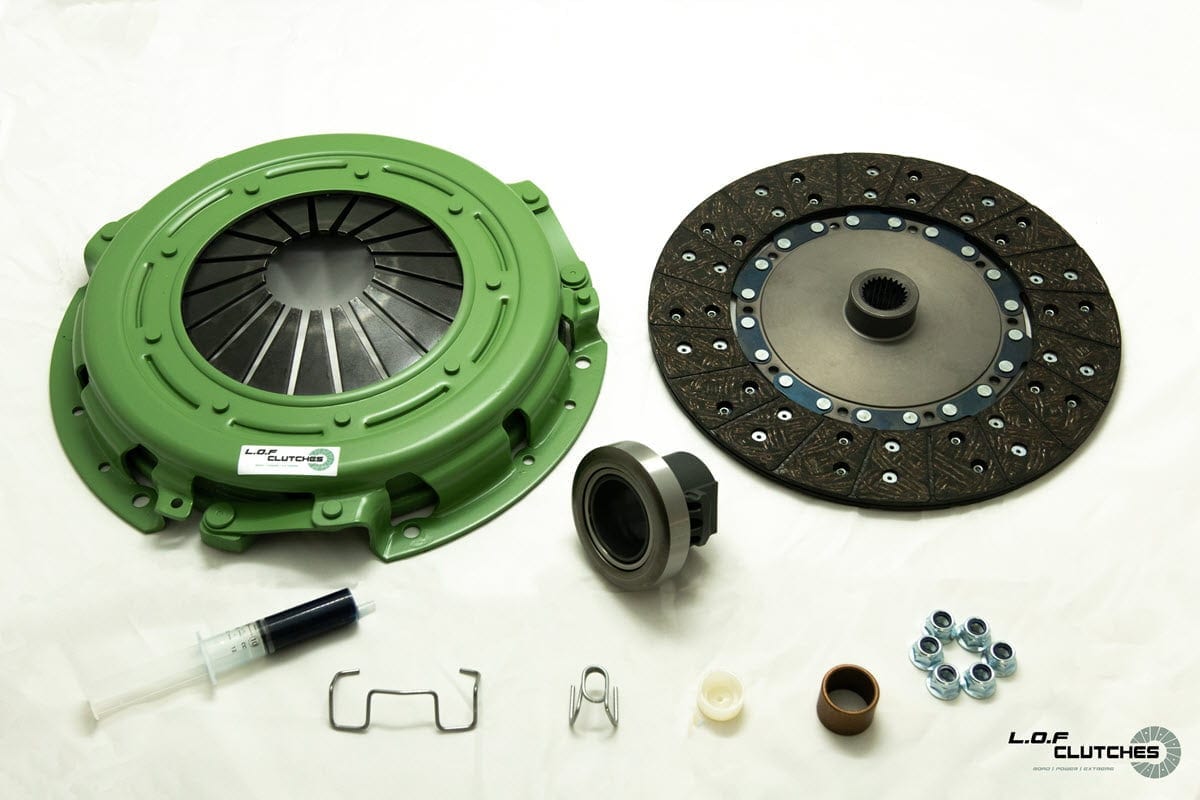
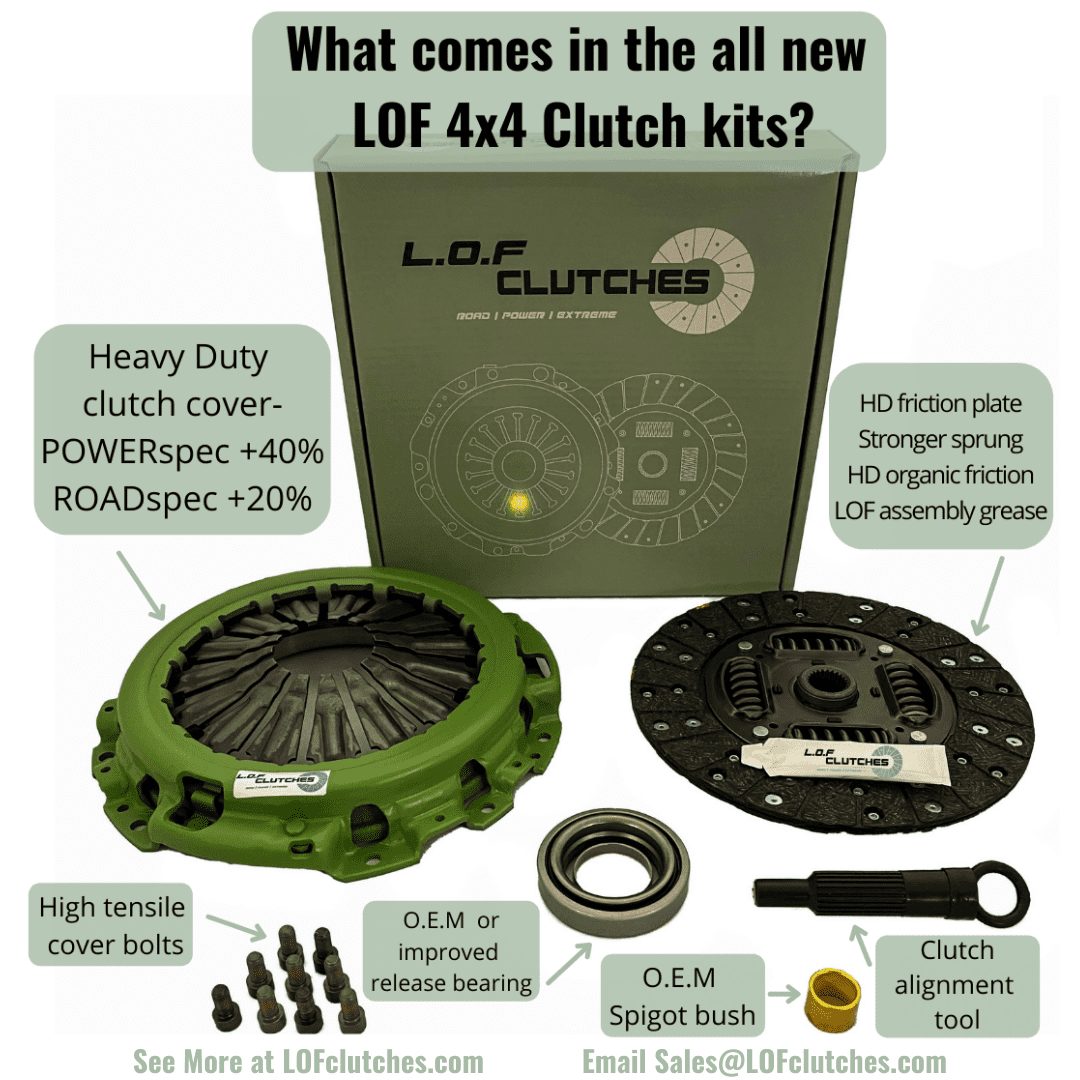
The all new LOF 4×4 clutch range was created using the same core values that made LOF Clutches a success in the Land Rover industry. We strive to provide the best product possible, upgraded where needed, and supplied in one convenient box, ensuring you have everything required to do the job!
A Heavy duty LOF clutch cover, choose between 20% ROADspec and 40% POWERspec, increased clamp load
LOF HD drive plate, lined with a woven oragnic friction material, containing higher levels of copper and brass, less fibreglass! For maximum heat and wear resistance
1x Release bearing or concentric slave cylinder to suit your application, either an OE unit or upgraded depending on model
1x Spigot bush or pilot bearing to suit the clutch kit application
1x Clutch alignment tool, specific to the vehicle/ clutch ordred
6/8/9x high tensile clutch cover bolts
1x Sachet of high temprature spline/ assembly grease for pivots/splines and moving parts
LOF fitting instructions
We hope this helps to show what our 4×4 clutch kits offer, if you need any help or advice feel free to send us an email!
Our advice on Changing the clutch on a 200tdi or 300tdi
The 200tdi and 300tdi both in the Discovery 1, Defender 90/110/130 and the Range Rover classic, all run the same 9.5″ Diameter clutch, the same kit is used in the 2.5NA, 2.5TD and the 2.5 Petrol engine.
Choosing the right clutch: If you are abusing the truck off road, hauling heavy loads daily, have a VNT/ hybrid turbo fitted, are competing in winch challenge/ safari/ trialing, you will need the 2.8TGV POWERspec kit. If your truck is a daily driver, daily work horse or weekend toy, you should look to either the ROADspec TDI or POWERspec TDI kits!
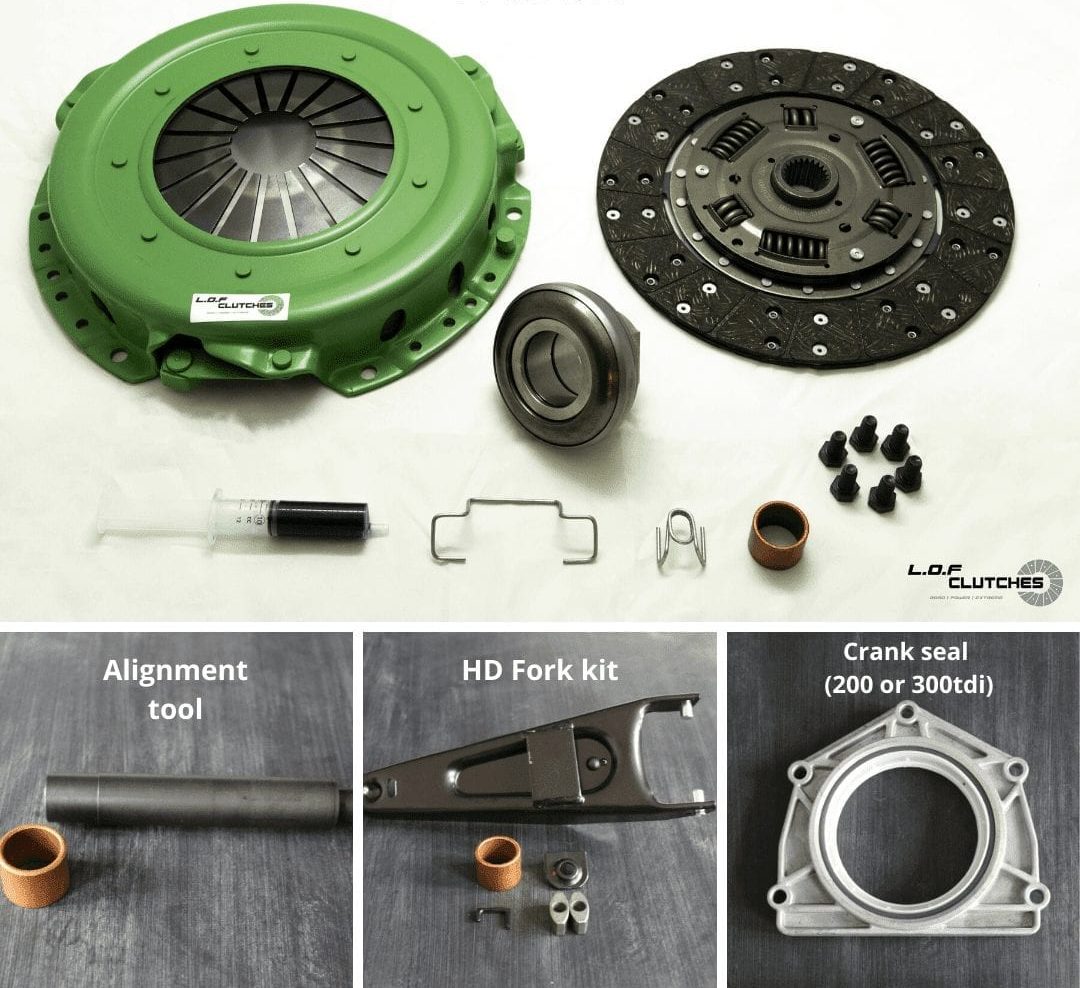
Things worth changing while fitting a new TDI clutch: 1. The clutch fork: as many will know, the 4 cylinder Land Rover engines use a ‘pressed’ steel type fork made from maybe 2mm thick mild steel, This fork pivots directly on a central pivot which is also made of steel, over time the fork wears and the clutch fork pivot punches through the fork! Symptoms of this will usually be a rock hard clutch pedal, where the slave has extended to its maximum, or an over extended slave which leaks fluid into the bell housing and out of the breather hole onto the ground! The fork, Part number FTC2957, can be upgraded to FTC2957HD which has a steel ‘strap’ or plate welded over the front of the fork, in essence giving it more material before it punches through. Another option is the Xcess 4×4 Fork which is domex steel welded over the entire front face, giving extra strength! Either way its worth changing, take your time to use some of the grease we supply in the kit to lube up the pivot ball, slipper pads and Pushrod seat/land.
2. The Rear main oil seal/ crank seal: The 200tdi runs a circular seal part number ERR2532, here at LOF we sell the genuine OEM ones that are green in colour, these can be very tricky to get right, be careful to follow the workshop manual, and if possible find the original LR workshop tool to drift the new seal into place. On the 300tdi, the crank seal part number LUF100430, is also worth changing. Again this seal can be tricky to get right, it uses a series of small M5/M6 bolts, and a gasket. Be careful to follow the workshop manual, also use a torch to run round the edge of the seal once fitted to make sure it has not been inverted, caught or damaged.
Do you need to change the flywheel on the 200tdi/300tdi: In short, no you will not necessarily, they are a solid flywheel from standard on the 4 cylinder LR engines, they are resistant to warping usually, but it is worth running a straight edge or steel rule over the face to make sure its flat. In addition, make sure the 3 dowels are not damaged, and the face of the flywheel is not too badly scorn or uneven. If needed and you have the facilities, you can machine the flywheel, and replace the dowels for new ones.
Things to be careful of when fitting a TDI clutch kit:
Be careful to use a clutch alignment tool, making sure the clutch plate spline is directly inline with the axis of the crank and spigot bush. If you are not careful and these are milaligned, the gearbox will be a struggle to re-install, sometimes it may also cause damage to the clutch plate. Make sure the gearbox is supported at all times when re-installing, also make sure the input spline of the gearbox is not ‘hung’ off of the clutch plate, this can crack the back of the plate and cause no drive.
Read the workshop manual when fitting a new crank seal!
Clutch cover bolts- as standard these were M8x20 from the factory, and used spring washers. We found some flywheels were not threaded all the way and ended up bottoming out before the clutch cover was tight to the flywheel. Therefore we supply our TDI kits with 6 bolts M8x16, 16mm long, this avoids this problem. You do not need to use spring washers on our bolts/clutches, if you wish you can add some loctite, but it is not essential. just torque them up to 28Nm and all will be well.
If you have an early 90/110 which originally had a 2.5NA engine fitted, or a “Stump” R380, you should be careful to make sure the release bearing supplied (FTC5200) is the same as the one you remove in terms of length. Some of the early 2.5Na vehicles ran a stumpy release bearing part number UTJ100210 which is 10mm shorter in length. If you fit the later more common FTC5200 bearing by accident, it may cause the clutch to slip!